We all know how important it is to keep our electronic data safeguarded and private. As cyber-attacks continue to grow rapidly each day, so is the need to fight against those malicious attempts.
Having the right tools in hand can significantly reduce the risk of cyber-crime attacks and can make your website a safer place for you, as a web administrator, and your visitors.
8 Ways to Strengthen the Security of Your WP Admin Panel
Below is a list of suggestions on how to secure the admin area of your WordPress blog:
Keep your WordPress instance and plugins up-to-date
One of the most important keys to ensure the highest level of security for your application is to regularly update your Content Management System and its plugins. WordPress updates (patches) contain bug fixes and provide protection against exploits of vulnerabilities.
The most convenient way to upgrade your CMS instance is through the built-in WordPress Updates page, available in your WordPress dashboard:
Use complex credentials
Anothey way to improve your admin panel security is by strengthening the username and password for your WordPress administrative account. If you pick strong and secure login details, it will become impossible for the hackers to get access to the backend of your site.
We also recommend you update your WordPress admin account password on a regular basis. To update your admin panel password, open the Users menu in your WordPress dashboard and click on All Users. Click on your administrative username and scroll down to the Account Management section. Enter your chosen password and press Update Profile.
It is also advisable that you pick a different nickname (Display Name) for your WordPress account.
Change your admin panel’s default URL (web address)
Changing the default URL to the admin panel (wp-login.php) can play a significant role in protecting your WordPress backend from brute-force attempts and hackers. Once changed, it will become hard for an intruder to get into your WordPress site’s admin panel.
To change your backend URL you can use the Rename wp-login.php plugin. After a successful activation, the plugin will add a new menu to the Permalinks area of your dashboard.
Once you have chosen a new login address for your admin panel, you will need to log off for the changes to take effect.
Set up a password-protection on the /wp-admin directory
Enabling password protection adds an extra layer of protection to your administrative page. When active, users will be prompted to supply a different set of credentials in order to authenticate themselves.
How Does It Work?
If a visitor attempts to load /wp-admin in a browser, a popup window will appear and force them to enter those credentials.
Protecting a directory with a password can be done via our Control Panel’s Password Protection. If you’re new to the Password Protection section, please follow our Password Protection guide for further details and instructions on how to secure a specific directory in your account.
Install Captcha
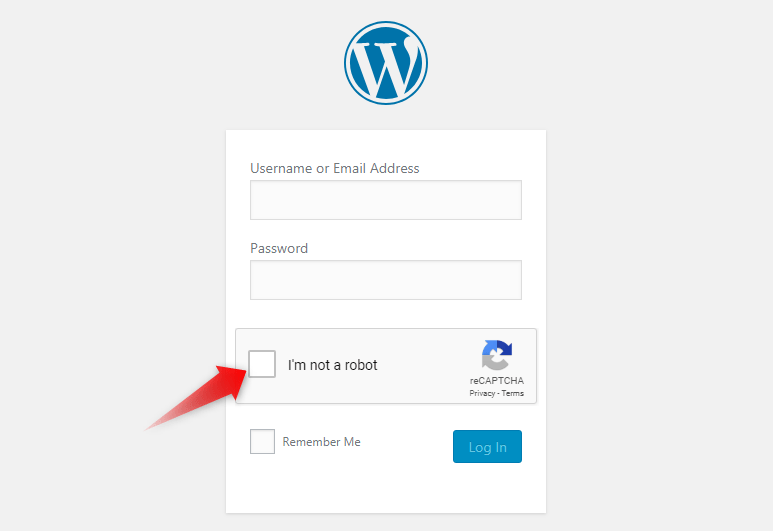
You can add more security to your WordPress Admin Panel’s login page by enabling the Login No Captcha reCAPTCHA plugin.
The Login No Captcha reCAPTCHA plugin adds an additional checkbox to your WordPress login page. Before submitting the form, users will be prompted to confirm they’re not a robot:
Limit the number of login attempts
By default, all WordPress users are permitted to access the admin area of their website as many times as they want. This gives hackers a better chance of obtaining your WP login credentials.
Luckily, there is a solution to this problem. With the help of a plugin, you can easily prevent any brute-force attack by limiting the number of login attempts to your WP admin panel.
Below is a list of some of the most frequently used security plugins:
Allow only specific IP addresses to access your admin area
A great way to protect your WordPress administrative area is by using the Order directive within a .htaccess file.
Create a new file in the /wp-admin directory of your WordPress blog and name it .htaccess. Using your favorite editor or our built-in File Manager, open the .htaccess file you’ve created and insert the below code into it:
  Order Deny,Allow

  Deny from all

Allow from xxx.xxx.xxx.xxxNote: Please ensure you replace xxx.xxx.xxx.xxx with your current IP address.
The above set of rules will grant access to the backend of your site ONLY to your local IP address. All requests coming from a different IP address or network will be denied and will produce a Forbidden error:


