WordPress is an extremely versatile CMS. With the right WordPress Hosting Service, you’ll be able to walk a long road to the ‘promised land. Your website could be virtually anything you need it to be. Just by using the CMS. Knowing how to change the font in WordPress is surely a competence that you’ll be glad to have.
The ability to change fonts in the CMS is important for you to strengthen the design of your website. And that is not all. Choosing the right font will help you reinforce your brand identity.
In this WordPress Tutorial, we’ll find out how to change the font of your website in an easy, fast, and safe manner. Font choosing is a science in itself. But knowing how to change the font in WordPress will give you the tools needed to implement this science, once you get to know it.
How to Add a Font to WordPress
Before you change fonts in WordPress, you need to add the fonts to the CMS, so you’ll have some options to choose from. And while there are a number of ways to do so, the easiest one is by adding a plugin.
The plugin we recommend you to use is Easy Google Fonts.

The plugin is very easy to use, and simultaneously is presenting the user with a wide set of options that you can tune-up to your own preferences. It is probably the best WordPress font plugin.
Once you’ve installed and activated the plugin, you can enter the integration into the WordPress theme customizer. To do so, enter the WordPress Admin Panel, and hover the Appearance option on the sidebar. A sub-menu will unfold. Click the Customize button.
How to Change Font in WordPress
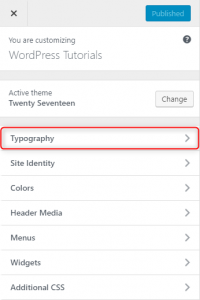
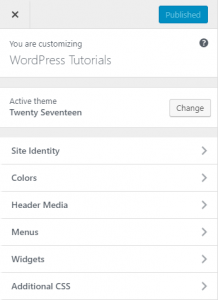
If you have ever entered the Customizer of the theme you are using, you’ll probably be able to notice that a new option has appeared.


Now that you know where the typography option is, you, generally, know how to change the font in WordPress.
What is left is to customize the fonts of the paragraphs, as well as one of your h1, h2, h3, etc. tags. Meaning the font, its weight and style, the decoration and any transformation that you might to be done to the text.