You know it already. Everybody does. People are mobile. And they are online all the time. And they are bombarded with attention-seeking information. For you to receive the attention (web traffic) you need, you have to stand out.
You need to get closer.
You need to be just right next to your customers.
In their minds… In their pockets.
And while app development is way too expensive, there are other ways to be next to your community.
Push Notifications!
Push notifications are proving to be more engaging than SMS, email marketing, and sometimes, even social media.
And you can have push notifications for your WordPress website. Easy. And free.
Here is how!
Create an account at OneSignal.com
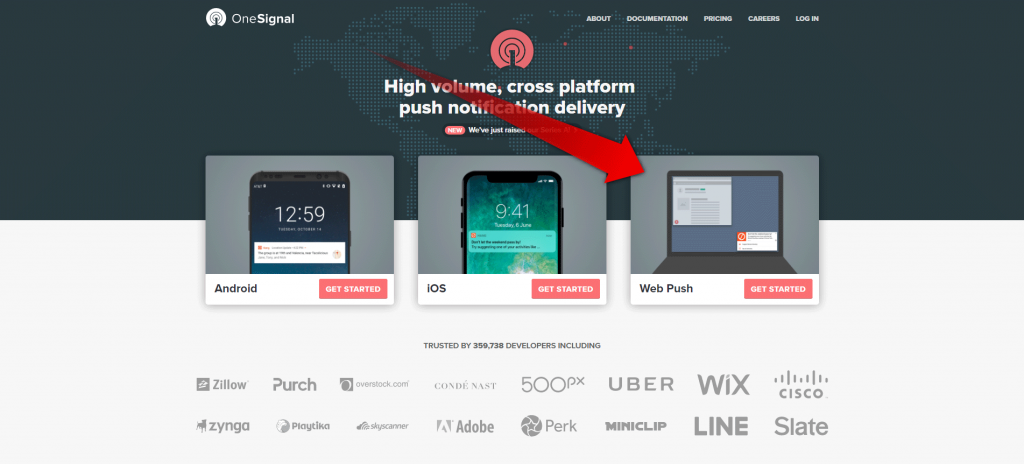
In order to create push notifications for your WordPress website, you need to click on Web Push. Don’t worry, although the image shows a laptop, people will be able to subscribe to their mobile devices and receive notifications on them.
After you‘ve clicked the GET STARTED button, on the Web Push option, you’ll be presented with a number of registration options. Choose the one, that suits you best, and go for it.
After you’ve registered your account, you’ll have to verify it. To do so, go to your email, and follow the instructions. It is a pretty common verification process.
Create OneSignal App
Now that you’ve registered, you need to enter your OneSignal account and start creating your first (and if you have one site, only) application.
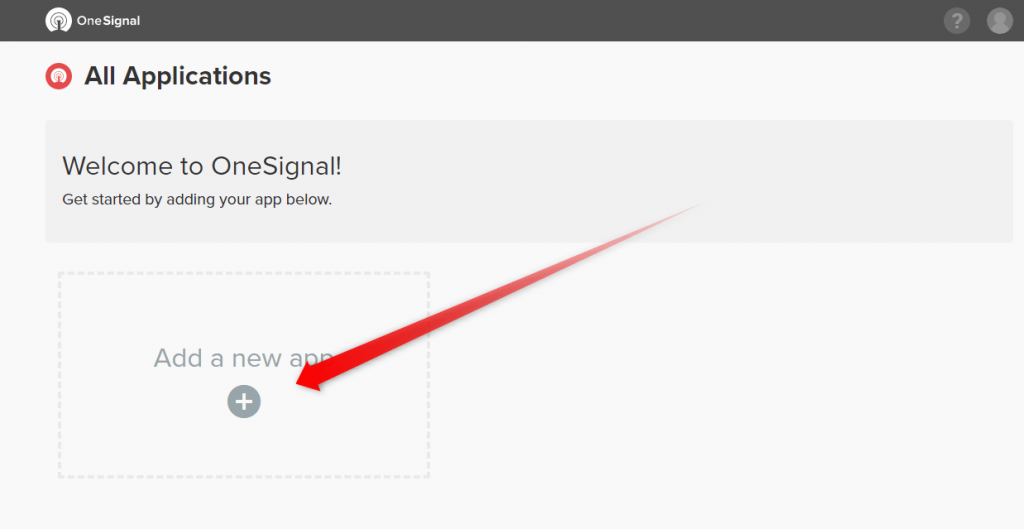
When you are already logged in, you’ll see your Dashboard. Here you’ll create the app.
Once you’ve clicked on the Add a new app option, you’ll be presented with the option of choosing your app’s name. I would use the name of my site, but it is up to you, what name you’ll choose.
Enter the name in the text field and click the Create App button in the bottom right.
In the next section, click the Web Push option, and then Next.
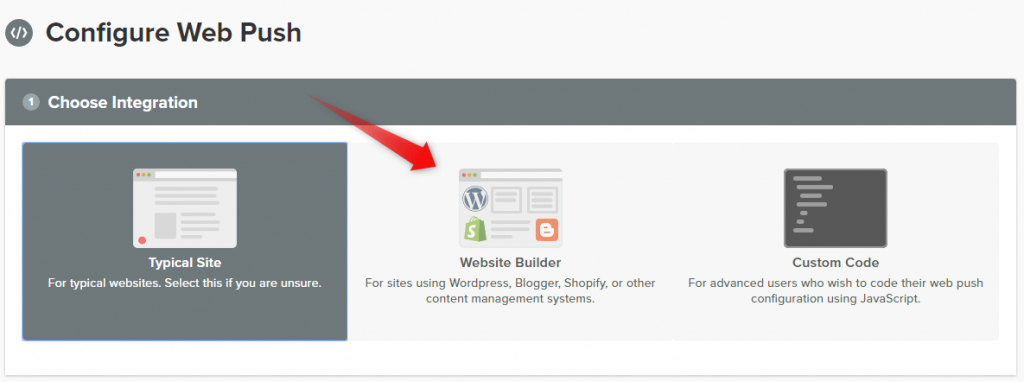
The choice, you’ll now be presented with is:
- Typical Website
- Website Builder
- Custom Code
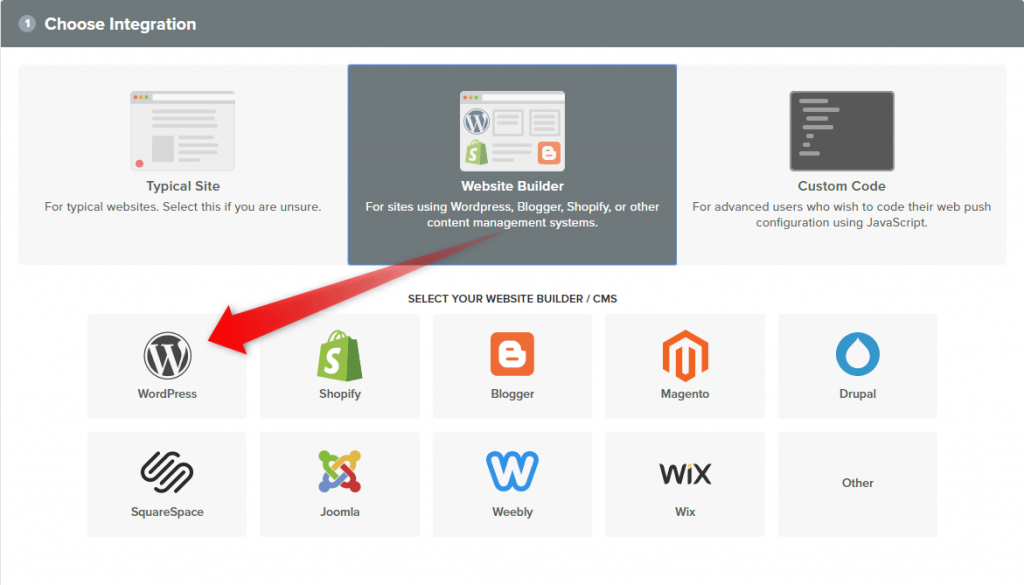
Since, you are using WordPress, which is a Website Builder, the next step is pretty straightforward.
Choose your site name and domain. Upload an icon, if you wish. It will be used on your notifications. Thus, it is better to have one. It could be your logo, or something else, that your users recognize.
Install the OneSignal Plugin
Once, you’ve clicked tuned up the settings and clicked Save, you’ll be presented with the needed APP ID and API KEY. And these, you’ll have to enter in the plugin’s fields with the same names.
The One Signal plugin, you can download here, or you can simply use the backend plugin search.
If you have never done it, here is how to install plugins in WordPress.
Once, you’ve installed and activated the plugin, a new option will appear on the sidebar menu of the WordPress Admin Panel. It is, of course, named after the plugin.
Once, you click it, you’ll enter the OneSignal Plugin Dashboard.
Configure OneSignal Plugin
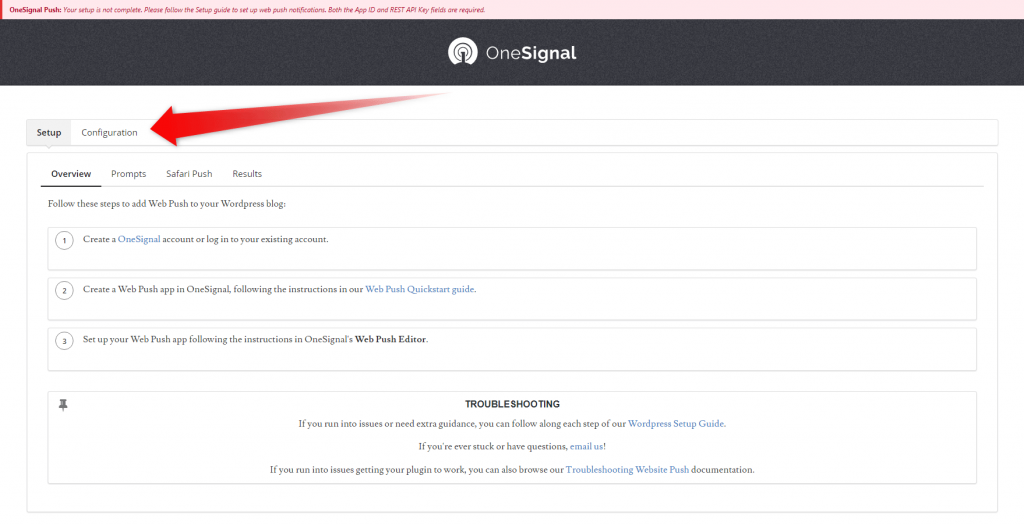
Once in the plugin’s dashboard, go to Configuration.
In the configuration process, there are three things which, if not done correctly, your users, won’t get any notifications.
You need to enter your App ID, REST API KEY, and OneSignal Label.
The App ID, and the REST API KEY, you get on the last step. The one on which we stopped on, to install the plugin.
You simply need to go back and copy and paste them to into the WordPress plugin.
The OneSignal label is a subdomain on .os.tc which is created via your domain name. It could be a shortened version, or you could write it yourself. You can find exactly what your OneSignal Label is on the previous step, which you are able to access without losing the progress you’ve achieved. Meaning, you can go back without in any way disrupt the already achieved.
Now that you’ve entered all of the three, you should scroll down to tune up the other options. All of them are straightforward. Also, the way you’ll want to fill them will differ from webmaster to webmaster. Thus, tune them up the way, you feel right and click the Save button at the bottom of the page.
All you need to do now is to test if everything is working correctly. Go to the front end of your site and look if the one signal bell will show up. If so, subscribe to your own notifications, or better yet ask a friend to do it.
Now publish a new post.
Did you receive the notification?
NB! OneSignal is, if you enabled it, visible on the mobile devices as well. But if you want to test it on a mobile device, you need to subscribe via one. In a word, it will send notifications to the device you subscribed to.
