
There is no website being it based on WordPress or not, that is finished without a logo. Knowing how to add a logo to the WordPress website that you’ve created is like adding spices to your meal. It will make it all make sense, and the taste of it will be better for each and everyone that tastes it.
As you can imagine, it is not that a website without a logo is not as functional as it would be with it. The logo is a simple little thing that makes your users believe more in you, your website and your opinions, hopefully, shared with them in a blog or in another way.
How to Add Logo to a WordPress Header
Hopefully, you already know how to add and edit the menu on the WordPress website, which is placed in the header, and around which we ought to orientate the size and the location of the logo.
There is a default way of adding a logo to your WordPress website, which is valid with most themes. However, there are themes that have taken a different approach to this otherwise easy task. Either way, adding a logo is usually located on the theme customizing page. The difference comes from the fact that some themes have not only the default theme customizer of WordPress but their own, as well. And if you are not able to find the header and navigation options in the Default theme customizer (which we’ll cover in a second) you ought to search for them on the theme’s options page. Whichever the theme.
Now that we got that out of the way, here is how to add a logo to a WordPress Header. Follow these steps:
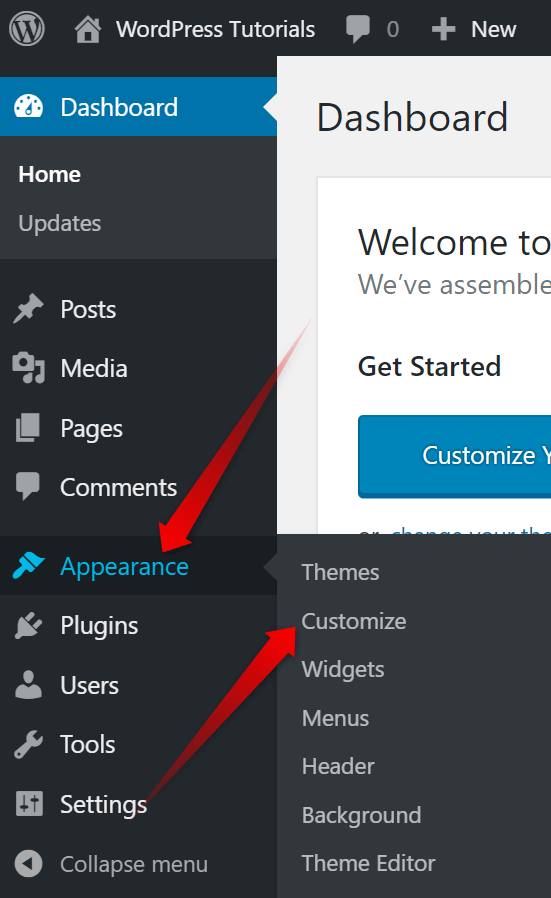
- Enter WordPress Dashboard.
- Find Appearance in the left sidebar menu
- Hover over it, and look for the Customize option
- Click
- You’ll be redirected to the Theme Customizer – the front end of your website will be accompanied by a left-located sidebar menu.
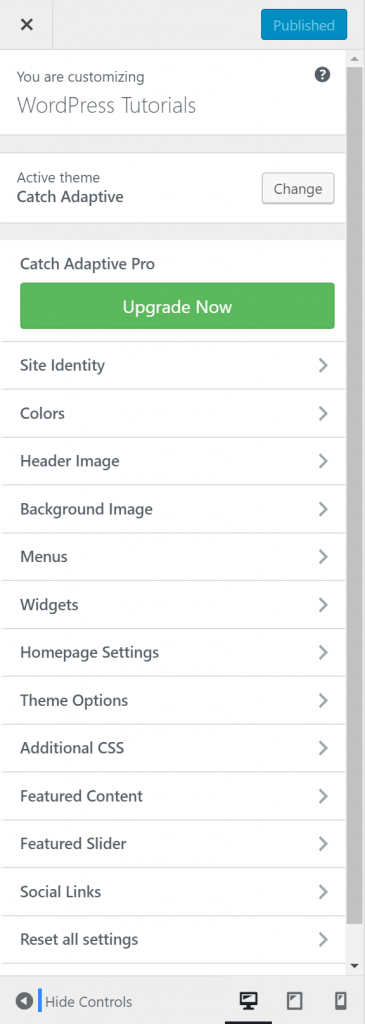
- Look for “Site Identity” or “Header and Navigation”
- Click “Site Identity” (if this is the one your theme has)
- Select your logo.