Summary on How to Add Media to WordPress Posts
To add media to a post in WordPress is as easy as it gets. You just have to follow these three steps:
- Choose Where Exactly You Want to Add the Image/Media
- Click the Add Media Button
Afterward, click Upload Files -> Select Files - Configure the Details of the Chosen Photo
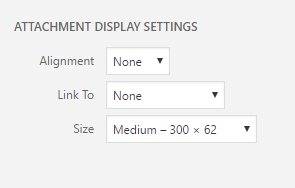
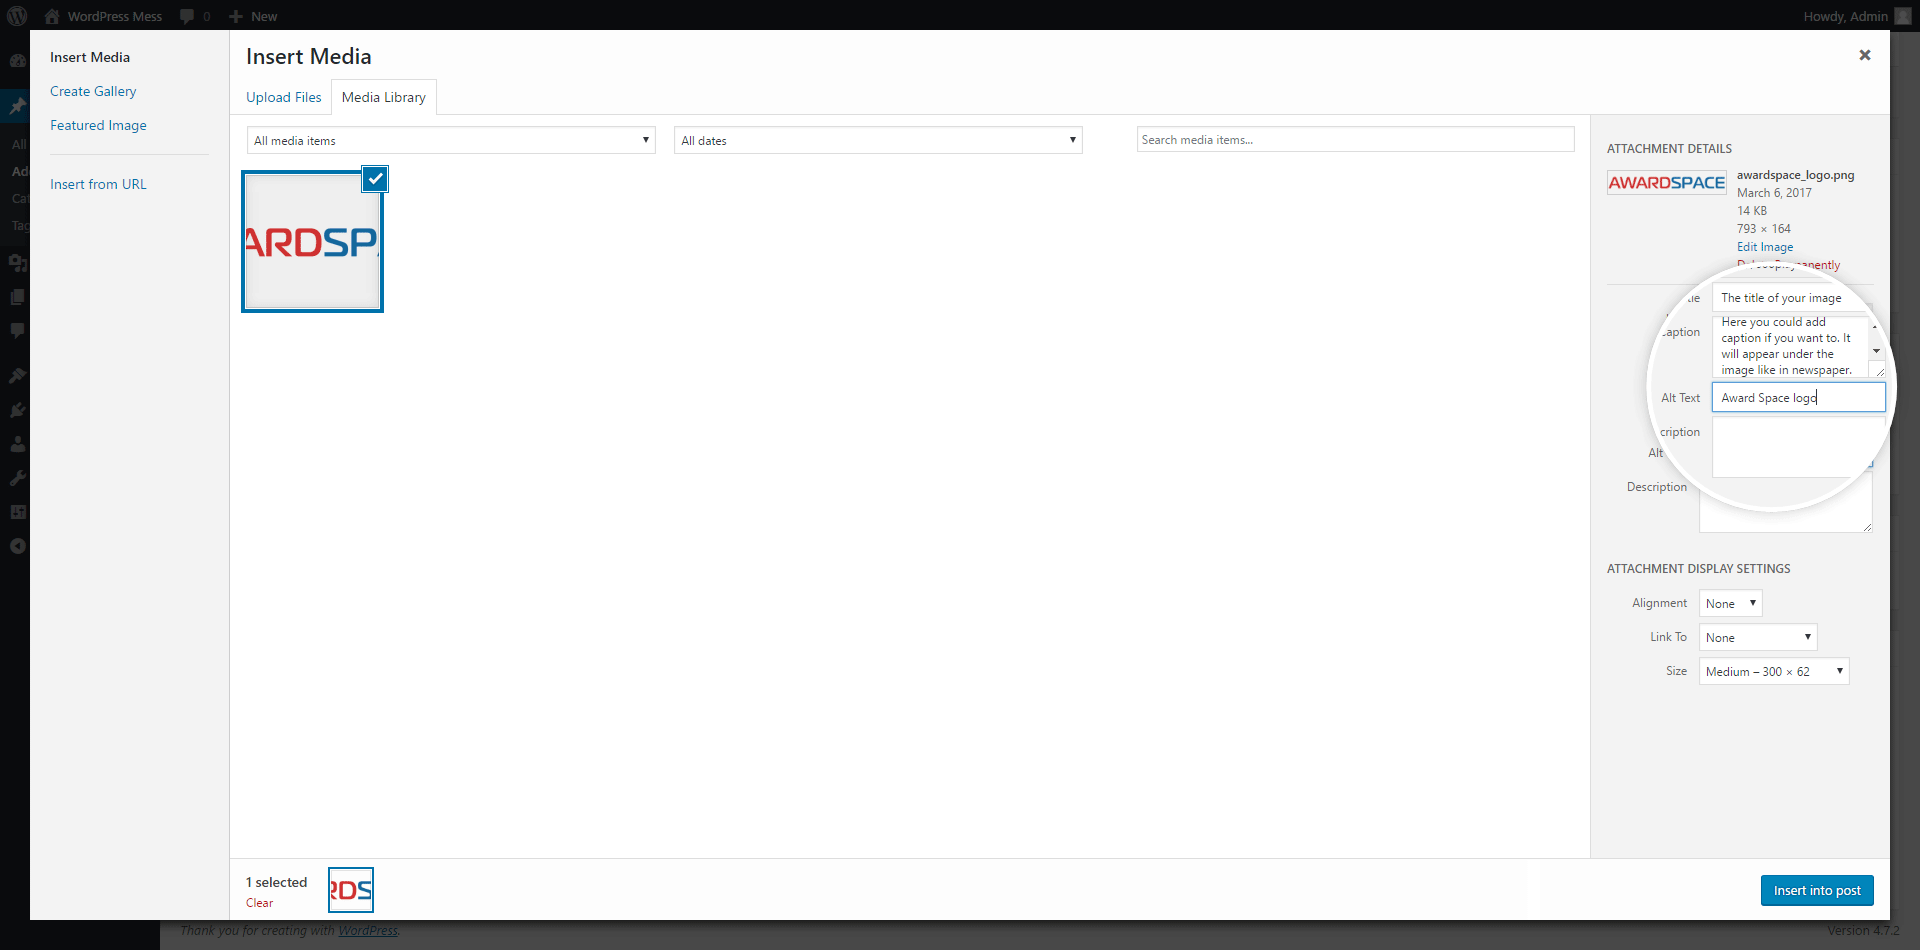
Here you can configure The Alt tag, Title, and the Caption of the Image. You can also adjust the Alignment, and the Size of the image, and add a link to another page or website if you want to.
In WordPress, it is fairly easy to add any type of multimedia to contribute to or explain the text content. You can add images, videos, and even audio. Here is how to add multimedia to the post:
Step 1: Choose Where Exactly You Want to Add the Image/Media
The thing with WordPress is that most of the operations you’ll learn to do, are as user-friendly, as they get. As you already know the WYSIWYG(the Post content window) you can use as any text editor from an Office Package. So, in order to upload multimedia, just click with the mouse to the exact position where you want it to show. Bear in mind, that you’ll be able to just drag and drop it afterward if you want to re-position it.
Step 2: Click the Add Media Button
On the left side, between the Title bar and the Post content window, there is a button that says Add Media. Click on it.
A window will open. By default, WordPress shows the Media Library(which is where you’ll be able to see all the multimedia, you’ve already uploaded). You’ll have to choose Upload Files. Then Select files.

Now, just choose the file you want to upload from your computer.
For this guide, we figured we’ll show you how to upload a picture because it is the most common type of multimedia.
Step 3: Configure the Details of the Chosen Photo
There are three things to pay attention to when you upload a picture. They are:
- Alt tag – This is what screen reader users will hear when the program tries to explain the images to them. Also, Search Engines can’t understand the images, so they read the Alt tag, in order to screen the content on the page.
- Title – If the image also plays the role of a link, when the users of your site hover over the picture, this is what they’ll see.
- Caption – Can you remember the good old days when we were reading newspapers. Under every picture, there was some kind of explanation. This is the role of the caption.
- Alignment – This option is self-explanatory. Here you’ll choose how to align the image in your content. Bear in mind that in different themes this could look different. Also, you’ll be able to edit this in the WYSIWYG, by just clicking on it.
- Link To – If you want, you could make the image clickable. If so, here you’ll have to select where the image links to.
- Size – WordPress creates multiple copies of the images you upload in different sizes. Choose whether you want a thumbnail, medium-sized image, or the image in full size in your post.

Afterward, just click Insert into post.

Preview the post. If the result is what you expected – Publish it.

Following the same steps, you could add music or video as well.

