What you need to know:
WordPress allows you to add blocks through the Gutenberg Block Library. You can access the Block Library by clicking on the “+” button in the Top Toolbar or one of the “+” buttons scattered throughout your document. Then, add a block to your post or page by dragging it out of the Block Library and dropping it in your document. Additionally, you can bring up the Block Library by pressing
/when your text cursor is located in an empty paragraph block.
Arguably, the most important skill that you need to have when it comes to running a website is the ability to insert new content. In WordPress, this can be done by adding new blocks to your posts and pages. In this tutorial, we’ll show you the various ways in which this can be accomplished.
Table of Contents:
What Is Gutenberg in WordPress?
WordPress uses a document editor called Gutenberg. Known also as the WordPress Block Editor, Gutenberg differs from other classic editors in that it uses blocks to store your content. If you are new to the Block Editor, you can read our guide on the Gutenberg basics and our overview of the Block Editor interface. And if you have prior experience already, then you can further your knowledge by learning all of Gutenberg’s keyboard shortcuts, customizing the editor to meet your needs, and finding out what are the best plugins that add new functionality to Gutenberg.
How Do I Access Gutenberg?
WordPress will provide you with access to Gutenberg when you create a new post, page, or widget, or you opt to edit an existing one. In time, the WordPress Block Editor will be used to manage even more aspects of your website.
Tip:
Don’t have your own WordPress website yet? Sign up for our free hosting plan or one of our premium WordPress hosting packages and install WordPress today!
What Are Blocks in WordPress?
Unlike most document editors where you can write text anywhere you want and insert images and other media within your text, Gutenberg encapsulates each piece of content in its own block. So, you can have a heading block, followed by an image block and three-paragraph blocks. This separation makes for easier editing where adjusting the properties of one block will have minimal negative effects on its neighboring blocks.
All blocks available in Gutenberg are stored in the WordPress Block Library. If you wish to expand this selection, you can create custom reusable blocks, check the WordPress Pattern Library for new block patterns, and see our roundup of the best plugins that add new blocks to WordPress.
How Do I Add a Block in WordPress?
There are two main ways in which you can add blocks in WordPress. We will explore them in the next two sections.
Tip:
You can insert block patterns and reusable blocks in the same way you would add a block in WordPress!
Via the Block Library
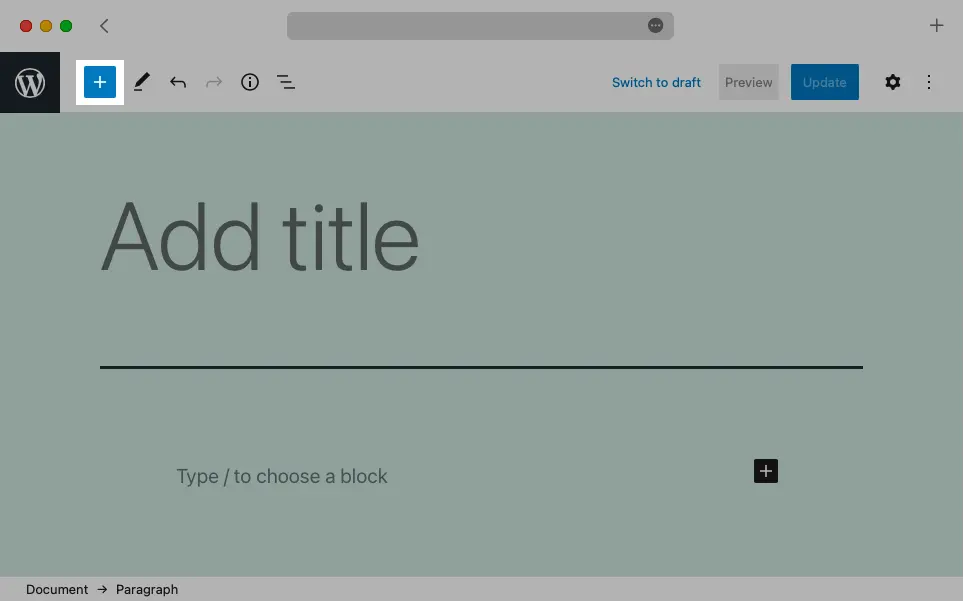
The main way of adding blocks in WordPress is via the Block Library. To access the Block Library, click on the “+” button in the Top Toolbar.
Once the Block Library is open, simply drag a block out of it and drop it somewhere in your document.
Tip:
As you drag the block over your document, you will see some blue separator lines. These indicate where your block would be inserted if you drop it.
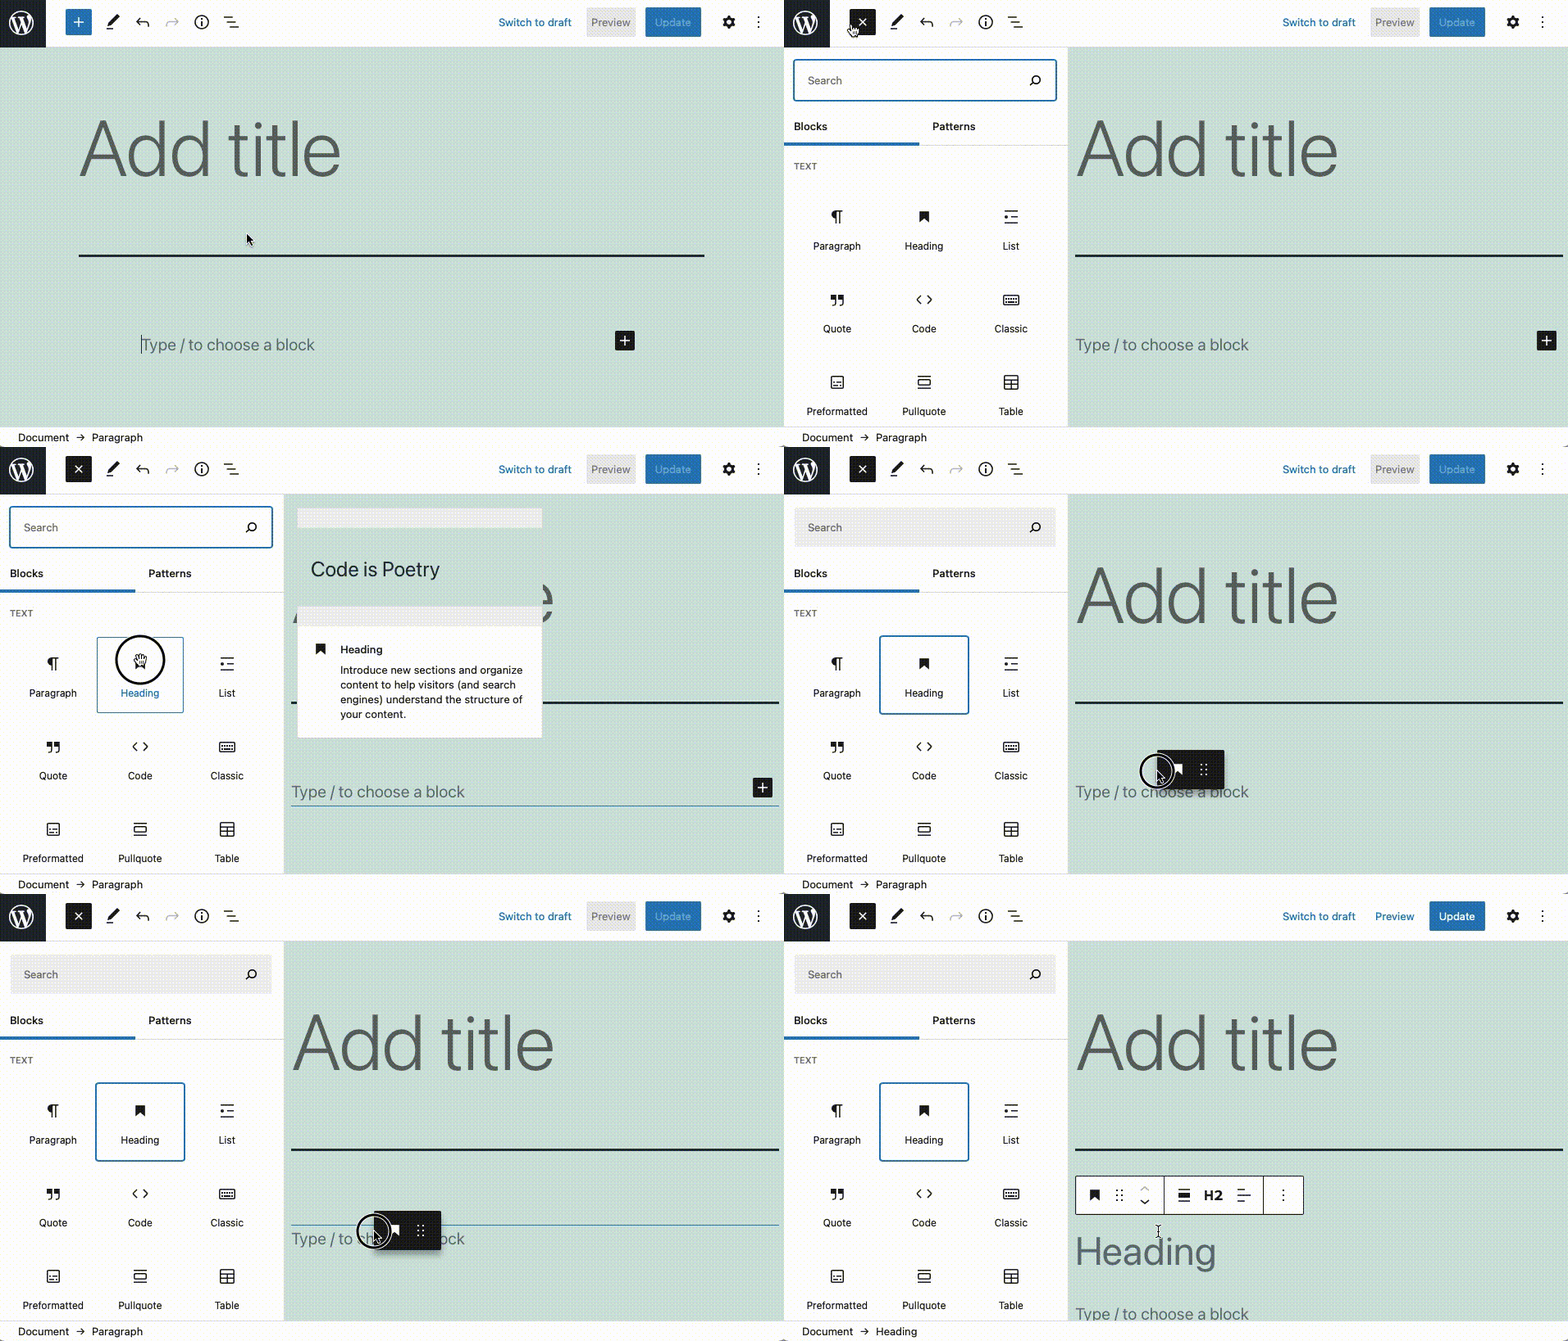
If you are not a fan of drag-and-drop, you can insert new blocks in your post or page by first placing your text cursor in the spot where you wish to add a new block and then clicking on the desired block from the Block Library.
Tip:
Have you noticed that there are “+” buttons scattered throughout your document? You can use those to quickly bring up the Block Library and insert a block in that specific location.
Tip:
You can speed up the process of choosing a block by taking advantage of the search functionality that is present in the WordPress Block Library!
Via a Keyboard Shortcut
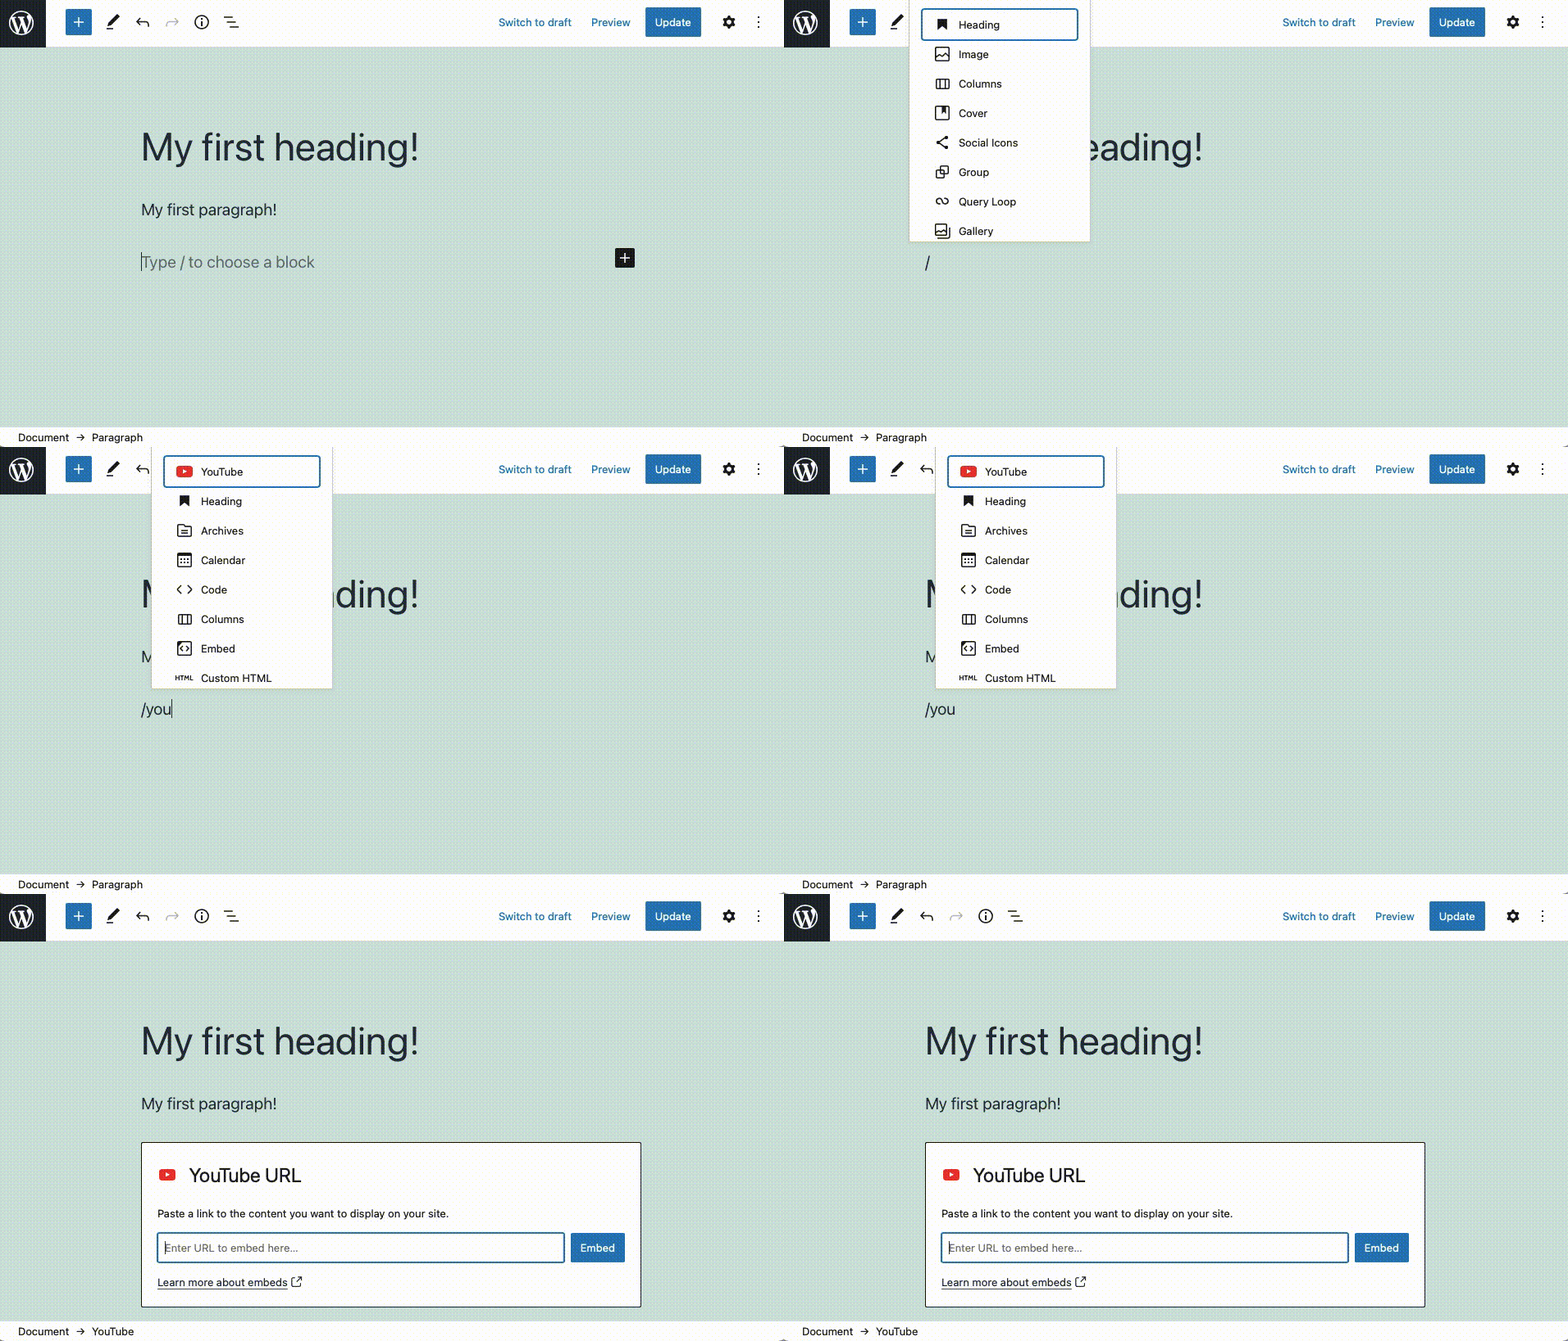
WordPress also allows you to add blocks via a keyboard shortcut. To do so, begin with an empty paragraph block. Then, type / followed by the name of the block that you wish to insert. As soon as the desired block gets highlighted, press the Enter key.
To learn more, check the tutorial where we explain how to use keyboard shortcuts to work with blocks. Additionally, Gutenberg also offers a few keyboard shortcuts inspired by Markdown. Learning these Markdown-inspired keyboard shortcuts will help you quickly convert a paragraph block into another type of block.
How Do I Choose Where the New Block Is Inserted?
So far, we have discussed the various ways in which you can add blocks to a WordPress document, but not every approach can insert a block in every part of the post or page. In the next few sections, we will highlight the ways in which you can insert a block in the beginning, middle, and end of your document.
At the Beginning of the Document
When it comes to adding a block to the very beginning of your WordPress document, you have two options:
- You can drag a block out of the Block Library and drop it above your first block.
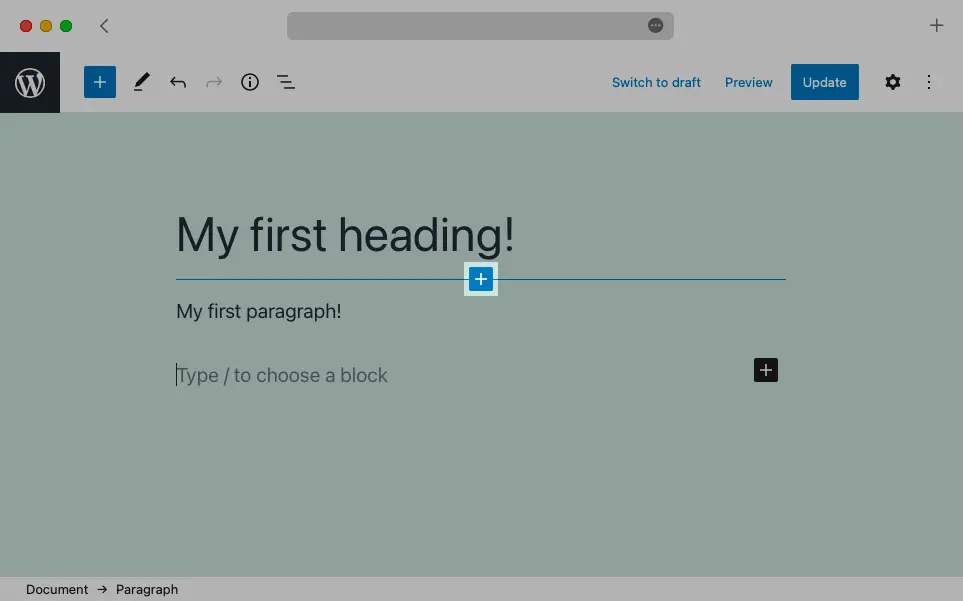
- You can add a new block using the contextual “+” button that appears between your first and second blocks. Once the new block is created, move it up, so it switches places with the first block in your document.
In the Middle of the Document
If you ever find yourself needing to add a new block between two existing blocks, you can take one of two approaches:
- You can drag a block out of the Block Library and drop it between the two blocks.
- You can add a new block using the contextual “+” button that appears between the two blocks.
At the End of the Document
Lastly, we’ll discuss the various ways in which you can add a block at the end of your WordPress post or page. You have three options:
- You can drag a block out of the Block Library and drop it at the end of your document.
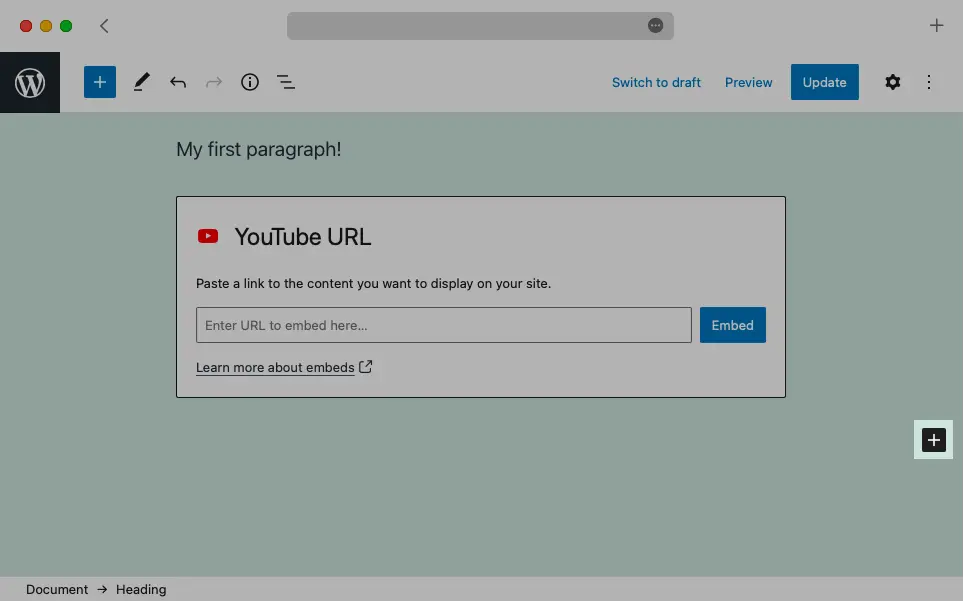
- You can add a new block at the end of the document using the contextual “+” button that appears to the right of your content.
- Your last available option is to click in the space below your last element. Doing so will create an empty paragraph block. From there, you can press the
/key and type in the name of the block that you wish to use followed by theEnterkey.
Next Steps
Congratulations! At this point, you should be aware of the various ways in which you can add a block in WordPress. What is more, you should be able to add new blocks in the beginning, middle, and end of your document. Going forward, you should consider learning other essential Gutenberg skills such as editing, moving, and deleting blocks. And, of course, the steps involved in publishing your WordPress content.