Zacky Installer

Home » Knowledge Base » Control Panel » Zacky Tools » Zacky Installer

CMS or Content Management System is a software used to help users create and manage the content of their website without technical knowledge. There are various CMS out there from which you can choose. Knowing which one to use is a matter of testing what suits your needs more.

Although the installation process for most CMS is straightforward, it can be annoying to deal with. In order to ease this process, we provide all users with our Zacky Installer tool both on the free and premium hosting plans. In this article, we will take a look at the Zacky Installer which you can find in the AwardSpace control panel.


What is the Zacky Installer?

The Zacky Installer is a software tool that allows you to install various Content Management Systems (such as WordPress, Joomla, OpenCart, and Drupal) on your website automatically.

We are sure you will appreciate the use of the Zacky Installer as it will save you time and effort when setting up a new website on your account.


Supported CMS

Our Zacky Installer tool will allow you to install the most common CMS just with a few clicks. Listed below you will find the current CMS supported for installation via the Zacky Installer:

  • WordPress
  • Joomla
  • Grav
  • Drupal
  • concrete5
  • Elgg
  • MediaWiki
  • moodle
  • OpenCart
  • phpBB
  • Prestashop
  • SimpleMachines
  • suiteCRM
  • Zen Cart
  • TYPO3
  • zenPhoto
  • osCommerce
  • Vtiger

On our free hosting plans we offer only WordPress, Joomla, and Grav.


How to install a CMS using Zacky Installer?

Installing a CMS using the Zacky Installer tool is a two-step process. To install a CMS such as WordPress follow the steps below:

zacky-installer-menu
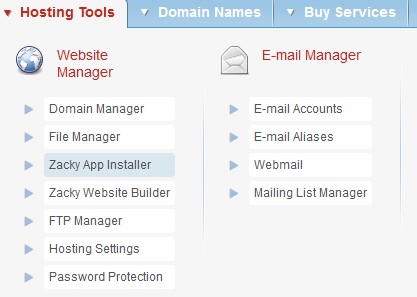
  1. Open your Hosting Control Panel
  2. From the Hosting Tools menu choose Zacky App Installer
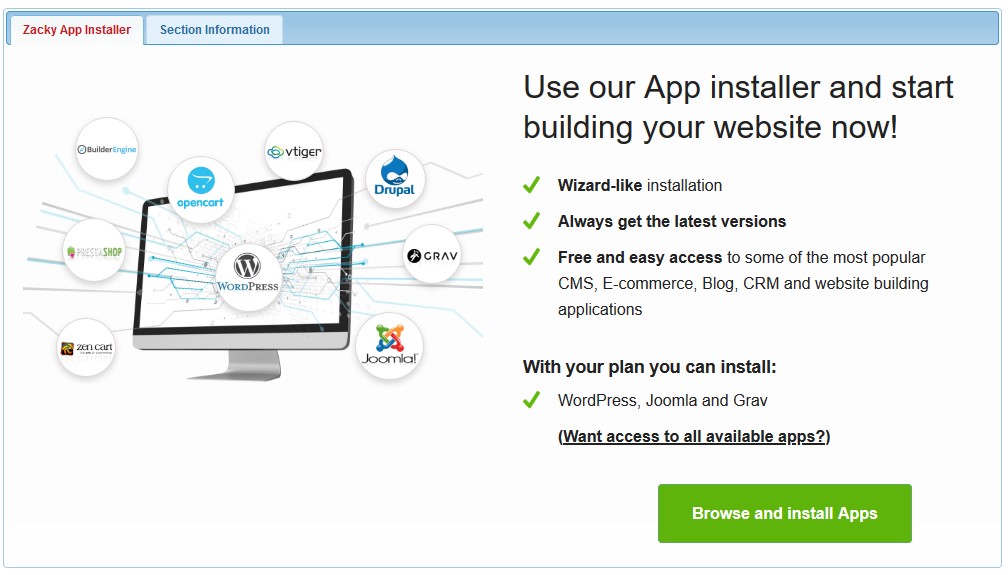
  3. Click on Browse and install Apps
    zacky-installer
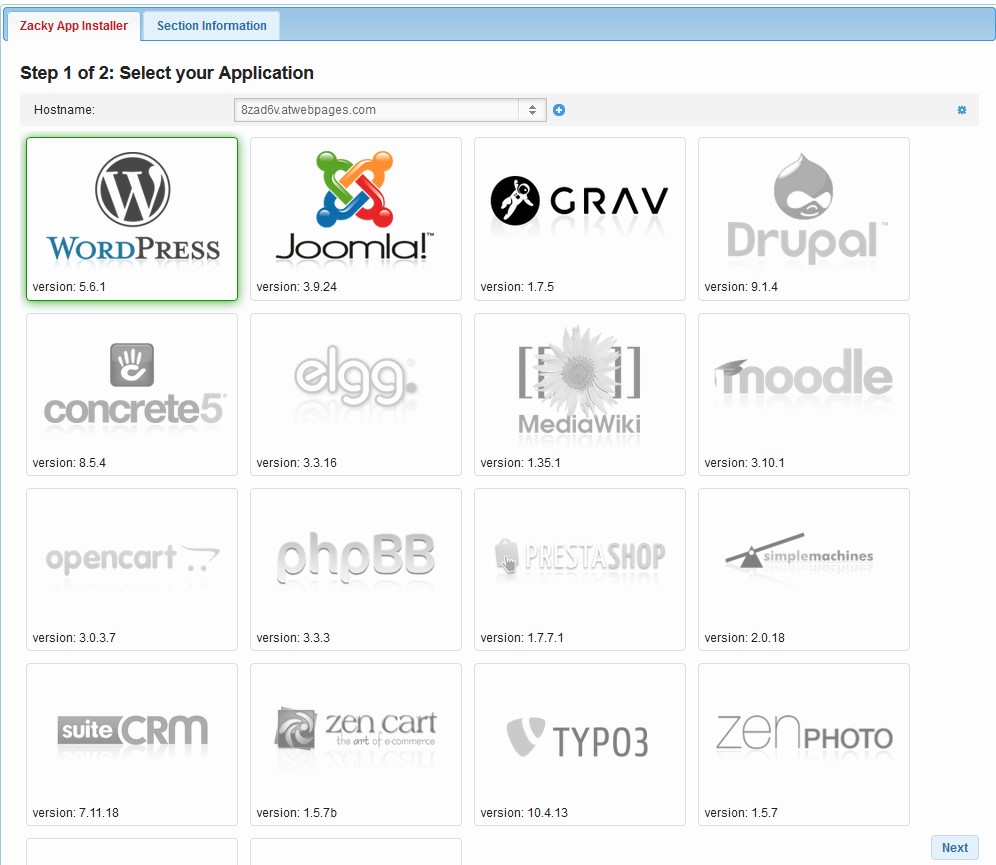
  4. Select the hostname (domain/subdomain) for which you would like to install the CMS
  5. Select the CMS that you would like to install and click next
    zacky-installer-cms-sellection
  6. Enter the Details for your CMS (website title, username, password, and email)
    zacky-installer-cms-details
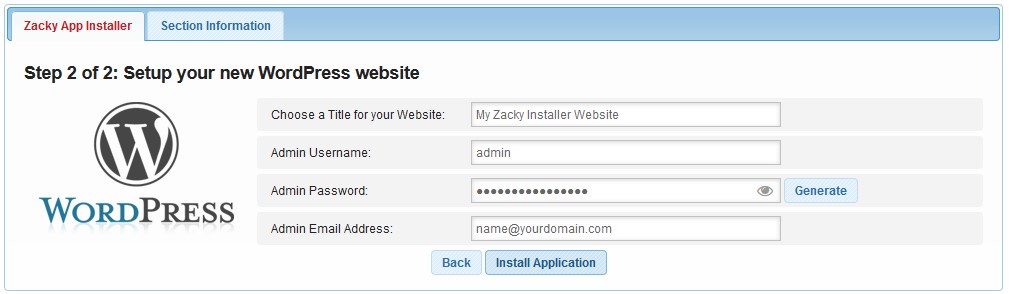
  7. Click Install Application
  8. Wait for the installation to finish

Congratulations, you have installed your CMS using the Zacky App Installer tool.

Was this post helpful?

i

Relevant tags:

Connect

Latest posts:

How to Add Products to Zen Cart: A Step-By-Step Guide

After you install Zen Cart and log in to the admin panel, you can start adding products to your online store. This guide walks you through the process step by step.   How to Add Products to Zen Cart To add a product to Zen Cart, you need to follow a few simple...

How to Log in to Zen Cart

Once you install Zen Cart, you can log in to the CMS and start working on your project. The login process is simple and is comprised of only a few steps.   How to Log in to Zen Cart There are two ways to log in to Zen Cart: Method 1: Login by following the...

How to Install Zen Cart

You can install Zen Cart with any of the AwardSpace hosting plans—free web hosting, shared hosting, and advanced plans such as Semi-Dedicated Hosting and VPS hosting. Each AwardSpace hosting service is tailored to run Zen Cart flawlessly and smoothly, regardless of...

How to Log in to phpBB

Now that you have installed phpBB, it is time to learn how to log in to the system and start working with it. The process is simple and is comprised of only a few steps.   How to Log in to phpBB There are several ways you can use to log in phpBB. The process...

How to Install phpBB

You can install phpBB on any AwardSpace hosting plan - on the free web hosting, shared hosting, and also on the advanced AwardSpace plans such as Semi-Dedicated Hosting and VPS hosting. Each AwardSpace hosting service is tailored to run phpBB flawlessly and smoothly,...


Create a website for free!


Free forever

Our Support Team is Here to Help


If you need any questions answered, don't hesitate and contact us. Click the button below and follow the instructions. You can expect an answer within an hour.


Contact AwardSpace


iNewest knowledge base articles

How to Add Products to Zen Cart: A Step-By-Step Guide

After you install Zen Cart and log in to the admin panel, you can start adding products to your online store. This guide walks you through the process step by step.   How to Add Products to Zen Cart To add a product to Zen Cart, you need to follow a few simple...

How to Log in to Zen Cart

Once you install Zen Cart, you can log in to the CMS and start working on your project. The login process is simple and is comprised of only a few steps.   How to Log in to Zen Cart There are two ways to log in to Zen Cart: Method 1: Login by following the...

How to Install Zen Cart

You can install Zen Cart with any of the AwardSpace hosting plans—free web hosting, shared hosting, and advanced plans such as Semi-Dedicated Hosting and VPS hosting. Each AwardSpace hosting service is tailored to run Zen Cart flawlessly and smoothly, regardless of...

How to Log in to phpBB

Now that you have installed phpBB, it is time to learn how to log in to the system and start working with it. The process is simple and is comprised of only a few steps.   How to Log in to phpBB There are several ways you can use to log in phpBB. The process...

How to Install phpBB

You can install phpBB on any AwardSpace hosting plan - on the free web hosting, shared hosting, and also on the advanced AwardSpace plans such as Semi-Dedicated Hosting and VPS hosting. Each AwardSpace hosting service is tailored to run phpBB flawlessly and smoothly,...

How to Remove a Product in OpenCart

After installing OpenCart and logging in to the dashboard, you can start adding and removing products immediately. We have already covered how to add products in OpenCart, and in this article, we share simple steps to delete products from your store with only a few...

Even more web tutorials

Check out our web hosting knowledge base and the WordPress tutorials to learn more, and be better prepared for your website creation and maintenance journey.