
Now that you know how to install Joomla, how to log into Joomla, and how to create a web page with the platform, it is time to learn how to install Joomla extensions.
What is a Joomla Extension
Joomla extensions are software components that extend the core functionalities of Joomla and add new features to the platform or enhance the capabilities of the already existing ones.
Joomla extensions are a valuable asset, as they can help you tailor your website to your specific needs without having to use coding and applying any extensive IT skills and knowledge in the process of creating your website.
Along with enhanced functionality, Joomla extensions can also help you improve:
- User experience by providing easy navigation and other interactive elements.
- Website scalability by enabling you to monitor and manage the growing amounts of traffic, data, and resource distribution.
- Website content management by allowing you to easily create and manage online blogs, forums, chat rooms, discussion boards, and various private messaging features.
- Website security by providing you with various antivirus, firewall, and cyberattack protection extensions, so your website remains secure and reliable at all times.
These are only a few of the functionalities that you can benefit from by using Joomla extensions.
Thousands of available extensions can help you in numerous different cases.
Read also:
How to Install Joomla Extensions
To install a Joomla extension, you need to take a few easy-to-follow steps:
The first thing you should do is to log in to Joomla.
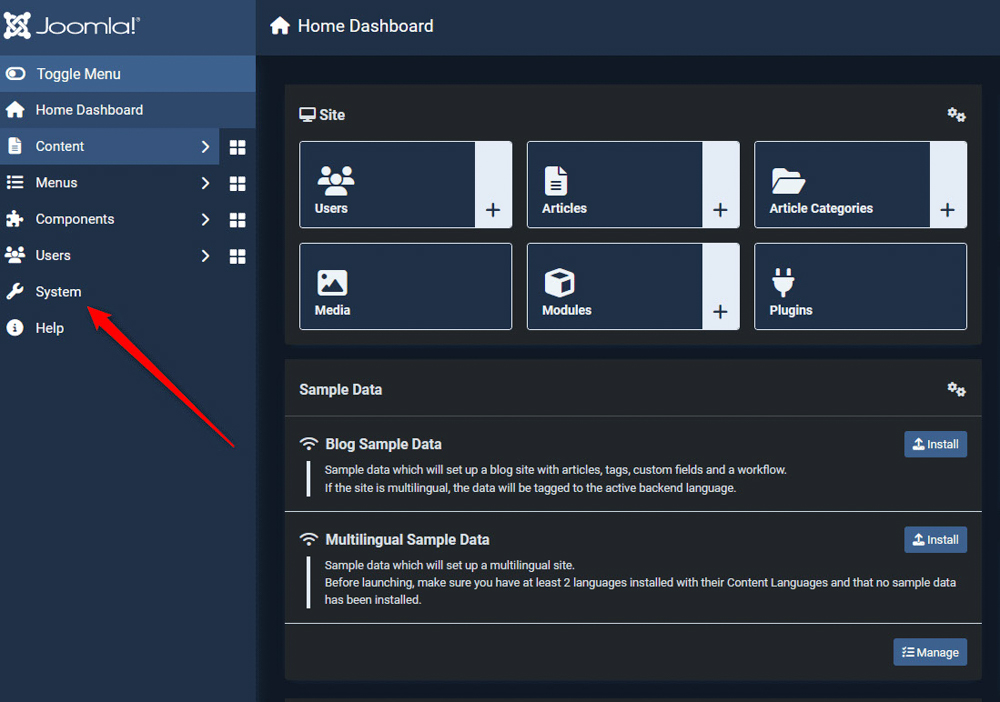
Then, while inside the Joomla admin dashboard, via the sidebar on the left of the screen, head to System:
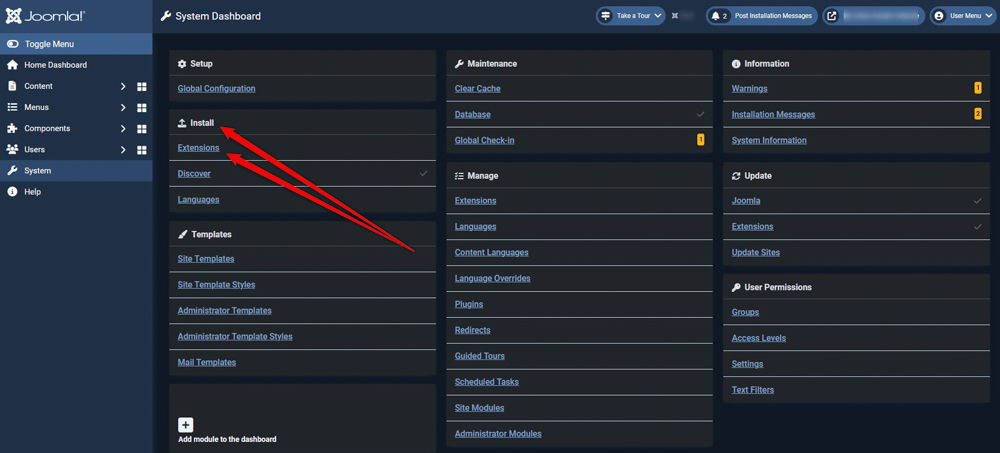
A new page should load. Once it does, head to the Extensions button, within the Install section:
After you click on Extensions, a new page with four installation options will open. The page looks like this:
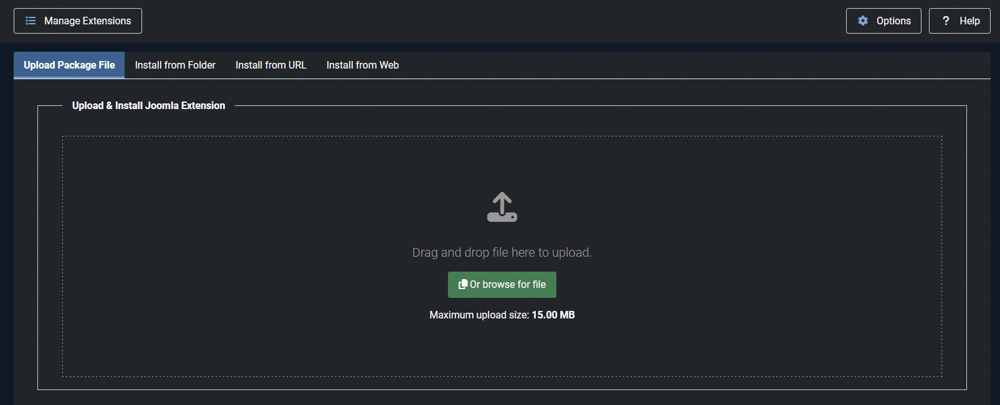
The Joomla installation options are:
- Upload Package File
- Install from Folder
- Install from URL
- Install from Web
Upload Package File
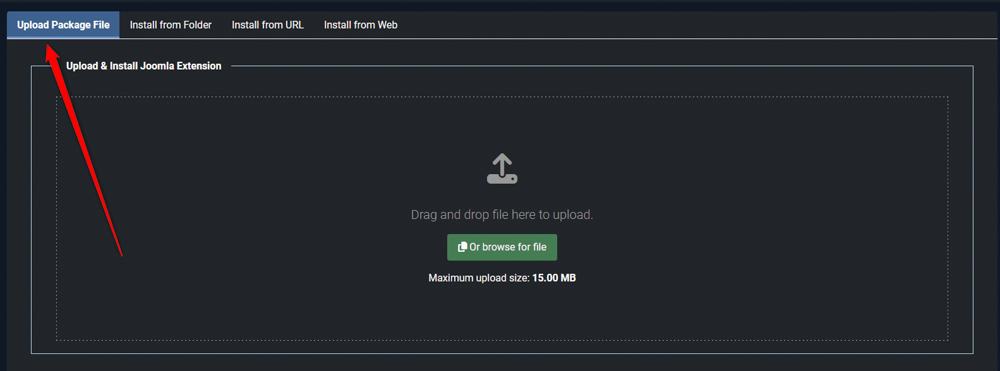
Via this option, you can directly upload the Joomla extension from your device to Joomla. simply drag and drop the files from your computer device, or click the green Browse for File button to search and select the extension you wish to install.
Install from Folder
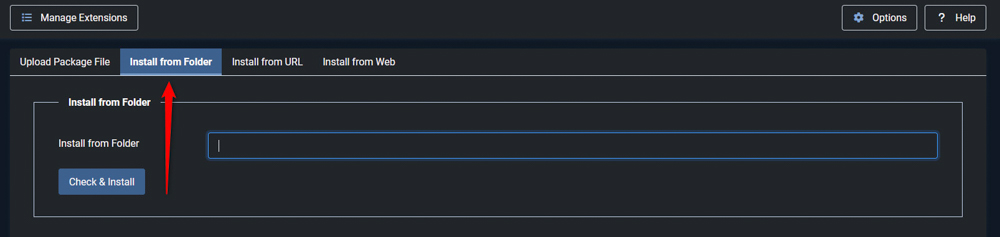
This installation option allows you to install Joomla extensions directly from the server your Joomla website is hosted on.
To install a Joomla extension from a folder, simply add the URL that points to the extension’s installation files, and click on the blue Check & Install button.
Install from URL
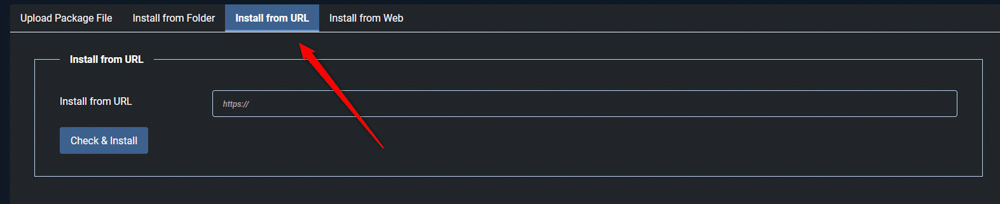
This option allows you to install Joomla extensions directly by typing the URL that points to the extension’s installation files, placed somewhere on the Web.
To install Joomla extensions via this method, simply type in the extension’s URL and click on the blue Check & Install button.
Install from Web
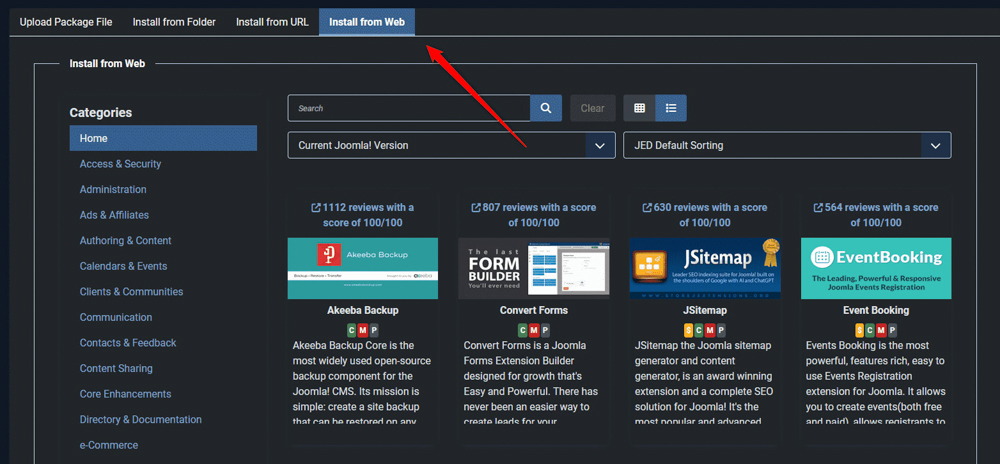
This option allows you to browse the rich library of available extensions and select the one that fits your needs and requirements.
Via the Install from Web tab, you can sort Joomla extensions by categories, reviews, names, and others.
Furthermore, you can directly type in the name of a current extension you wish to install, or type in the functionality you wish to add to your Joomla website, so the system presents you with various options you can choose from.
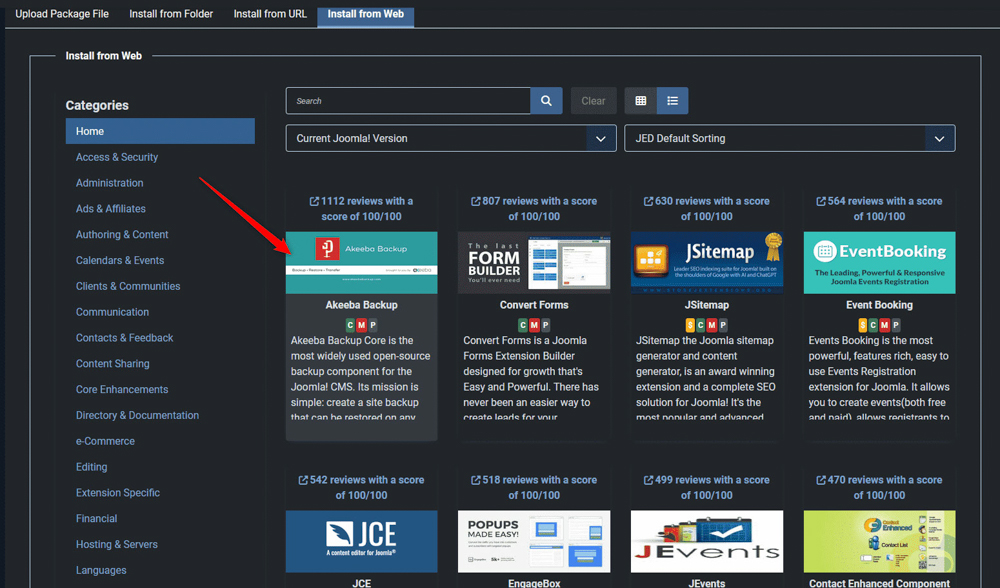
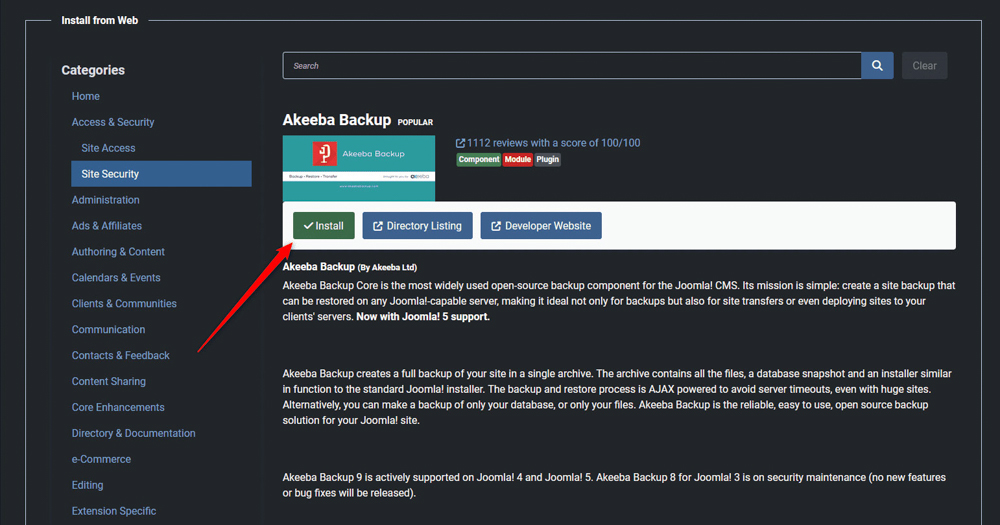
Once you select an extension you wish to install, click on the extension’s icon:
A new page will load. Once it does, click on the green Install button, so the installation process begins:
Once the installation process is complete, a confirmation message will appear:
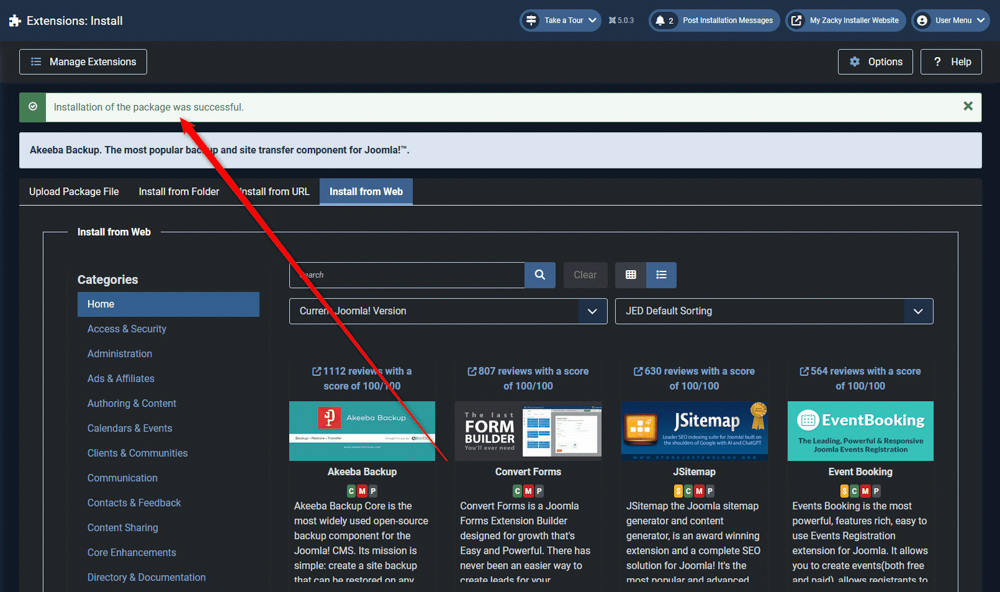
Now you have managed to install a Joomla extension for your website.
Tips to Follow when Installing Joomla Extensions
Additional Configuration: After installing a Joomla extension, it’s important to check whether any additional configuration is required. Different extensions can have different own sets of settings and options that need to be configured to ensure optimal performance. As a rule of thumb, check the extension’s documentation for specific instructions on configuration each time you are about to install an extension.
Security Considerations: It’s very important to install extensions only from trusted sources to avoid potential security risks. Extensions developed from reputable developers or the official Joomla Extensions Directory (JED) are generally safer choices. Avoid downloading extensions from unknown or unreliable sources, as they may contain malicious software that can compromise your website’s security and overall trustworthiness.
Troubleshooting and Support: If you encounter any issues during the installation process or while using an extension, don’t hesitate to seek help. The Joomla community forums are an excellent resource for troubleshooting and getting assistance from experienced users and developers. Furthermore, referring to the extension’s documentation can provide you with valuable insights into resolving any issues you may encounter.
Conclusion
Joomla extensions play an important role in enhancing your website’s functionality and potential. Now that you know how to install an extension, you can add new features, enhance aesthetics, streamline management tasks, build an online community, or anything else on your website.
