How to Install a Plugin with Grav

Home » Knowledge Base » Design Tools » Grav » How to Install a Plugin with Grav

Installing a plugin with Grav is a simple process that can be done directly via the Grav admin panel.

When you start working on your Grav website, you might want to use some specific features. This is where Grav plugins shine.

Plugins are modular components that extend the functionalities of Grav. Via plugins, you can add a wide range of features such as e-commerce capabilities, SEO tools, text editors, and more.

In the following paragraphs, we share the simple steps to install a Grav plugin for your website project.


How to Install a Plugin with Grav

There are a few steps you can follow to install a Grav plugin for your website.

Step 1: Log in to the Grav Admin Panel

To be able to browse, install, and use plugins, it is necessary to log in to Grav.


Step 2: Navigate to Plugins Section

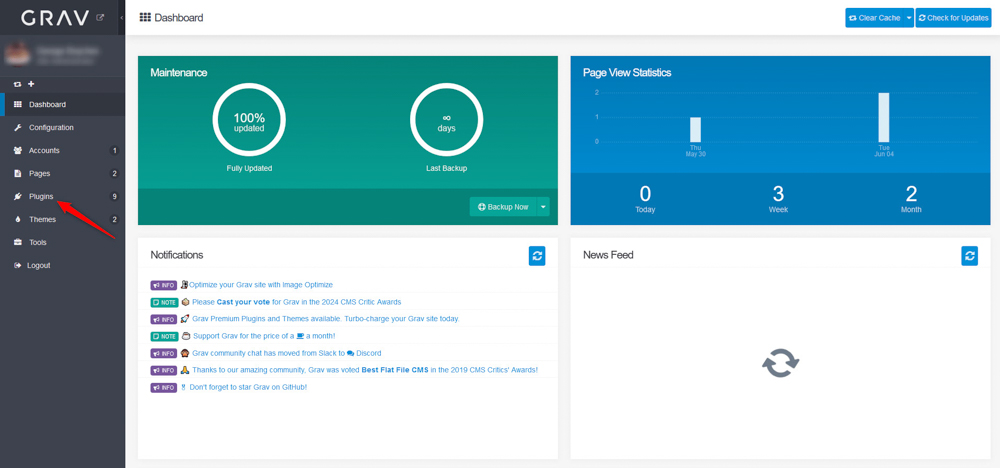
Once you log in to the admin panel, navigate to Plugins from the menu sidebar on the left of the screen:

Grav Plugins Menu Page


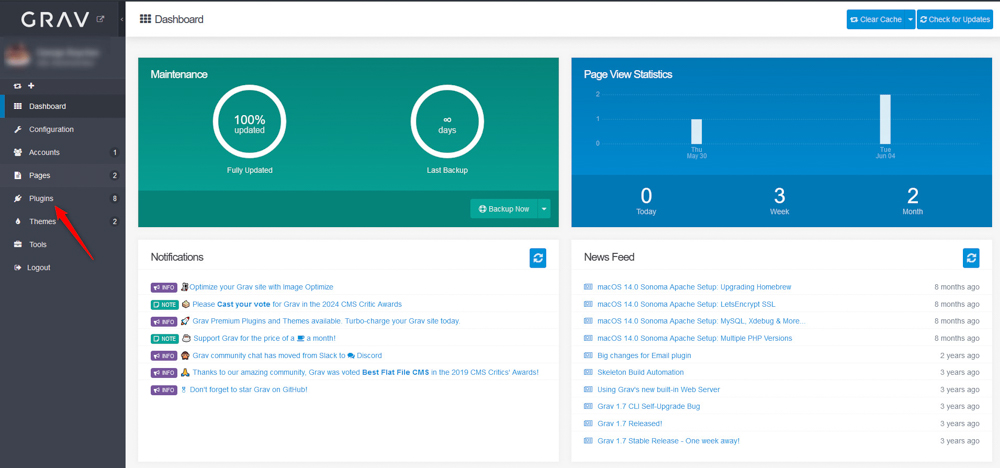
A new page will open. From there click on the blue +Add button located at the top right corner of the page:

Grav Add New Plugin


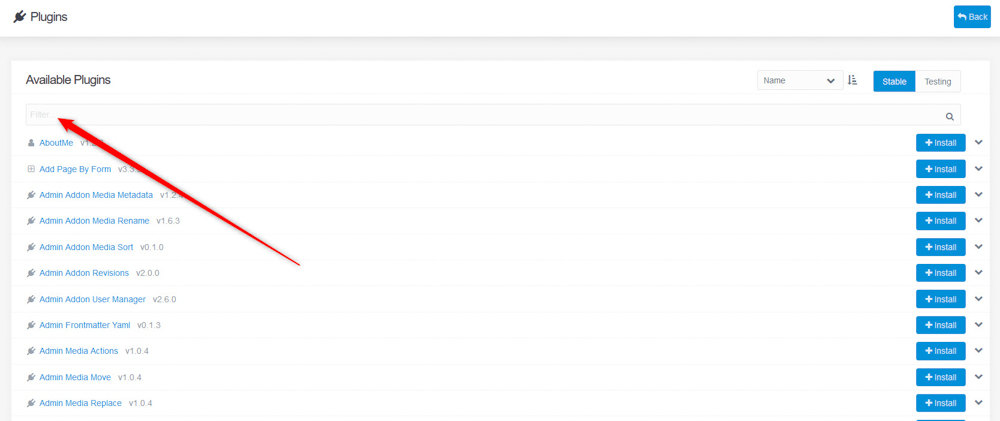
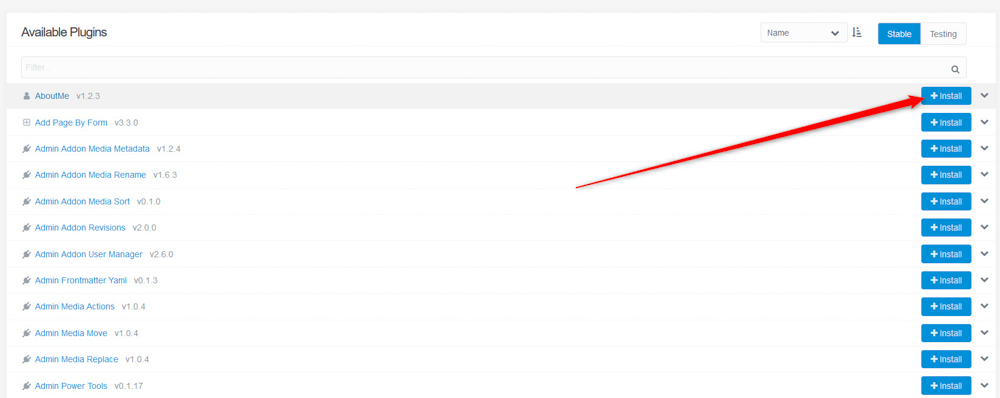
A new page with a list of all available Grav plugins should open. It looks like this:

Grav Plugins Library


From this page, you can directly scroll down and browse the plugins, or, you can use the Filter tool to find plugins based on their name or functionality. To do so, simply type in the functionality you want to adopt via a plugin or the name of a specific plugin, so Grav can show you relevant results:

Grav Plugins Filter Tool


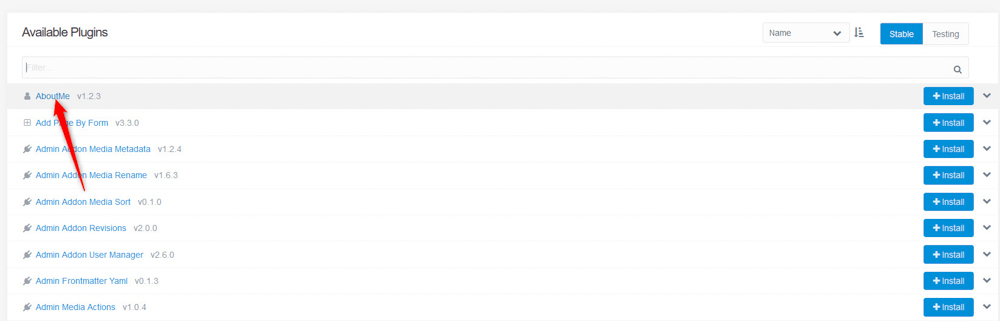
Once you filter the results, you can see more details about each plugin by clicking on its name:

Grav Plugin Name


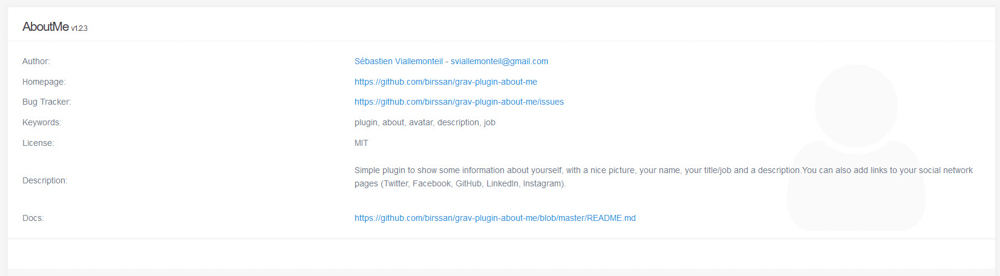
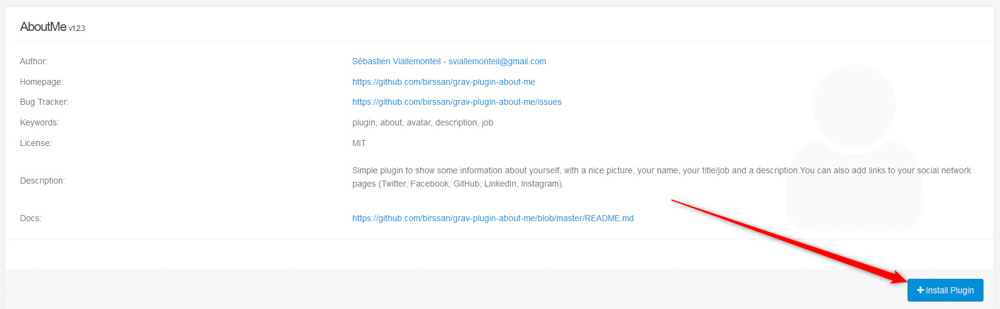
By doing so, Grav will load a details page about the given plugin:

Grav Plugin Details


Once you find a suitable plugin, you should install it. To do so, click on the blue +Install button at the right of each plugin’s name:

Grav Plugins Install Button


If you have opened the plugin’s details page, click on the blue +Install Plugin at the bottom of the page:

Grav Plugin Details Page Install Button


Either way, you choose, a confirmation box will appear. To install the plugin, click on the blue Continue button:

Grav Plugin Installation Process


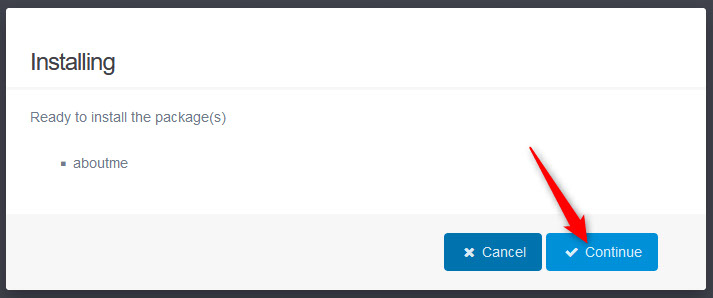
Once you click the button, the installation process should begin:

Grav Plugin Installation Process Message Box


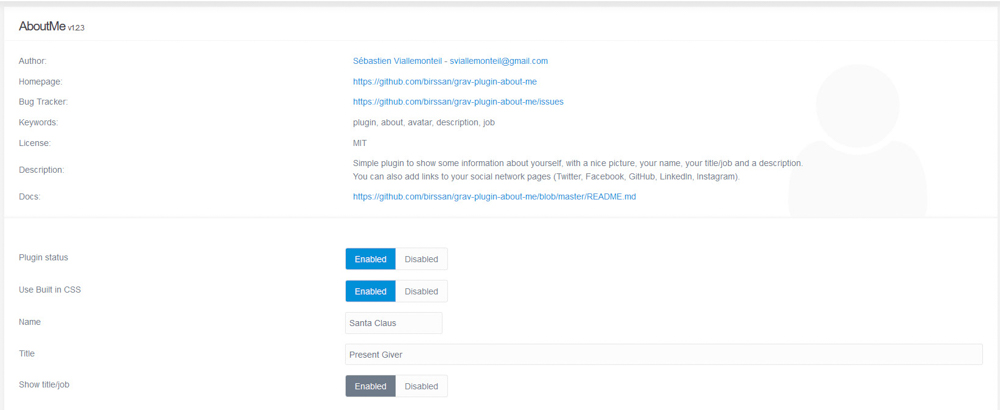
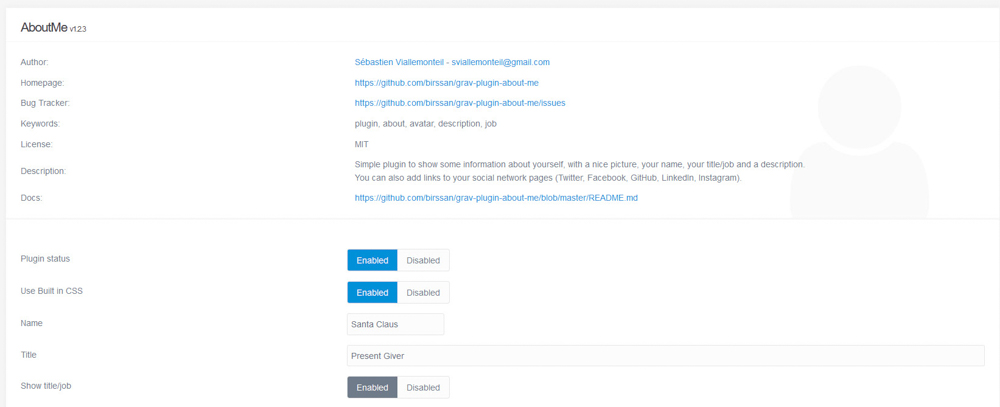
After the installation is complete, Grav will automatically open the page with the plugin’s settings:

Grav Installed Plugin Details Page


To access the plugin’s settings, via the Grav admin dashboard, head to Plugins:

Grav Dasboard Plugins Menu


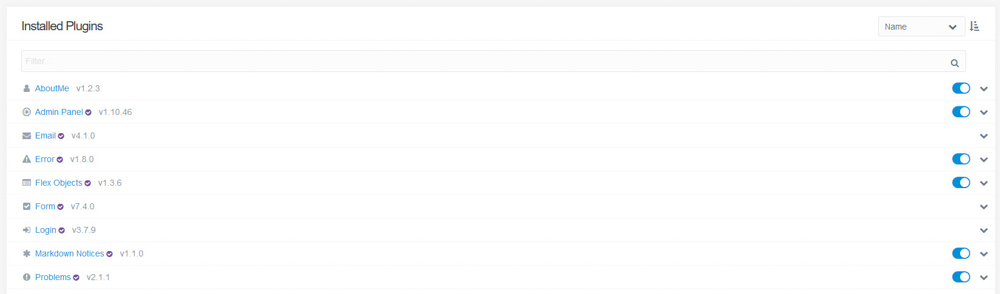
A new page with a list of all your installed plugins will load:

Grav Installed Plugins


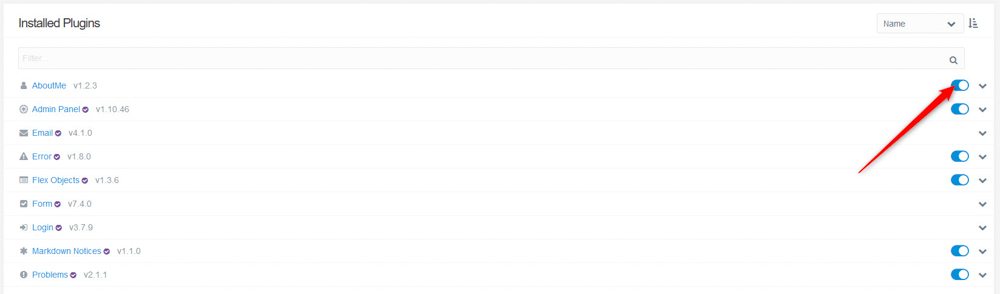
From this page, you can quickly enable and disable your plugins via the blue switch to the right of each installed plugin. To enable or disable a plugin, simply click the switch:

Grav enable or disable an installed plugin


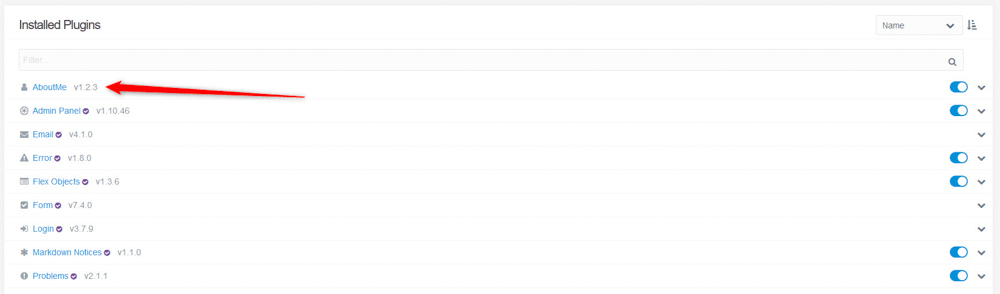
To access a given plugin’s settings, simply click on its name:

Grav Installed Plugins Name


This will open the plugin’s settings page. From here you can change any settings, based on your personal preferences:

Grav Installed Plugins Settings Page


Now you know how to install a Plugin with Grav.


How to Install a Plugin with Grav – Conclusion

Installing a plugin with Grav is simple and only takes a few clicks here and there. Now that you know how to install plugins, you can add the Grav functionalities that are essential for your website.

Was this post helpful?

i

Relevant tags:

Connect

Latest posts:

How to Install MediaWiki

You can quickly install MediaWiki on any of the AwardSpace web hosting plans. This includes our free web hosting, shared hosting, as well as advanced services such as semi-dedicated hosting and VPS hosting. You can install MediaWiki in a matter of minutes, whichever...

How to Install an Elgg Theme

After you have installed Elgg core and logged in to the admin dashboard, you can search for themes that can help you customize your new website. Elgg themes are a set of files that help you customize the appearance of your website. Via themes, you can modify website...

How to Log in to Elgg

After you install Elgg, it is time to log in to the CMS, so you can start working on your Elgg website. To log in, you should load the Elgg login page and type in your credentials to access the platform’s admin dashboard. In the following paragraphs, we share how to...

How to Install Elgg

You can quickly install Elgg with any of the AwardSpace web hosting plans. You can use our free web hosting, shared web hosting, or advanced hosting plans such as semi-dedicated hosting and VPS hosting.   How to Install Elgg To install Elgg, you should first sign...

How to Change the PHP Timezone

Setting the correct timezone in PHP is crucial for ensuring that date and time functions in your scripts operate accurately. AwardSpace offers a range of hosting plans that provide easy management of PHP settings, including timezone configuration. This article will...


Create a website for free!


Free forever

Our Support Team is Here to Help


If you need any questions answered, don't hesitate and contact us. Click the button below and follow the instructions. You can expect an answer within an hour.


Contact AwardSpace


iNewest knowledge base articles

How to Install MediaWiki

You can quickly install MediaWiki on any of the AwardSpace web hosting plans. This includes our free web hosting, shared hosting, as well as advanced services such as semi-dedicated hosting and VPS hosting. You can install MediaWiki in a matter of minutes, whichever...

How to Install an Elgg Theme

After you have installed Elgg core and logged in to the admin dashboard, you can search for themes that can help you customize your new website. Elgg themes are a set of files that help you customize the appearance of your website. Via themes, you can modify website...

How to Log in to Elgg

After you install Elgg, it is time to log in to the CMS, so you can start working on your Elgg website. To log in, you should load the Elgg login page and type in your credentials to access the platform’s admin dashboard. In the following paragraphs, we share how to...

How to Install Elgg

You can quickly install Elgg with any of the AwardSpace web hosting plans. You can use our free web hosting, shared web hosting, or advanced hosting plans such as semi-dedicated hosting and VPS hosting.   How to Install Elgg To install Elgg, you should first sign...

How to Change the PHP Timezone

Setting the correct timezone in PHP is crucial for ensuring that date and time functions in your scripts operate accurately. AwardSpace offers a range of hosting plans that provide easy management of PHP settings, including timezone configuration. This article will...

How to Disable PHP Error Messages

When running a PHP-based website in a production environment, it's crucial to disable PHP error messages to prevent sensitive information from being exposed to users. AwardSpace offers a variety of hosting plans tailored to different needs, all of which support...

Even more web tutorials

Check out our web hosting knowledge base and the WordPress tutorials to learn more, and be better prepared for your website creation and maintenance journey.