How to Install a Grav Theme

Home » Knowledge Base » Design Tools » Grav » How to Install a Grav Theme

When you start working on your website, you are most likely to stumble upon the Grav themes.

A standard feature of Grav CMS is the vast theme library that allows you to fully customize the look and feel of your website.

A Grav theme is a collection of templates, styles, and other files that determine the visual layout of your website. Themes control how your website looks and feels and include a wide range of options to arrange your website content, colors, fonts, media, and overall design.

In this article, we share how to install and activate a Grav theme, so you change the design of your site just the way you want.


How to Install a Grav Theme

To install a Grav theme, you should first log in to your admin panel.

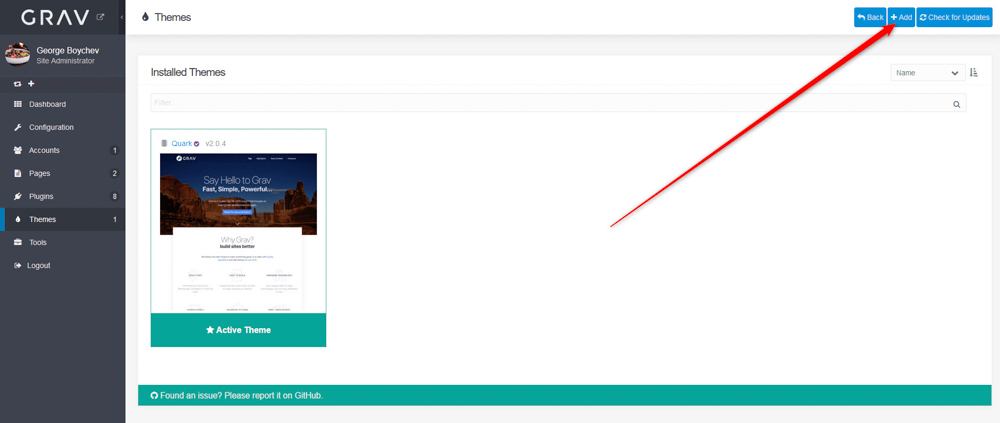
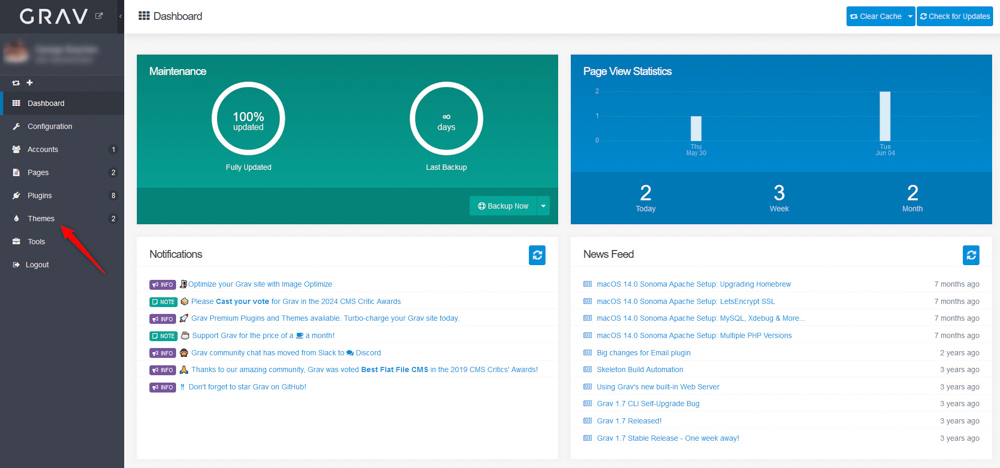
After that, navigate to Themes from the sidebar:

Install a Grav theme via the Admin Dasboard


Then, click on the blue +Add button at the top right corner of the new page that should open:

Install a new Grav Theme


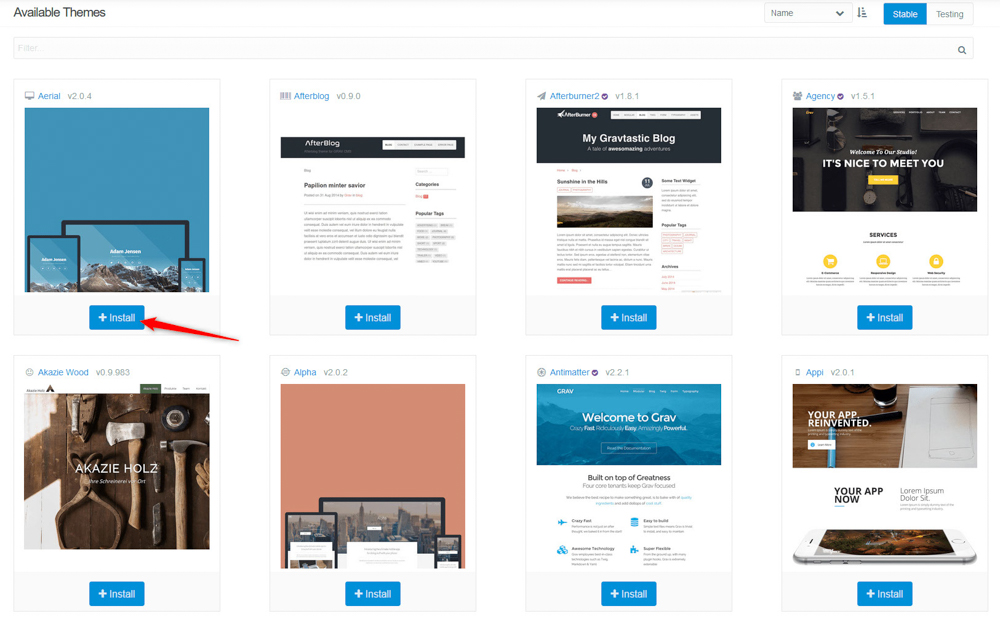
A new page with a list of themes should open. It looks like this:

Grav Themes Library


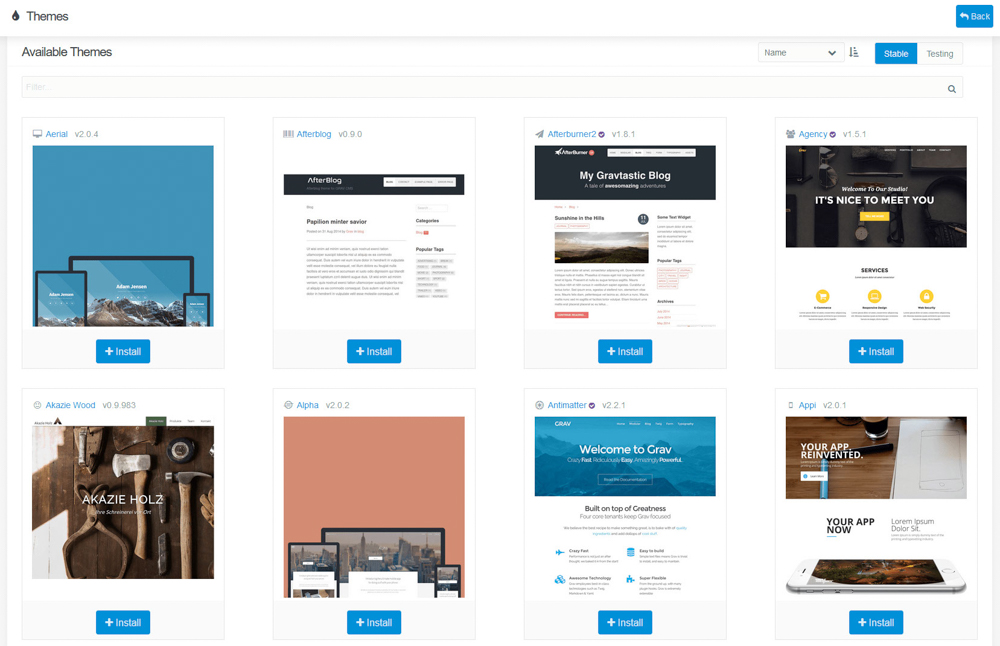
From here, you can browse all the available Grav themes and select the one that best fits your layout requirements.

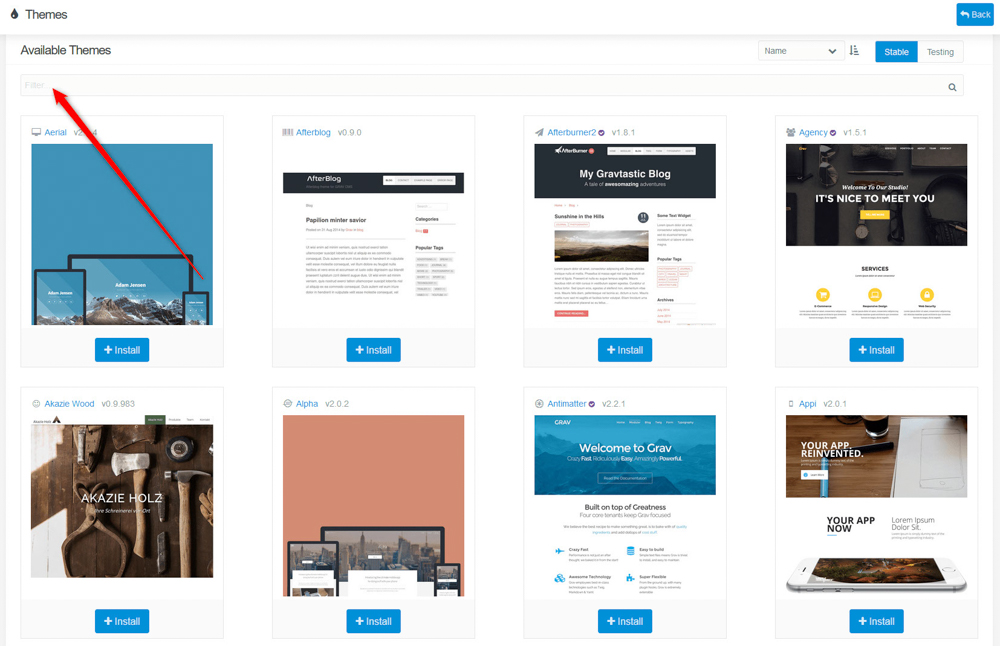
You can use the Filter option to find a specific theme or a collection of themes that can fit your requirements for a specific type of website you wish to create:

Grav Themes Library Filter Option


To know more about a certain theme, click on its featured image:

Grav Theme Featured Image


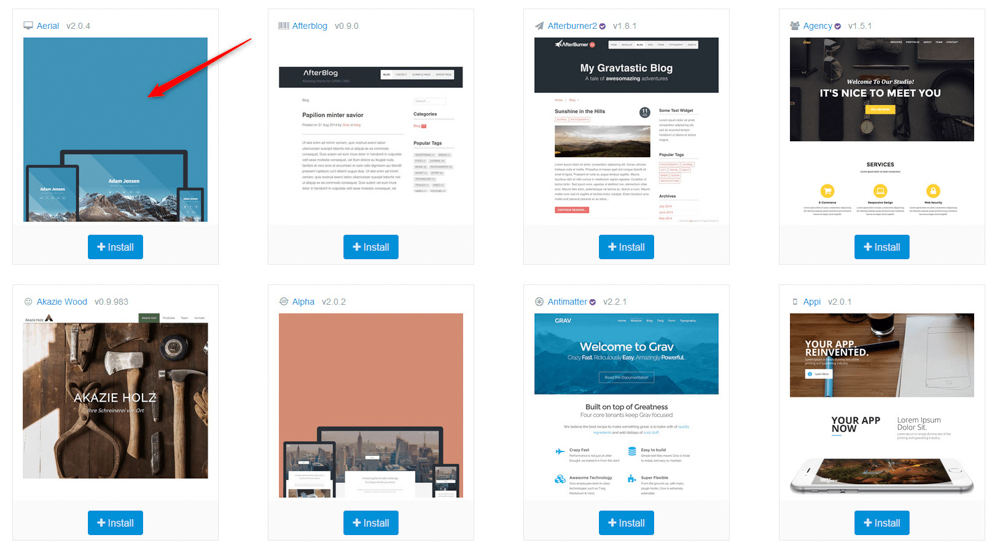
Clicking the featured image would open a new page with detailed information about the selected theme:

Grav Theme Details


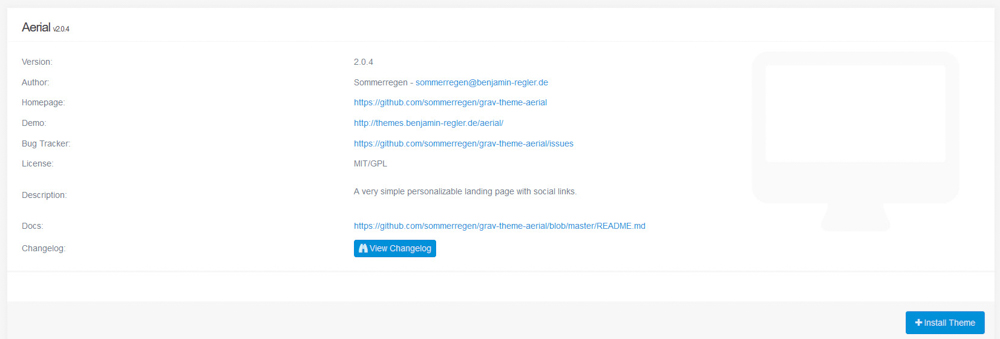
When you find a suitable theme, you should install it. To do so, click on the +Install button right below the featured image of the given Grav theme:

Grav Theme Install Button


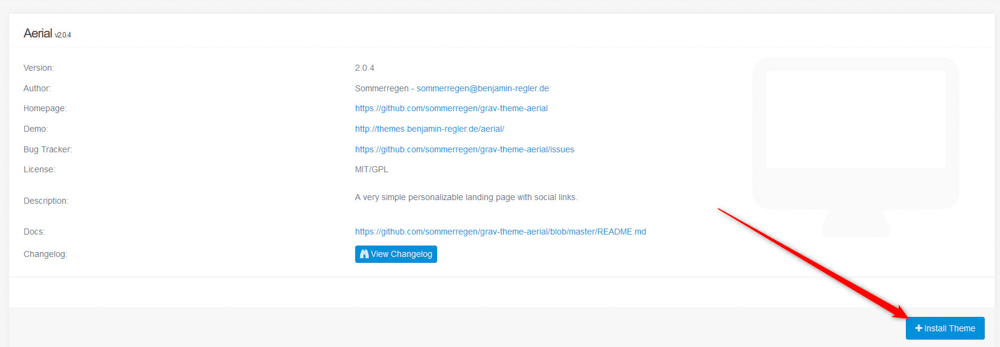
If you have opened the information page about a given theme, you can click on the blue +Install Theme button at the bottom right corner of the page:

Grav Theme Information Page


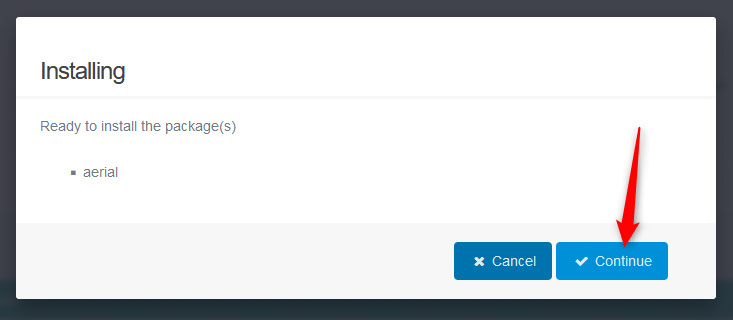
Either way, you choose, a message box will appear. Once you see it, click on the blue Continue button:

Grav Theme Details Page Install Button


After the installation process is finished, Grav will show a confirmation message such as this one:

Grav Theme Confirmation Message


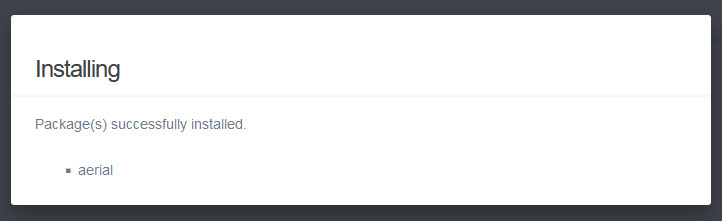
Now your theme is installed, and you only need to activate it.


How to Activate a Grav Theme

To activate the Grav theme you installed, from the Grav admin dashboard click again on Themes from the sidebar:

Grav Themes Menu


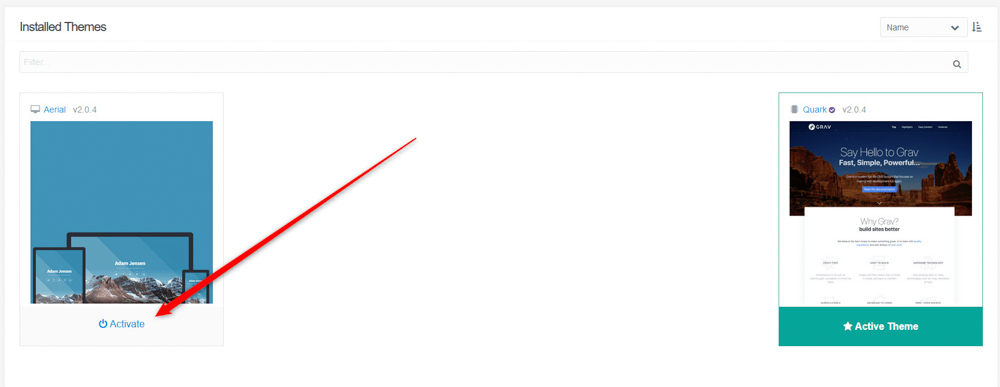
A new page with a list of your installed themes will appear. While on this page, click on the Activate button right below the newly installed Grav theme:

Activate an Installed Grav Theme


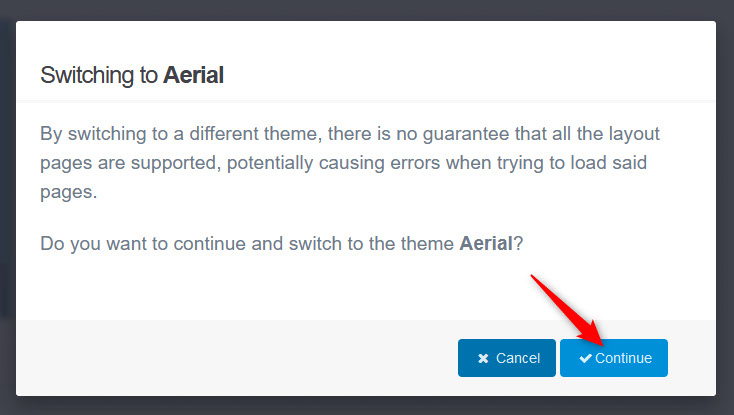
Once you click on Activate, a popup box should appear. Click on Continue:

Grav Activation Theme Message


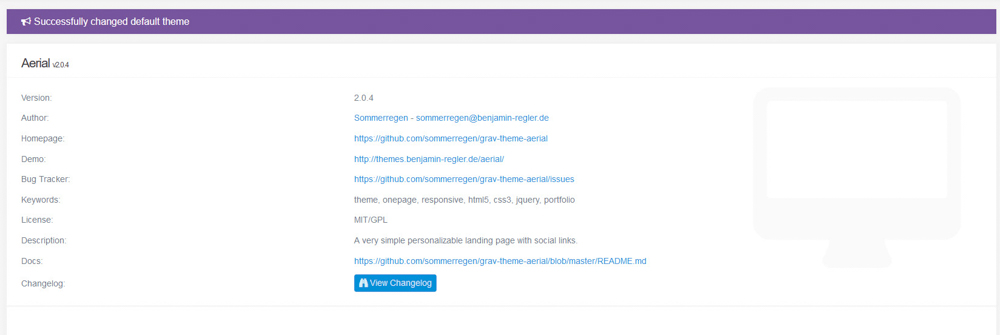
After you click on Continue, Grav will activate the theme and once it does, a page with a confirmation message and details about the activated theme should appear:

Grav Active Theme Details


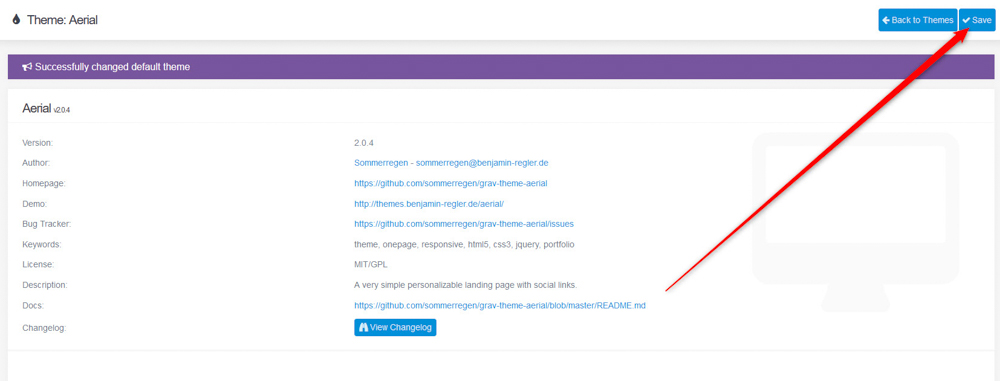
After you see this page, click on the blue Save button, located at the top right corner of the screen:

Grav Active Theme Save Changes


Now you have successfully installed and activated a new Grav theme.


Conclusion

Installing and activating a Grav theme is a simple process that can be done via the Grav admin dashboard. With your new theme installed, you can customize your website and create a unique look and feel for each of your web pages.


Was this post helpful?

i

Relevant tags:

Connect

Latest posts:

How to Remove a Product in OpenCart

After installing OpenCart and logging in to the dashboard, you can start adding and removing products immediately. We have already covered how to add products in OpenCart, and in this article, we share simple steps to delete products from your store with only a few...

How to Add Products in OpenCart

The most important element in your OpenCart project is the products you will offer your site visitors. In the following paragraphs, we share how to add products to your OpenCart website.   How to Create Products in Opencart The process of adding new products in...

How to Log in to OpenCart

After you install OpenCart, you can log in to the platform and start working on your project right away. To log in, you should open the OpenCart login page and enter the credentials you chose when installing the CMS. This will open the platform’s admin panel. In the...

How to Install OpenCart

You can install OpenCart on every AwardSpace web hosting plan, including our free web hosting, shared hosting, and advanced AwardSpace services such as Semi-Dedicated Hosting and VPS hosting. Keep in mind that all of the AwardSpace hosting services are tailored to run...

How to Change My Last Name in Moodle

If you are asking yourself "How to change my last name in Moodle", then you are at the right place. This guide will walk you through the steps for changing your last name in Moodle while addressing common concerns like ratings and discussions.   How to Change My...


Create a website for free!


Free forever

Our Support Team is Here to Help


If you need any questions answered, don't hesitate and contact us. Click the button below and follow the instructions. You can expect an answer within an hour.


Contact AwardSpace


iNewest knowledge base articles

How to Remove a Product in OpenCart

After installing OpenCart and logging in to the dashboard, you can start adding and removing products immediately. We have already covered how to add products in OpenCart, and in this article, we share simple steps to delete products from your store with only a few...

How to Add Products in OpenCart

The most important element in your OpenCart project is the products you will offer your site visitors. In the following paragraphs, we share how to add products to your OpenCart website.   How to Create Products in Opencart The process of adding new products in...

How to Log in to OpenCart

After you install OpenCart, you can log in to the platform and start working on your project right away. To log in, you should open the OpenCart login page and enter the credentials you chose when installing the CMS. This will open the platform’s admin panel. In the...

How to Install OpenCart

You can install OpenCart on every AwardSpace web hosting plan, including our free web hosting, shared hosting, and advanced AwardSpace services such as Semi-Dedicated Hosting and VPS hosting. Keep in mind that all of the AwardSpace hosting services are tailored to run...

How to Change My Last Name in Moodle

If you are asking yourself "How to change my last name in Moodle", then you are at the right place. This guide will walk you through the steps for changing your last name in Moodle while addressing common concerns like ratings and discussions.   How to Change My...

How to Change Your Name in Moodle

Changing your name in Moodle is a very simple task and requires only a few minutes of your time.   How to Change My Name in Moodle The process is comprised of a few easy-to-follow steps:   Step 1: Log in to Moodle After installing the CMS, you should log in...

Even more web tutorials

Check out our web hosting knowledge base and the WordPress tutorials to learn more, and be better prepared for your website creation and maintenance journey.