Drupal modules are sets of code that extend the functionality and features of a Drupal website. Each module in Drupal can add new features or alter the existing functionality of the core system.
In the following paragraphs, you will read how to install a module on your Drupal website.
How to Install a Drupal Module
Several easy-to-follow steps will help you install a Drupal module on your website.
1. Download the Drupal Module on Your Device
You should first log in to your Drupal admin dashboard to install a Drupal module.
Once you do, head to Drupal.org and navigate to Download->Modules via the main menu:
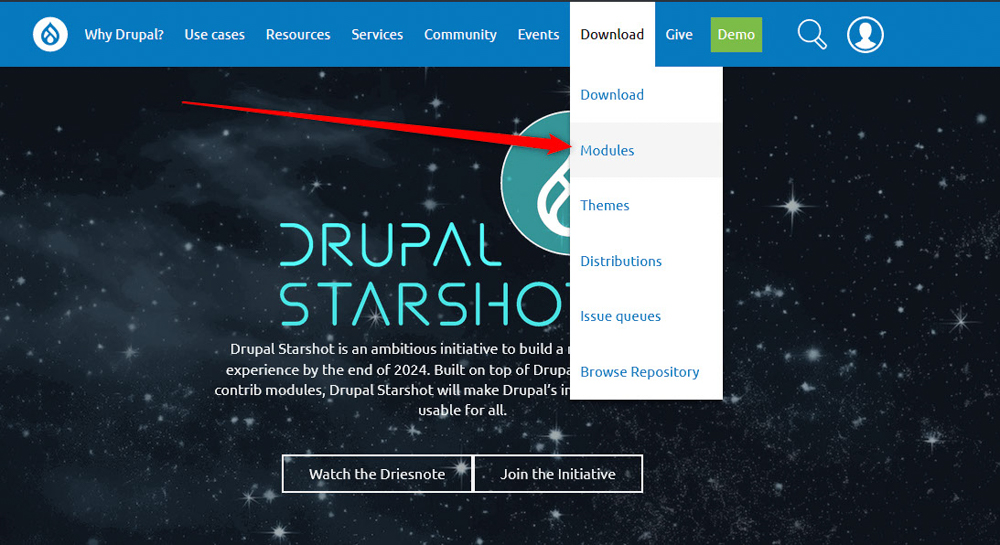
Then, browse the rich library of Drupal modules and find the one that fits your needs.
For this demonstration, we will be using Webform.
Once you find a suitable module, click on its name on the Drupal modules page:

Once you click on the module’s name, a new page with information about the module will open. Scroll down to the bottom of this page and select a release that suits your version of Drupal:
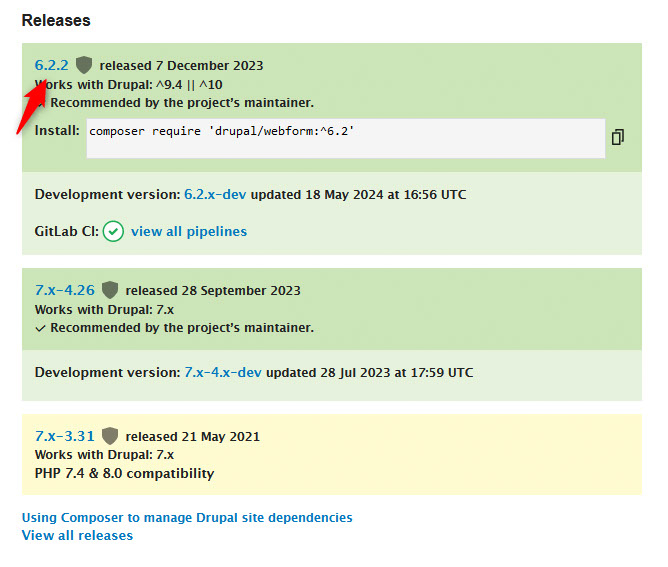
A new page will load after you click on the suitable release version. From there, you should download the module to your computer device. To do so, simply click on the Download tar.gz button and the download process will begin automatically:
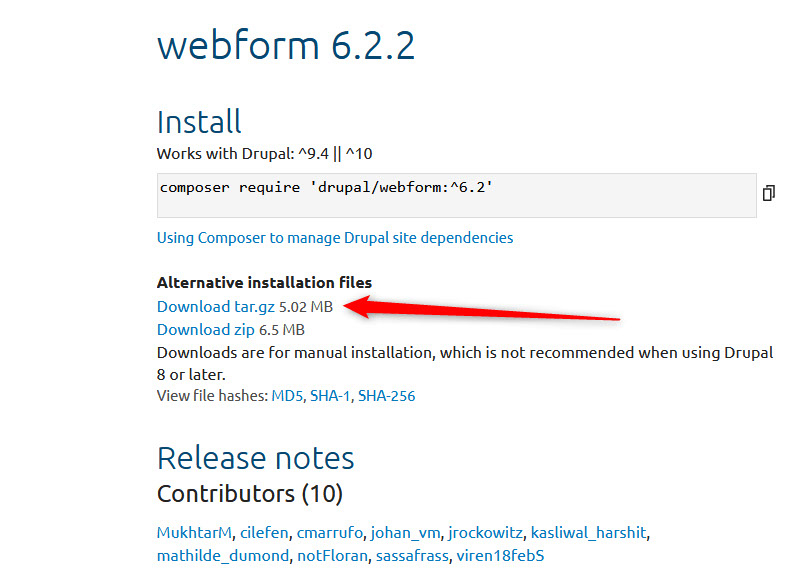
2. Upload the Drupal Module to Your Website
After you download the module on your computer device, log in to Drupal.
Once you do, head to Extend via the main menu:

Then, click on the blue + Add new module button:

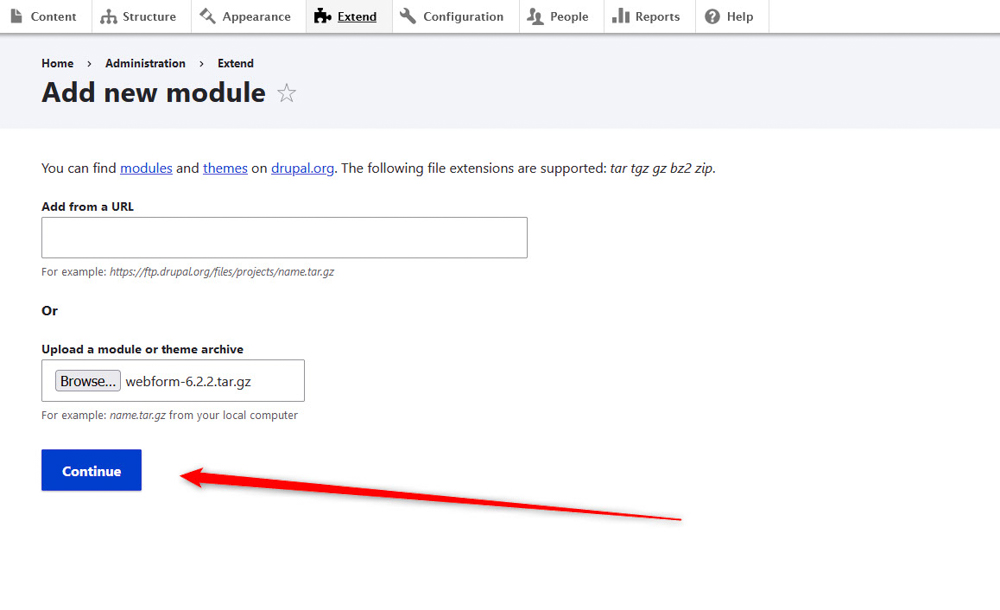
After that, click on Browse…, so you can find the downloaded module on your device and upload it to Drupal:
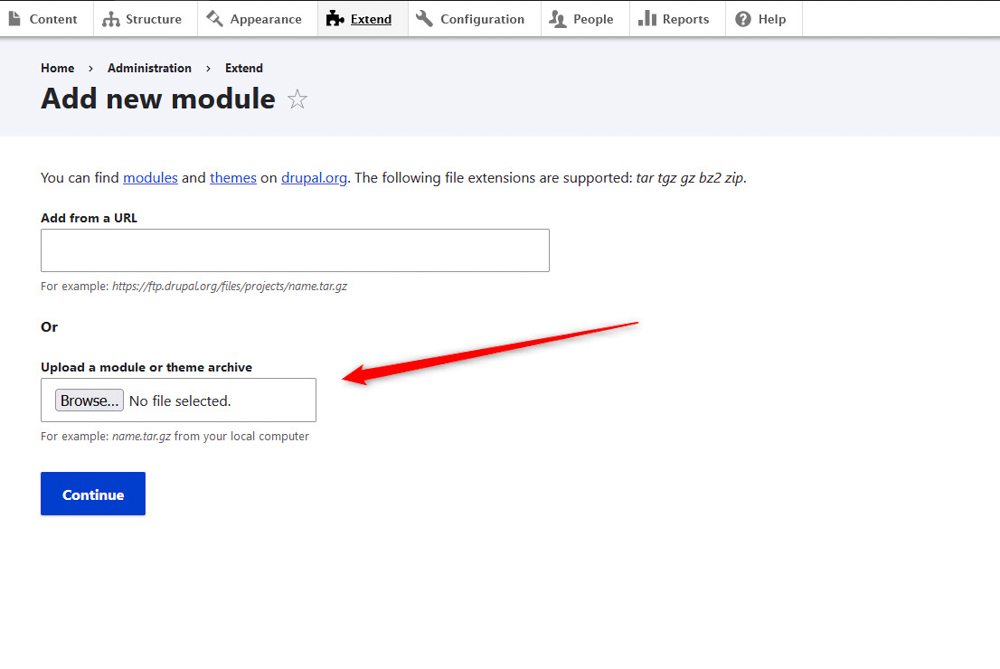
Once you select the module from your computer device, click on the blue Continue button at the bottom of the page. This will prompt the upload process:
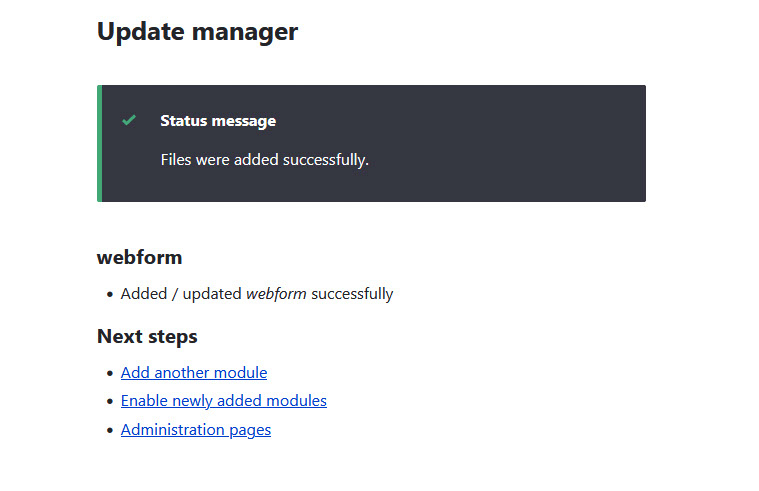
Once the upload process is finished, Drupal will display a confirmation message:
3. Install the Drupal Module
Now that you have uploaded a Drupal module, head back to the admin panel and head to Extend:

Find the module in the list, and check the boxes next to its components:
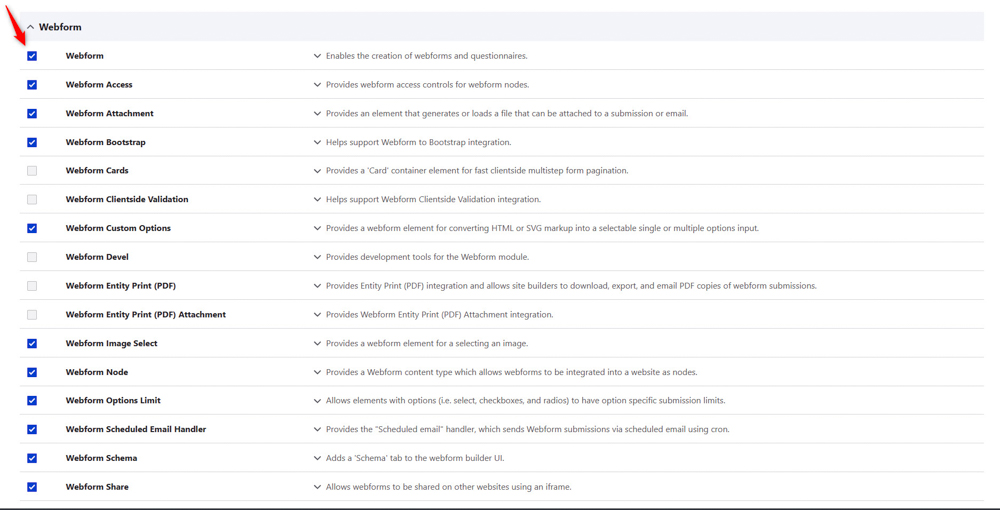
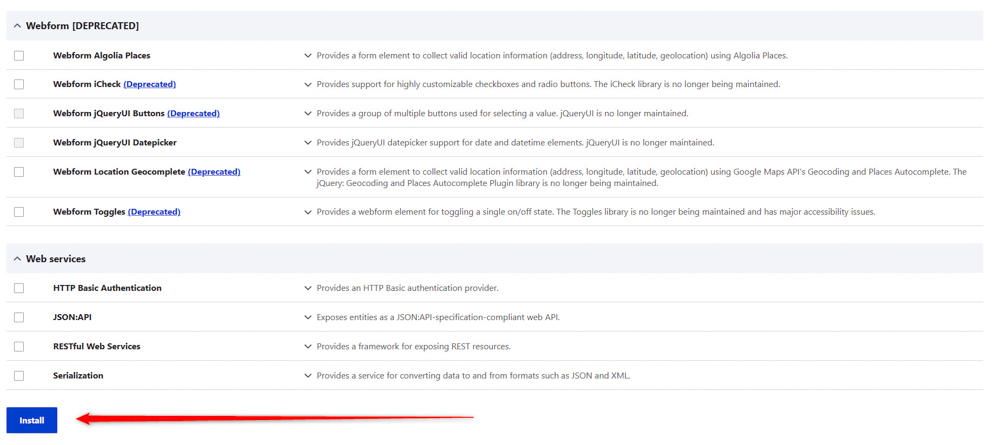
Once you check all the necessary boxes, scroll down to the bottom of the page and click on the blue Install button. This will prompt Drupal to install the module you just selected:
Once the installation process is finished, Drupal will display a confirmation message:

4. Post-Installation Steps
After installing and enabling the module, you might need to configure it. This typically involves:
Configuration: Navigate to the configuration page of the module, which can usually be found under the “Configuration” menu in the admin toolbar.
Follow the instructions provided by the module to set it up properly.
Permissions: Set the appropriate permissions for the module by going to “People” -> “Permissions”. Assign roles and permissions as necessary.
By following these methods, you can successfully install and enable modules in Drupal, extending your site’s functionality.
Conclusion
Drupal modules are a fundamental aspect of the CMS, providing the flexibility and power needed to create complex and feature-rich websites.
Installing modules is straightforward and won’t take you more than a few minutes.
Read also:
