
While you work on your website, you can stumble upon various issues and error messages such as 414 Error Request-URI Too Long.
Although rarely, 414 Error might appear on your web pages. If it does, you should fix it as soon as possible, as it would ruin the browsing experience for your website visitors and retain your good SEO score.
In the following sections, you will read about what is 414 Error Request-URI Too Long, what causes it, and what you can do to fix it.
What is 414 Error
414 Error is an HTTP status code indicating that the number of characters in the URI exceeds the limit set by the server. A URI, or Uniform Resource Identifier, can refer to the requested resource’s name, location, and even both. There is no universal maximum limit to the length of URIs, but oftentimes limits are set on web browsers.
Other 4xx error messages include:
- Error 400 Bad Request
- Error 401 Unauthorized
- Error 402 Payment Required
- Error 403 Forbidden
- Error 405 Method Not Allowed
- Error 406 Not Acceptable
- Error 408 Request Timeout
- Error 409 Conflict
There are various causes for the prompt of the error message. Such include:
- A link with UTM (Urchin Tracking Modue) parameters. If you are using UTMs to track site events, and these links are lengthy, then they might prompt a 414 Error message.
- In case of a redirect loop. This might happen with a misconfigured redirection setup that creates too many redirection requests.
- WordPress plugins can cause such issues, especially some security-focused ones.
- 414 Error can be prompted by a POST request that converts into a GET request with too lengthy query details.
- Cyber attacks on your website.
How to Fix 414 Error
Depending on the cause of the 414 Error, there are various methods you can apply to get the issue fixed.
Method 1: Increase Server URI Limits
You can manually adjust the URI limits on the server that hosts your website. Depending on what type of server you are using, there are two approaches:
Apache servers: open the server configuration file and search for LimitRequestLine snippet. Once you find it, use at least 128000. If there is no such line, add one at the bottom of the file.
Nginx servers: Open the server configuration file and search for large_client_header_buffer setting. Once you find it, change the size figure to a larger of the current number value.
If you are using AwardSpace hosting for your website, here’s what to do:
The first thing to do is to log in to the hosting dashboard and head to Hosting Tools->File Manager:
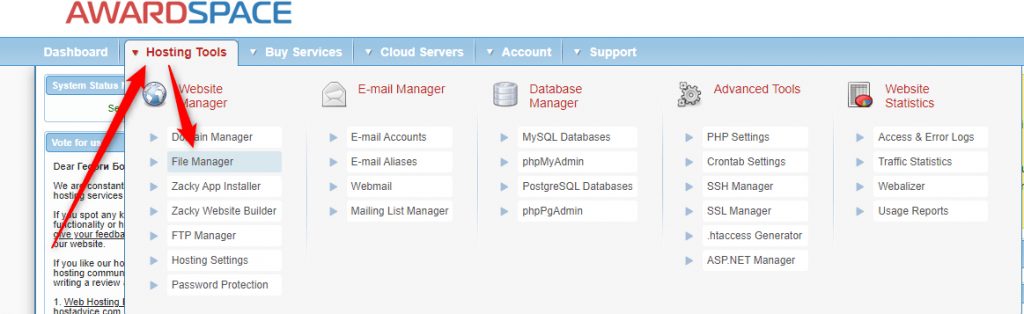
Clicking on File Manager will open a list with all your hosted websites:
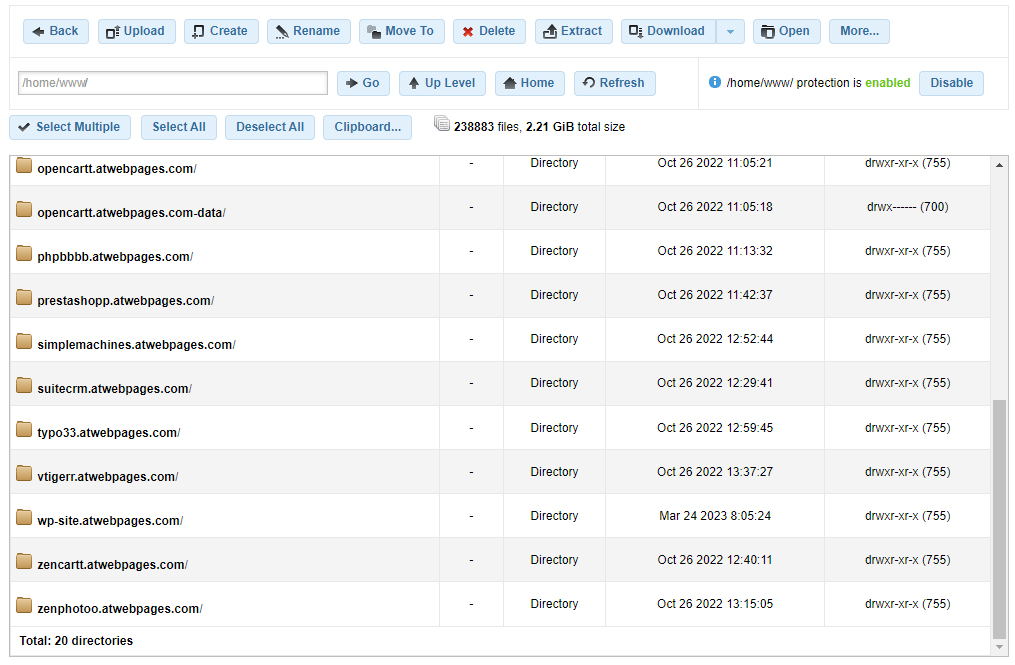
From this list, locate the directory of the problematic website and double-click on the folder icon:
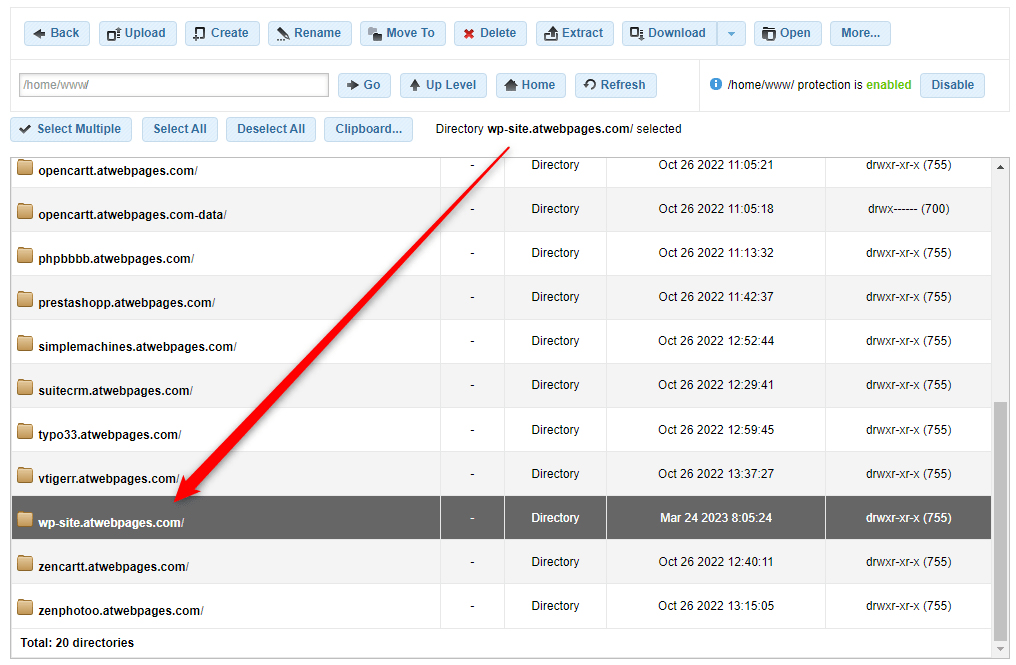
Once you double-click on the folder icon, you should be able to browse this website’s core files:
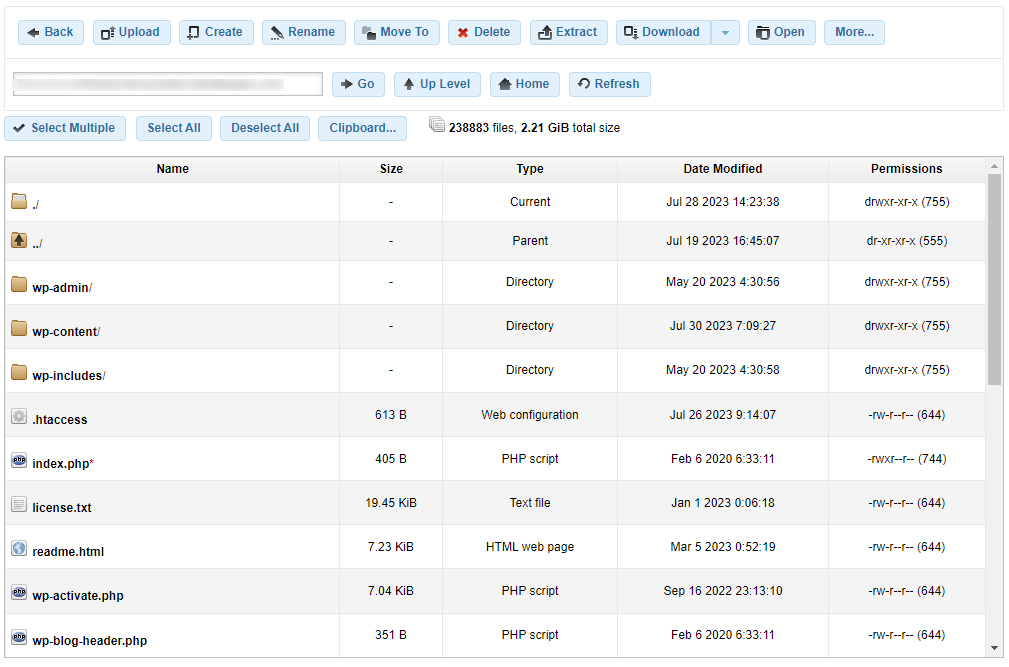
In this directory, locate the .htaccess file:
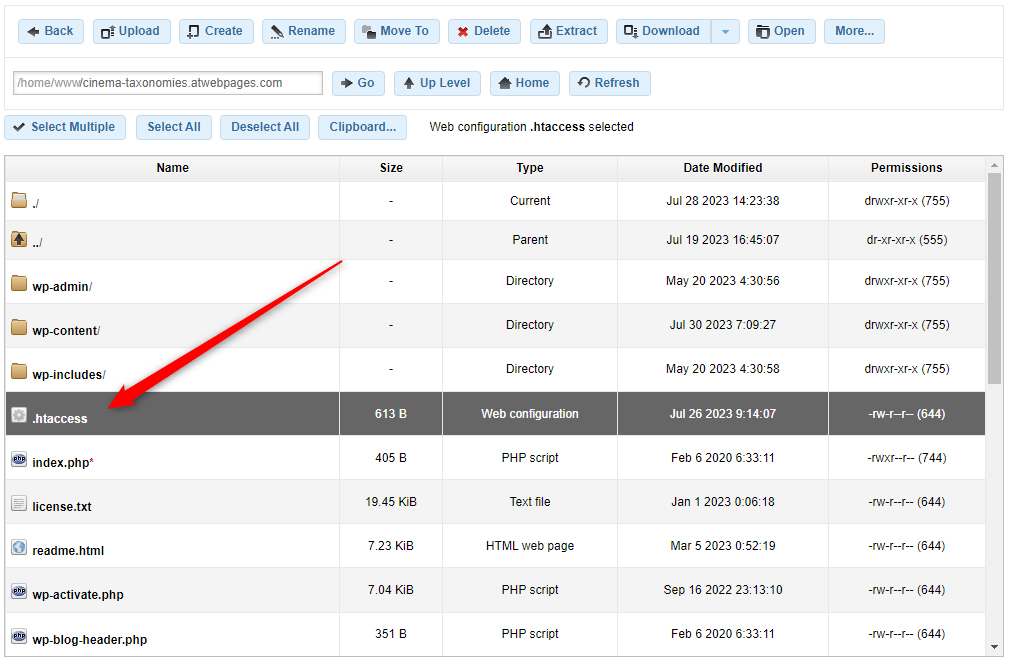
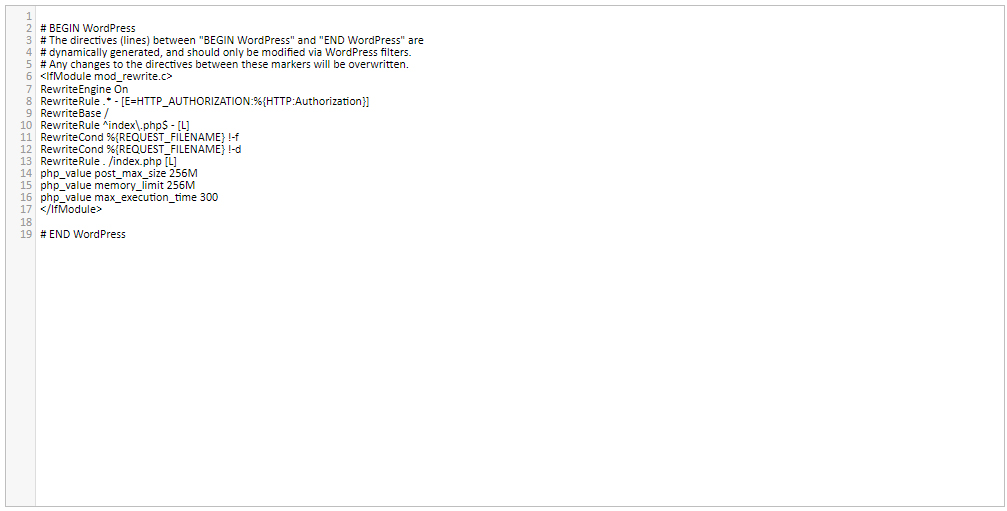
Once you locate this file, open it. It should look like this:
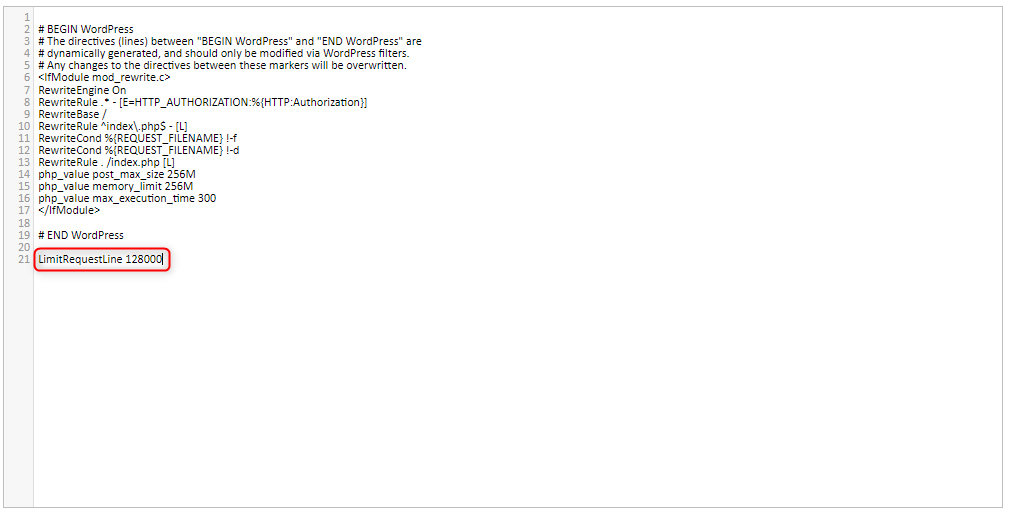
Now add this line at the bottom of the document:
LimitRequestLine 128000
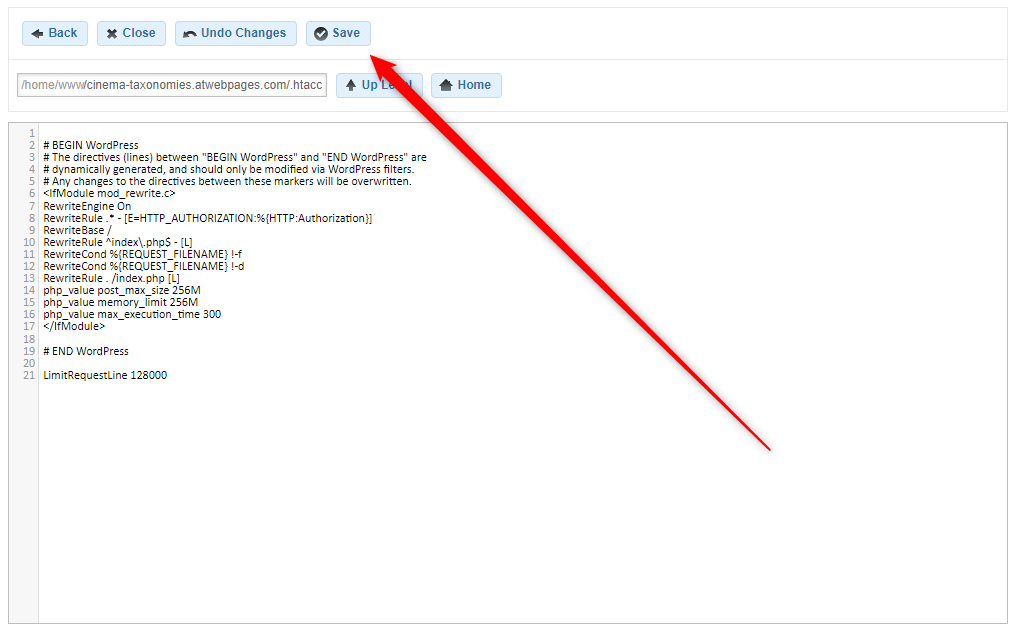
Once you add the snippet, click on the blue Save button above the document text:
Now check whether you can open the problematic resource.
If you can – then you have managed to fix 414 Error.
If the error message is still present, then the issue lies elsewhere. Proceed with the next method.
Method 2: Check for Improper Redirection Plugin/Extension/Add-On setup
If you are using WordPress or other similar CMS platform to craft your website and use a redirection plugin/extension/add-on, the 414 Error message can be prompted by improper redirection setup.
It is possible that the setup includes URL 1 which points to URL 2 and URL 2 points back to URL 1. Or, for example, the domain has been redirected too many times. In such cases, 414 Error can be prompted.
To see if this is the case, disable the redirection plugin/extension/add-on and see whether you can access the problematic web page.
If you can and you no longer see Error 414 message on your website, then the issue lies within the setup of the redirection plugin.
To resolve the issue, make a thorough check of the entire redirection setup and see for potential issues.
Also, you can clear the web browser cache and flush the DNS cache as they can cause various technical issues and therefore prompt error messages such as 414 Request-URI Too Long.
Method 3: Use POST instead of GET method
If the request made towards the server is in large volume, then consider using POST instead of a GET method. POST method sends information via the request body instead of the URL and helps to reduce the length of the given URL.
Conclusion
414 Error is a very specific status code, indicating that the URI is too long and the requested server can’t process the information. The issue might be derived from set server limits, redirection loops, improper HTTP methods, and even issues with cache files. There are a total of 3 methods to use when fixing 414 Error:
- Increase server URI limits.
- Check for redirection loops.
- Change the HTTP method from GET to POST.
