
Sometimes, when browsing the web, you can stumble upon various status code messages, such as 400 error code, blocking you from opening various web pages.
Such messages showcase that there is an issue in the communication between your Internet browser (the so-called client) and the server that is requested to display the website back to the client. Although annoying, such error messages are important, as they inform you about various technical issues that you can fix in order to access websites freely.
One such error message is 400 error code Bad Request. If you have stumbled upon such a message while working on your website, or anywhere across the web, it informs you about precise issues that you should fix before accessing the requested online resource. In the following paragraphs, you will read what 400 Error Code is, what prompts it, and the various methods you can apply to fix it. Also, check out how to fix other error messages such as:
- Error 401 Unauthorized
- Error 402 Payment Required
- Error 403 Forbidden
- Error 405 Method Not Allowed
- Error 406 Not Acceptable
- Error 408 Request Timeout
- Error 409 Conflict
What is 400 Error Code
400 Error Code, also known as Bad Request is one of the many HTTP status codes. 400 Error code message occurs in the event of an invalid client request to the server. More specifically, HTTP Error 400 appears when the server can’t understand and therefore can’t process the request coming from the client side. In such case, instead of returning the requested resource, the server displays the 400 Error bad request.
What causes 400 Error Code
When a request is sent from a client to a web server, this server deciphers this request and sends back information, according to the processed requirements. However, in this communication between a client and a server, issues can appear. In the context of a 400 Error Code, the server responsible for fetching the requested information can display an HTTP Error Bad Request message in several cases:
- Incorrectly typed URL – the typed-in URL might contain characters that the server can’t process, such as an extra % sign, or, for example, illegal characters such as { and }.
- Issues with browser cache and cookie files – sometimes the problem derives from the web browser’s cache files. Although convenient in many situations, the cache can also be a source of technical issues such as Error 400.
- Issues with Internet browser extensions – Browser extensions can prompt the display of an Error 400 Bad Request message.
- Issues with local DNS cache – like the browser cache and cookies, the DNS cache can prompt error messages, especially when these files are out of sync with the registered DNS information.
- Too large file size – a web server can prompt a 400 Error Code in the case a client is trying to upload a too large file.
- Server errors – although HTTP Error 400 is a client-side error, sometimes it can be prompted by issues on the server side. Such include server glitches and other general problems.
400 Error can be fixed with several methods listed below.
How To Fix 400 Error Code
Now that the issues that prompt 400 Error Code are outlined, you can start applying various methods, to fix the problem.
Method 1: Double-Check the URL Address
Since there might be invalid or illegal characters in the URL address, check whether you have mistyped it, or added some malformed syntax or illegal characters. Pay attention to special symbols such as %, [, ], {, and }. If you notice some of these within the URL, remove them and try to reach your requested destination one more time. If this method doesn’t fix the problem, proceed with the next suggested method.
Method 2: Clear Web Browser Cache
Although it is a very convenient way of making web browsing more convenient, sometimes too much and/or corrupted cache can cause issues, and can even prompt your Internet browser to display 400 Error Code. Should this be the case for the problem, delete cached files and try reloading the page again. How to Clear Browser Cache on Windows.
Method 3: Deactivate Web Browser Extensions
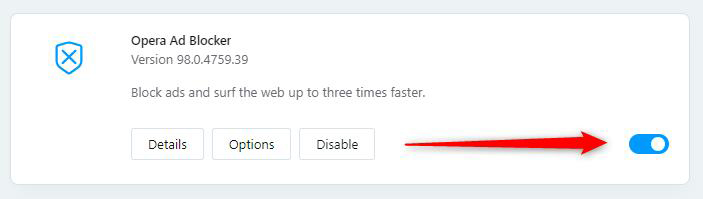
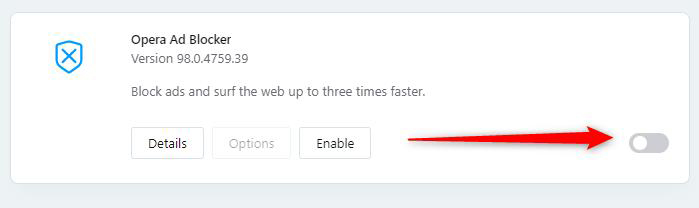
Sometimes, web browser extensions might interfere with the communication between the client and a server and prompt the display of HTTP Error 400 Code. To see whether these extensions are the cause of the issue, deactivate all of them and see whether you can open the requested Internet page. Should the page open, then error code 400 is caused by some of the installed extensions. How to deactivate the Internet browser extensions:
- Google Chrome
Open the browser and click on the three dots at the upper right corner of the window: 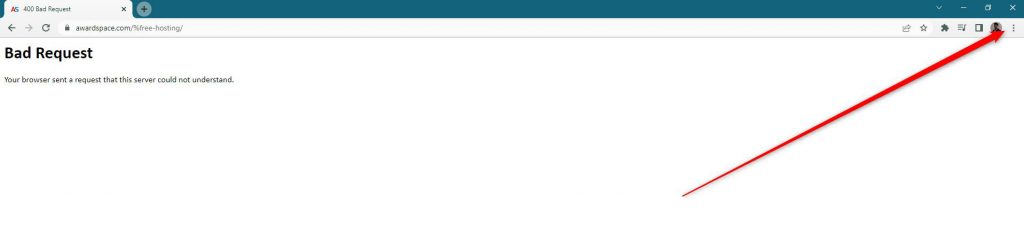
Once you click the three dots, a new menu with options will appear. Browse them and click on Settings: 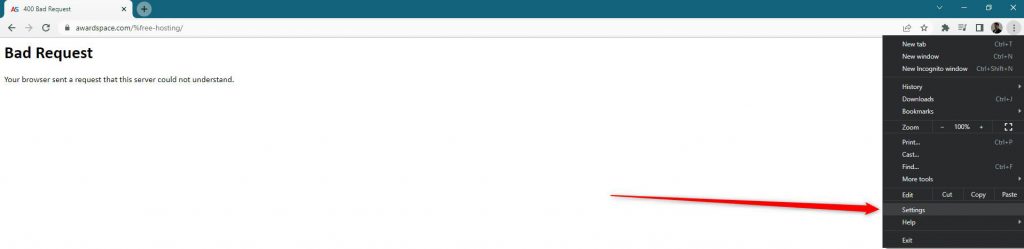
Clicking on Settings will prompt Google Chrome to open a new tab with options: 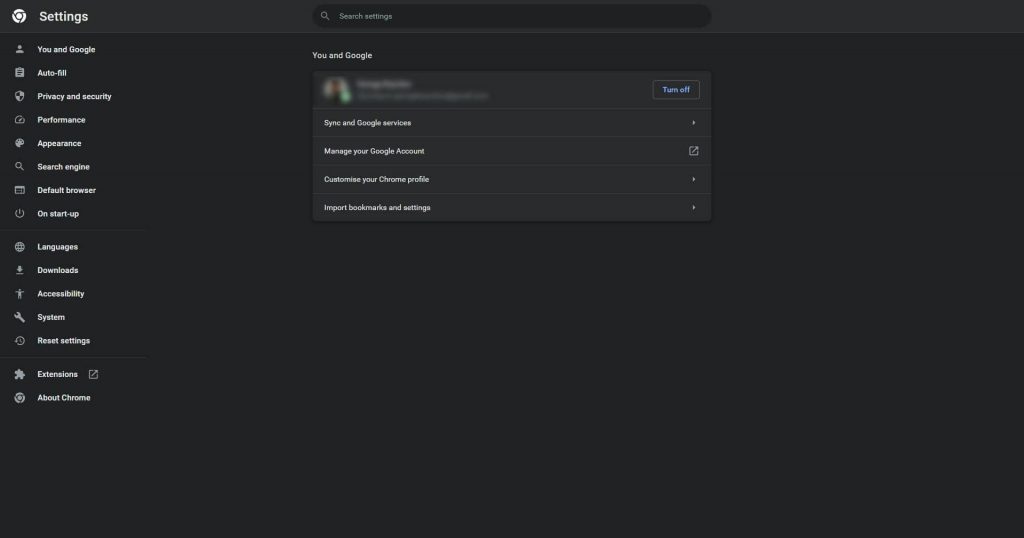
While this tab is opened, click on Extensions:
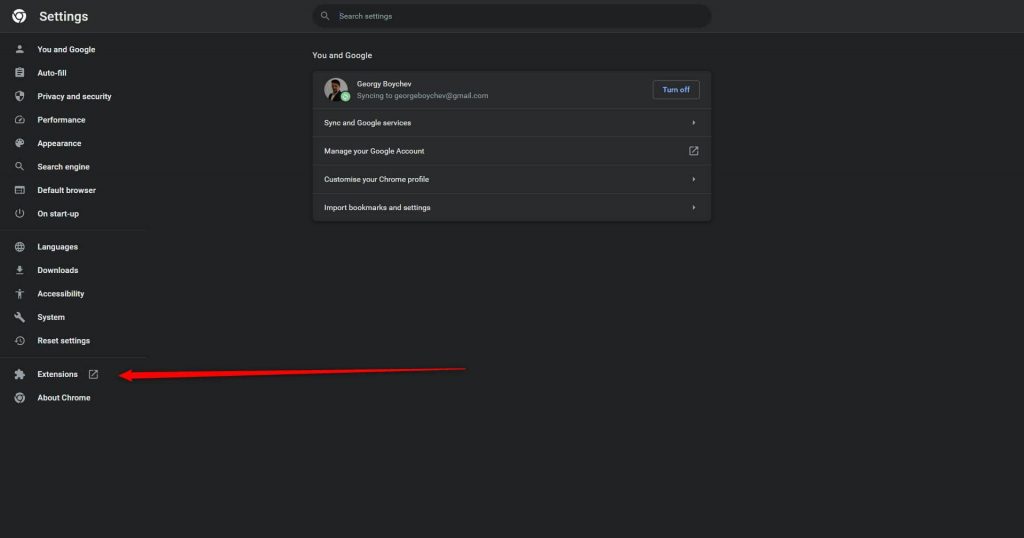
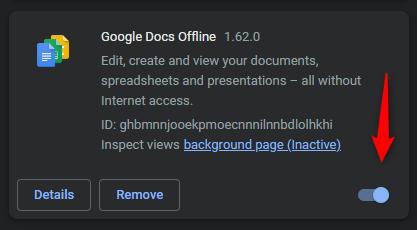
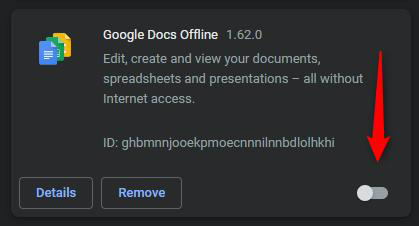
This will open a new tab with all your installed extensions. Now, deactivate all of them by clicking the blue switch at the corner of each extension box. Once this switch moves to the left and becomes gray, the extension is deactivated:
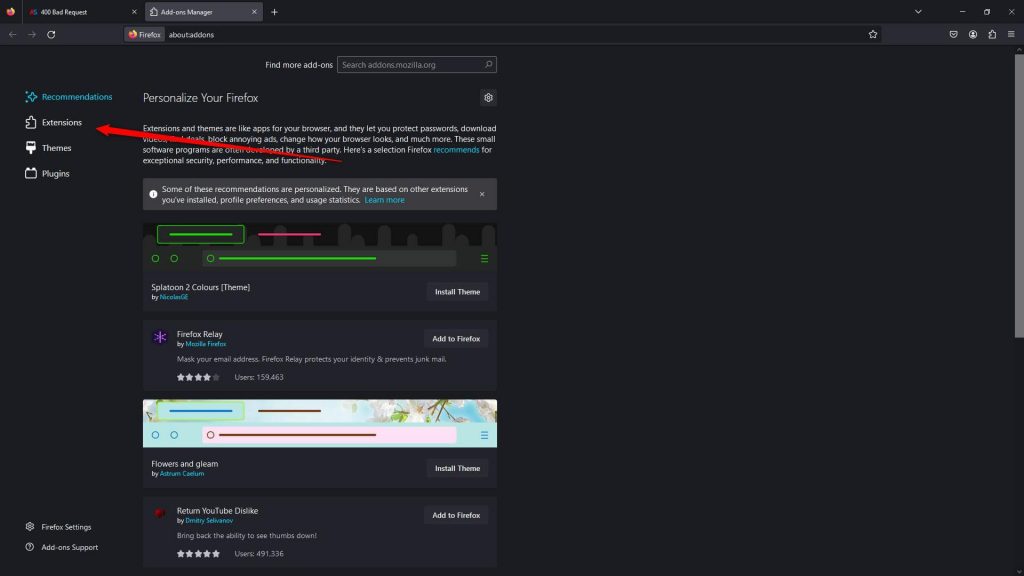
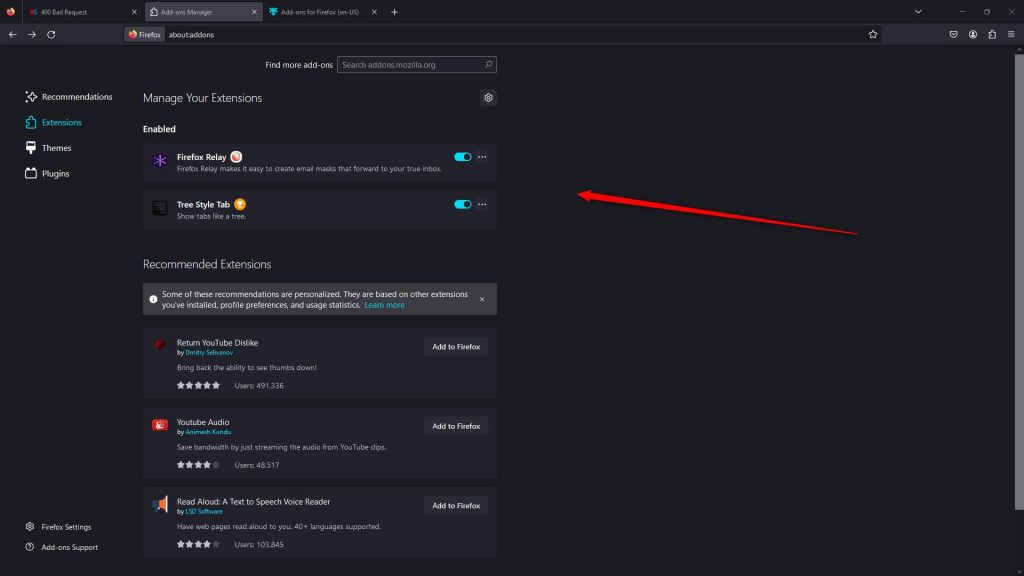
- Mozilla Firefox
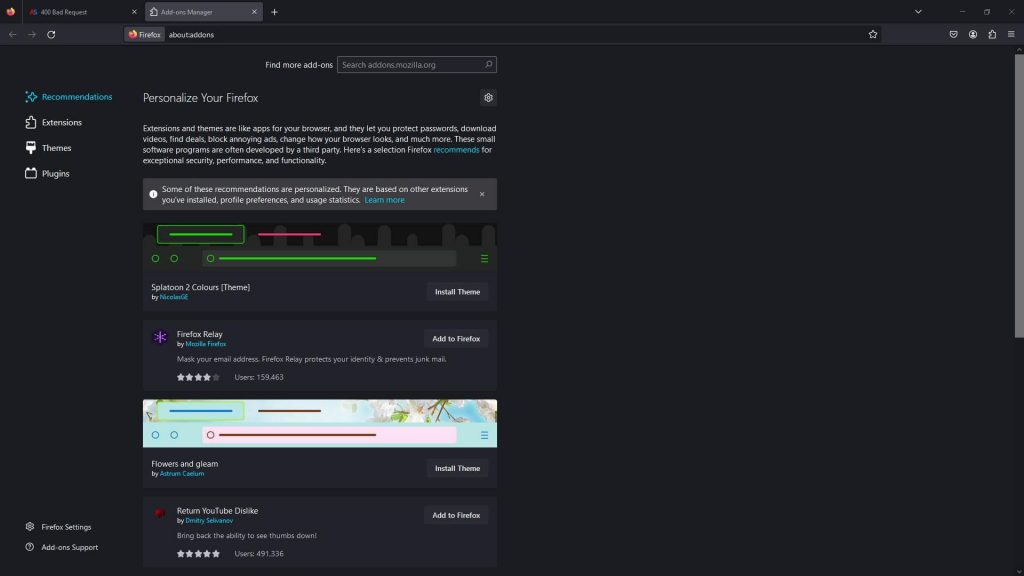
Open the browser and click on the puzzle piece icon at the top right corner of the window:


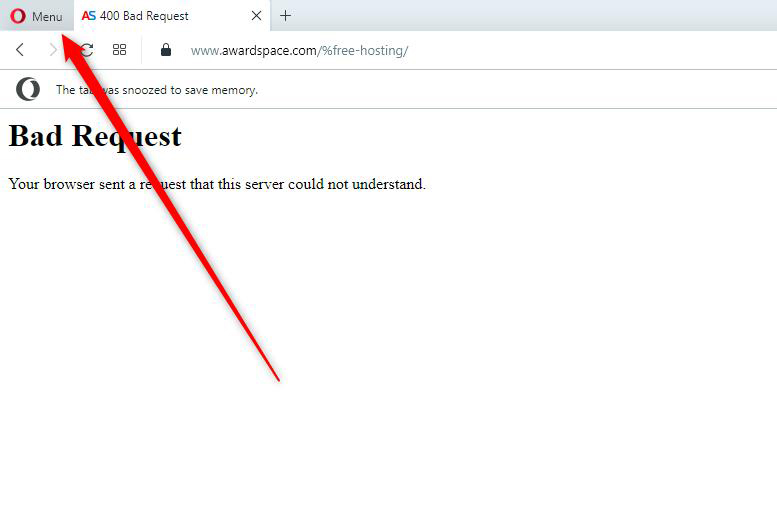
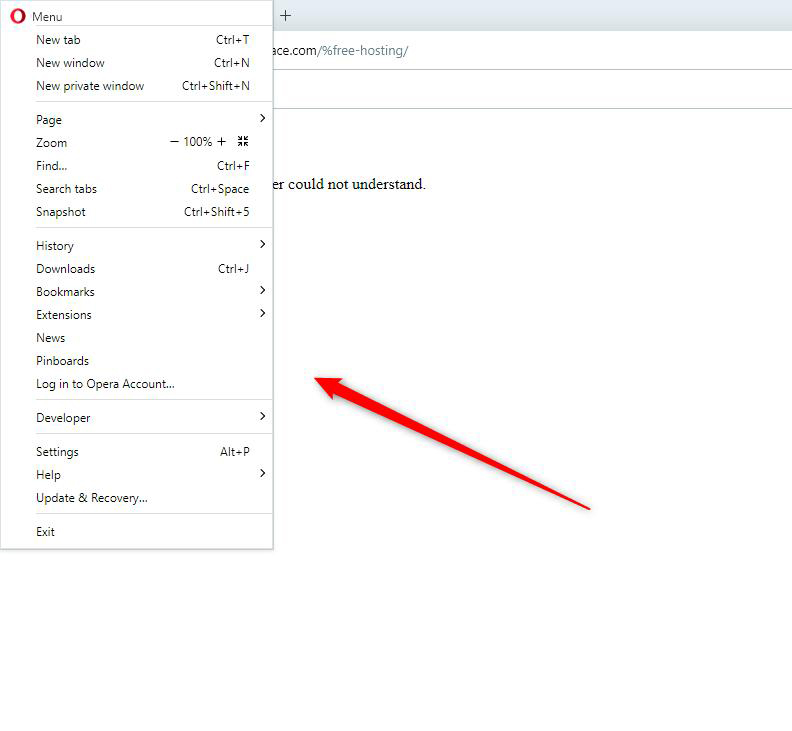
- Opera
While the browser is opened, click on the main menu located in the upper left corner of the window:


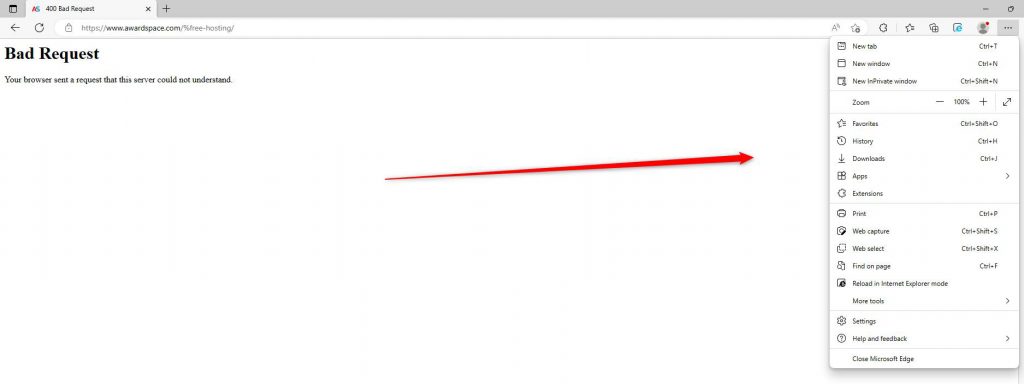
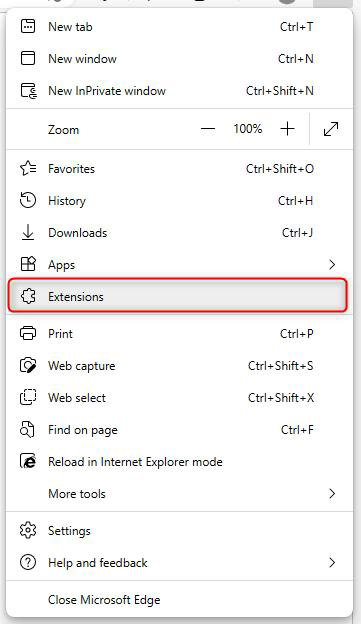
- Microsoft Edge
While Microsoft Edge is open, click on the three-dots menu at the top right of the window: 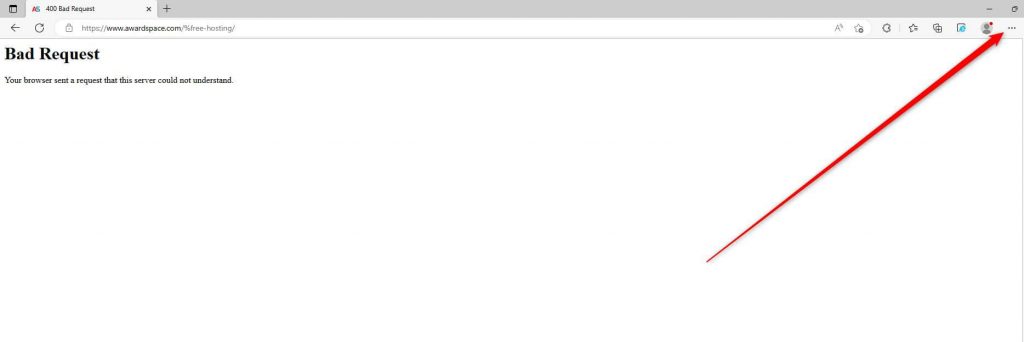
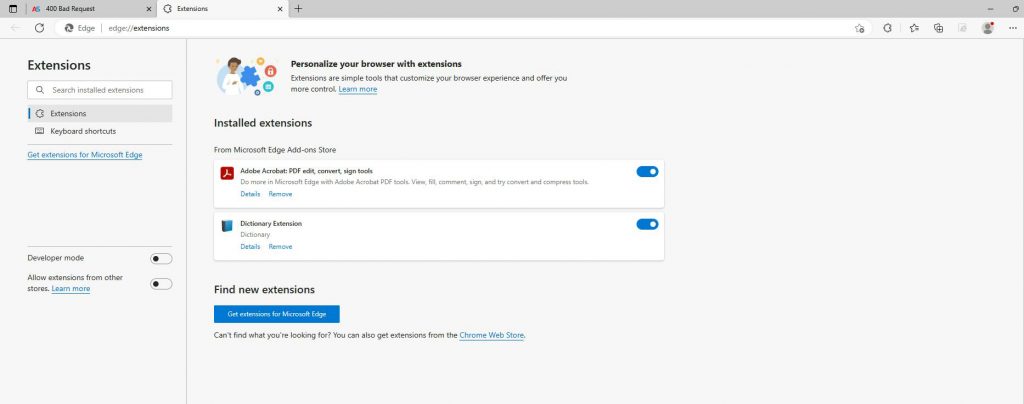


Use this method to deactivate all installed extensions. Once you deactivate all installed extensions on your preferred Internet browser, try to open the web page that displays 400 Error Code. If the page loads properly, then the root of the problem lies in one of the deactivated extensions. Follow the next steps to see which one exactly:
- Open your preferred web browser and activate only one extension.
- Once you activate one extension, try to open the web page that displays error code 400.
- If the page is accessible, then deactivate the active extension and activate another one.
- While a new extension is active, try to open the page – if it performs just fine, then the problem lies in another extension.
- Repeat this process until you activate an extension that prompts the 400 error code.
- Once you locate it, deactivate it. You can either delete the extension or contact the developers for further support.
However, if the deactivation of all browser extensions doesn’t fix the problem, then the problem lies elsewhere. Proceed with the next method.
Method 4: Flush Local DNS Cache
Each operating system stores the IP addresses of all visited websites via the Internet browser.
This data is named DNS cache and is used for faster loading of Internet web pages. Sometimes the data stored in the DNS cache can become corrupted and prompt the web server to display the 400 Error Code. Should this be the root of the issue, the DNS cache should be deleted.
To delete the DNS cache, follow the steps in this article: How to Flush DNS Cache on Windows. Also, check out: What is DNS? Now that the DNS cache is flushed, try to open the web page once again. If it still displays an Error 400 message, then the issue is rooted elsewhere. Proceed with the next method.
Method 5: Reduce File Size
If you try to upload a file that exceeds the web server file size limit, you will stumble upon a 400 Error Code message.
To see whether this prompts the server to display such a message, try to upload a small-sized image. If the procedure is successful, then the issue is most likely in the size of the initial file you wish to upload. Check out: What Are the Upload File Size Limits?
However, if even small-sized files prompt the message, then the issue lies elsewhere. Should this be the case, proceed with the next method.
Method 6: Restart your Computer Device
Restarting your device might resolve the problem. Try to shut down your computer, along with peripherals such as routers and other Internet devices.
Then switch them on again and see whether you can open the web page without receiving an HTTP Error 400 message.
If you still stumble upon 400 Error, then proceed with the next method.
Method 7: Contact Tech Support
Although being labeled as a client-side error, such as all other HTTP status codes starting with 4xx, Error Code 400 can be prompted by issues on the server side.
To see whether this is indeed the case, try to open the requested web content with different web browsers – if it is still inaccessible, then there is a chance that the issue lies within the performance of the web server that hosts your site.
Should this be the case, contact your hosting provider for further information and technical assistance.
Conclusion – How to Fix 400 Error Code
In this article, we shared 7 methods that you can use to deal with the 400 Error Code message on your website. All of them are easily applicable and should deal with the problem right away.
