
Creating a website with Grav CMS is a straightforward process. In this article, we share how to make a fully functional website with Grav by using the platform’s versatile admin panel.
How to Create a Website with Grav
Creating a website with Grav includes several easy-to-follow steps. After fulfilling each one of them, you will have your new website up and running in no time.
Here’s what to do to create a website with Grav.
Step 1: Install Grav
The first step in the process is to install Grav. To do so, simply log in to your AwardSpace hosting panel and install the CMS via Zacky App Installer within the hosting panel.
If you are not sure how to proceed, we recommend you read our detailed guide on how to install Grav:
Step 2: Log in to the Grav Admin Panel
After you have installed Grav, it is time to log in to the CMS, so you can start working on your website. To log in to Grav, simply type in your website’s domain name in your browser, and at the end of the string (to the right of the domain name) add /admin.
For example, if your website’s domain name is www.grav-example-website.com, within the web browser type in www.grav-example-website.com/admin
This will open the Grav login page:
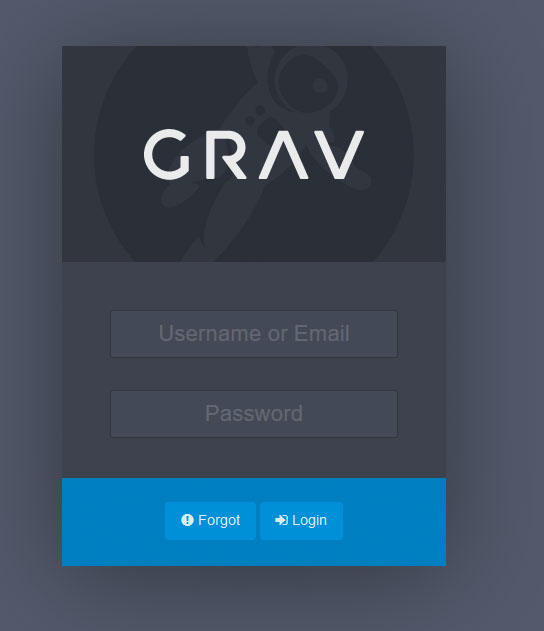
Add your credentials and click the blue Login button to log in to the Grav admin panel.
If you are not sure how to log in to Grav, then check out our comprehensive guide that can lead you through the process:
Step 3: Configure Your Grav Website
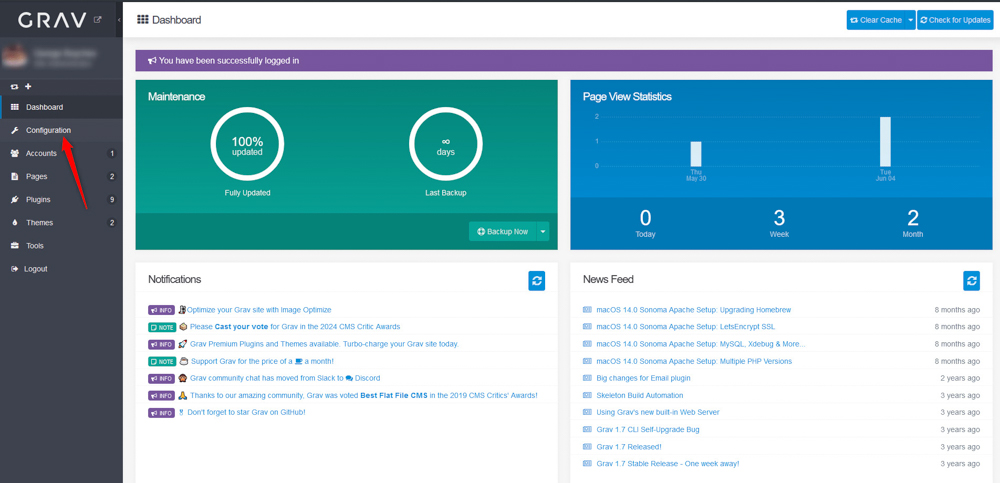
Once logged in, you’ll be taken to the Grav Admin Dashboard. This is the main control center for your Grav website.
Now, within the Grav Admin Panel, navigate to the Configuration tab:
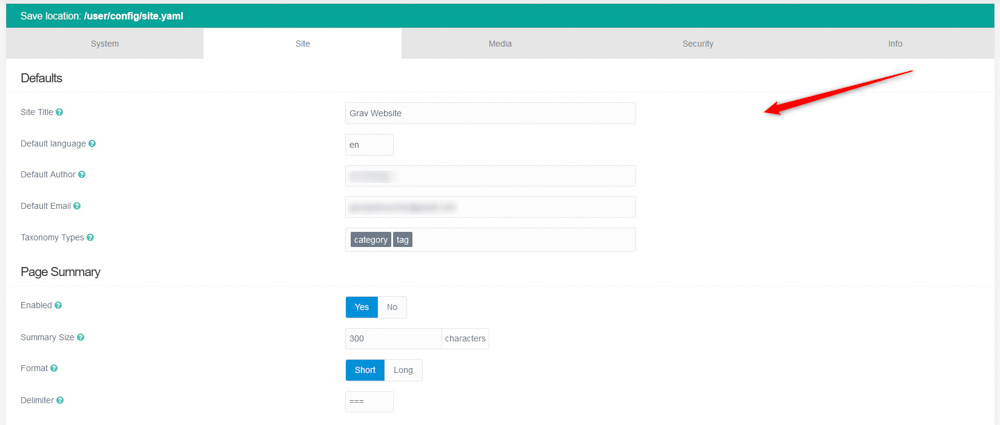
Once you open the Configuration page, head to the Site tab and adjust the basic settings such as site title, default email, timezone, and other general settings according to your preferences:
Step 4: Create New Pages
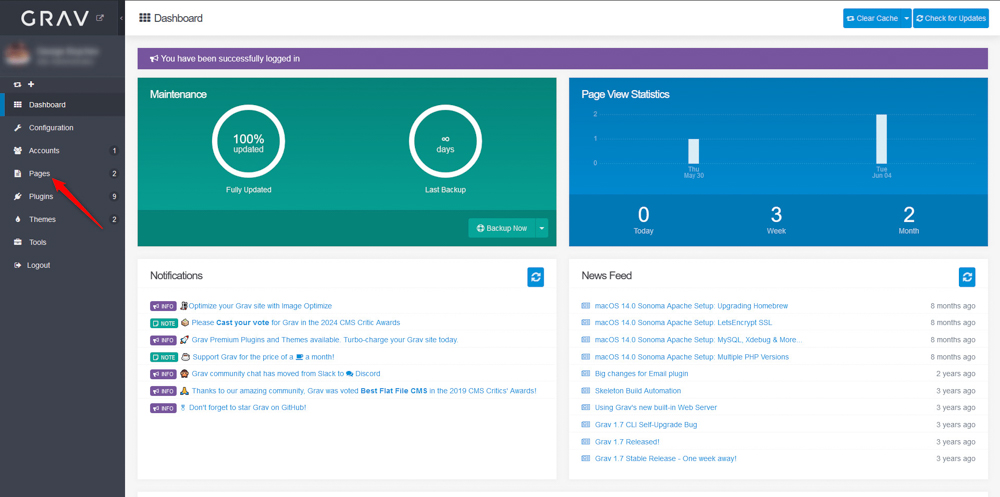
Now that you have configured the main settings of your Grav website, it is time to add new web pages.
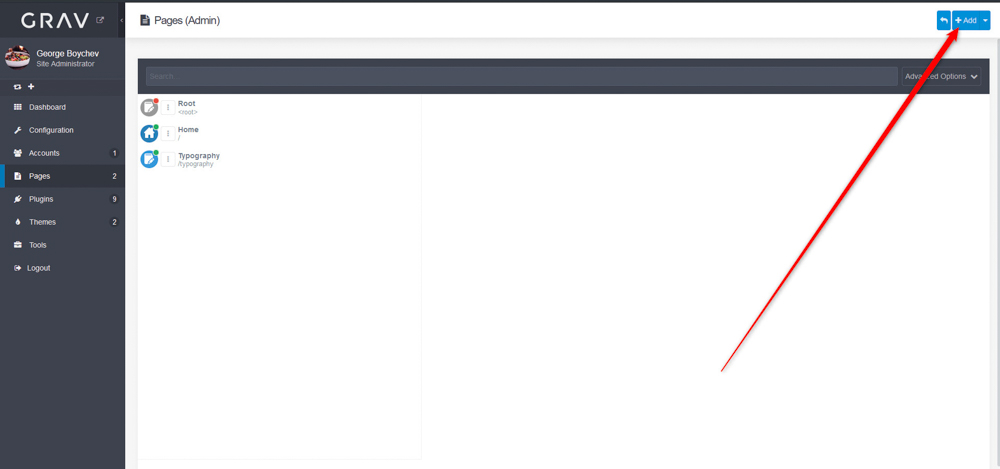
To do so, via the Grav admin panel navigate to the Pages tab:
Then, click on the blue +Add button, located at the top right corner of the new page that should open:
A new box with options will emerge. From there, choose a page type (e.g., default, blog, modular) and fill in the necessary fields such as Page Title, Folder Name, Parent Page, Page Template, and Visibility options:
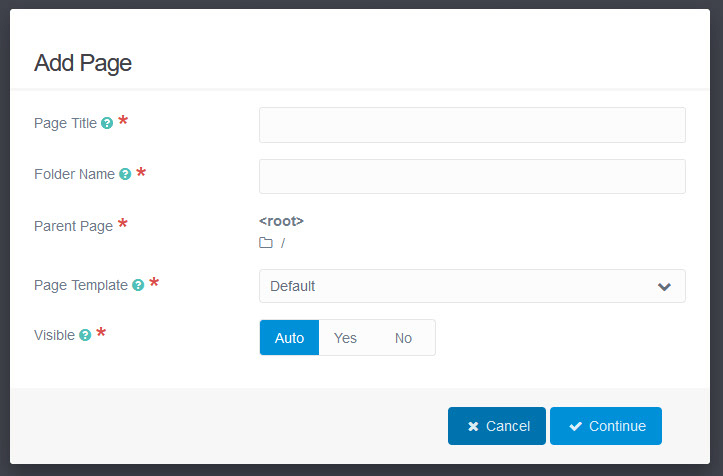
You can organize your pages hierarchically by setting the parent page when creating or editing a page.
Add pages such as Home, About Us, Contact, Blog, and others.
If you need more information on how to create and manage your Grav pages, then check out our in-depth article on the topic:
How to Create a Page with Grav
Step 5: Install a Suitable Grav Theme
Now that you have created the essential pages, it is time to work on the website’s design layout.
To do so, you should install and activate a suitable Grav theme. Here’s how to do so.
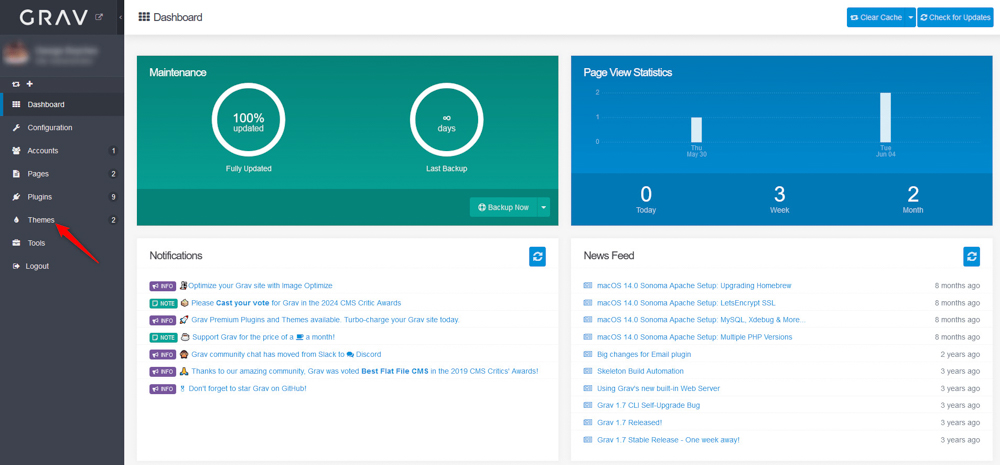
Go to the Themes tab in the Admin Panel:
Then, click on the blue +Add button at the top right corner of the new page that should open:
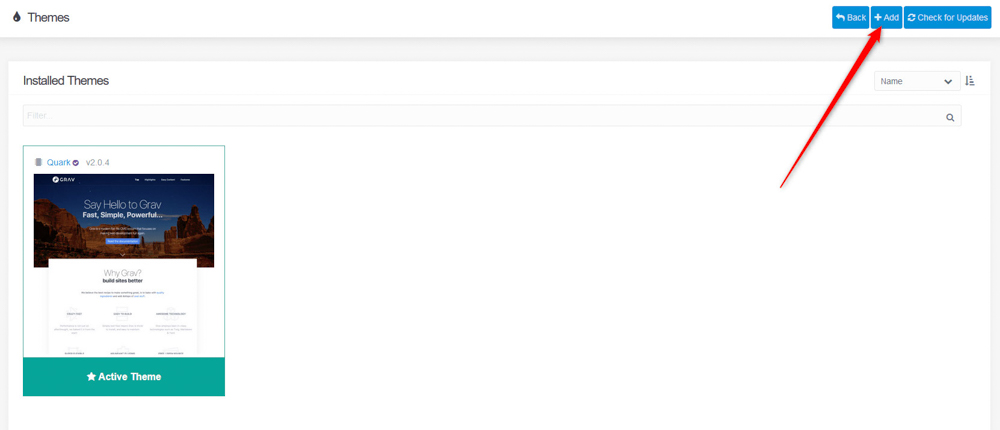
A new page with a list of all available themes should open:
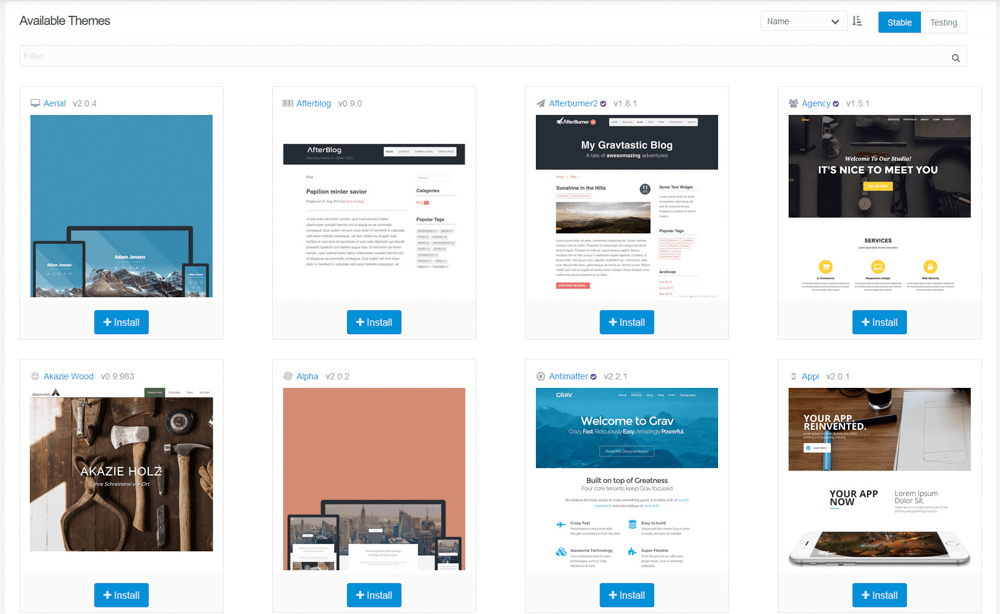
Search and install a theme that suits your design preferences. You can directly browse from the vast list of available themes, or search for specific ones via the Filter tool: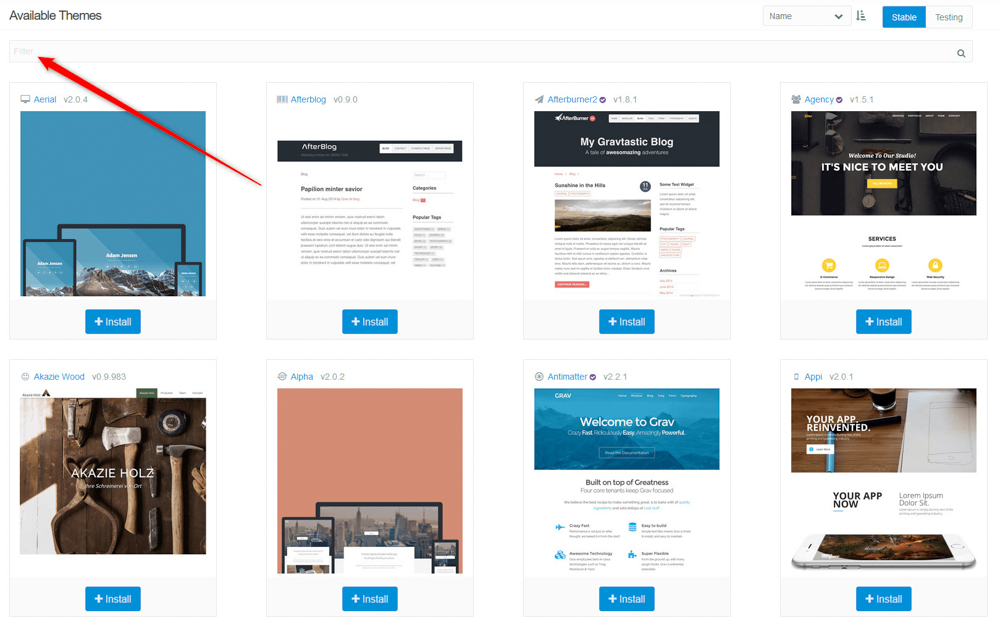 tool:
tool:
Install and activate the theme you want to use for your website.
If you are not sure how to install a Grav theme, then check out our comprehensive guide on the topic:
Step 6: Install Grav Plugins
The Grav plugins can help you extend the functionalities of the CMS. Via plugins you can add various types of contact forms, media galleries, SEO tools, security features, and tons of other functionalities.
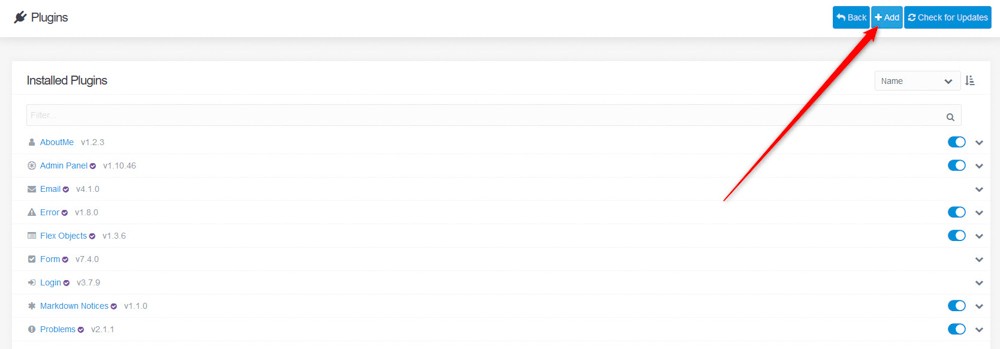
To install Grav plugins, via the admin dashboard, head to Plugins:

Then, click the blue +Add button at the top right corner of the new page that should open:
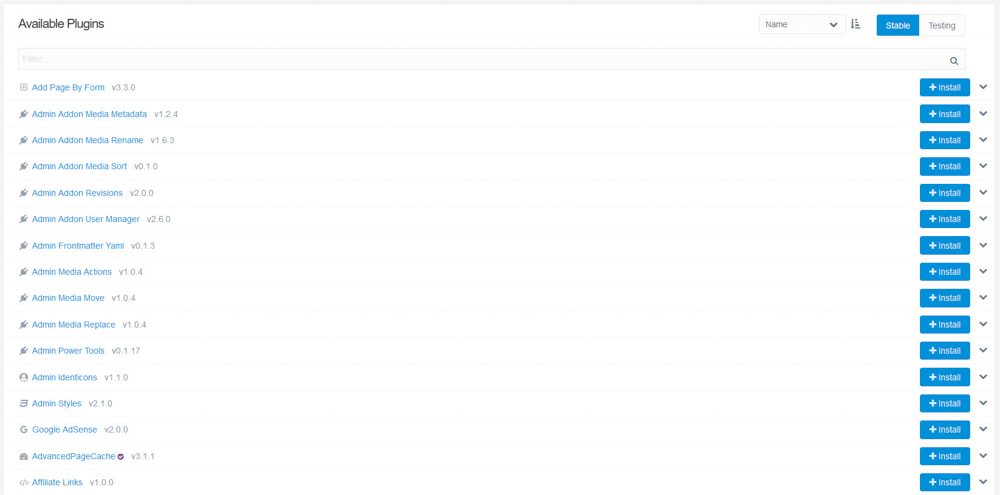
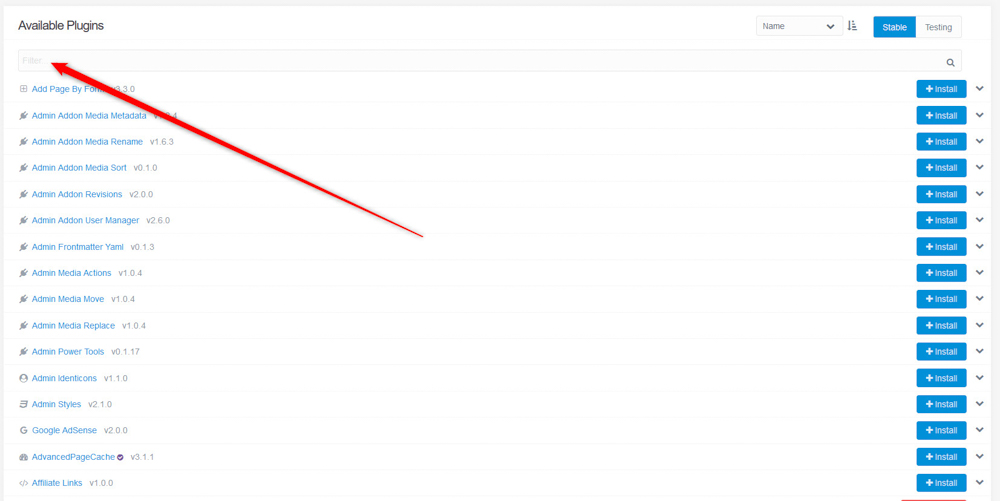
A new page with a list of all available Grav plugins should appear:
 How to Create a Grav Website Add New Theme
You can directly browse the list, or use the Filter option to find a specific plugin or a set of plugins that have the functionality you wish to add to your Grav websites:
After you find a plugin that suits your needs, install and activate it, so you add the required functionality to your website.
If you are not sure how to install and activate a plugin, check out our comprehensive guide on the topic:
How to Install a Plugin with Grav
Step 7: Add Website Content
Now that you have made the initial setup, it is time to bulk up your new website with content. To do so, open and edit your Grav pages and add text and media files such as images, video, and audio files.
To know more on how to add content to your web pages, check out our article on how to do so.
How to Create a Website with Grav – Conclusion
Creating a website with Grav is a straightforward process, thanks to the CMS’s intuitive admin panel and flexible features. Whether you are a beginner or an experienced developer, Grav provides everything you need to build and manage a beautiful and fully functional website.
