
After you install Zen Cart and log in to the admin panel, you can start adding products to your online store. This guide walks you through the process step by step.
How to Add Products to Zen Cart
To add a product to Zen Cart, you need to follow a few simple steps. This process takes only a few minutes of your time.
Step 1: Log in to the Zen Cart Admin Panel
First, log in to Zen Cart. If you are not sure how to do so, then follow the instructions in our simple guide:
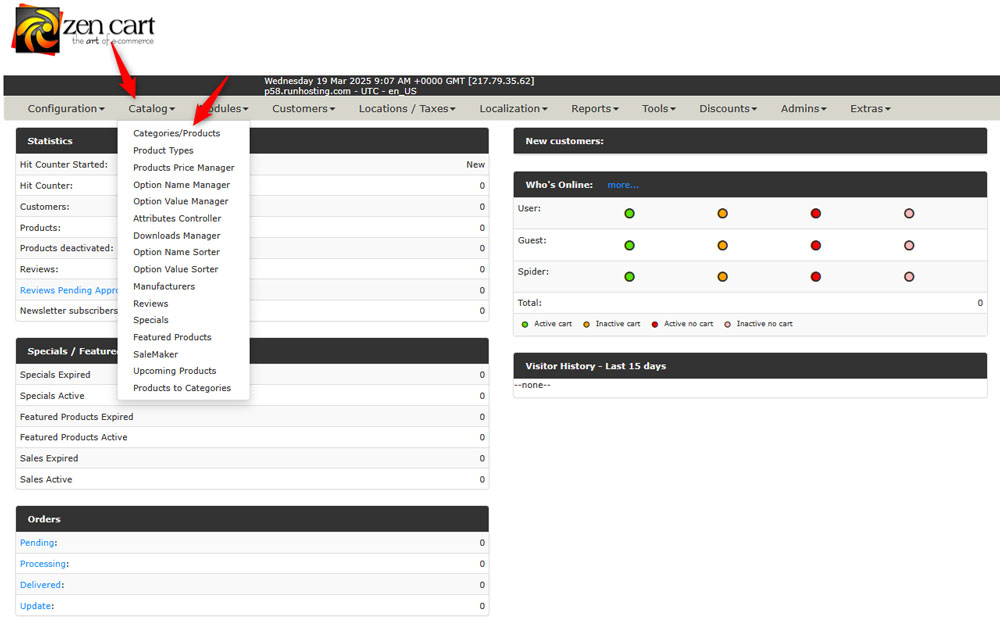
Step 2: Access the Catalog Menu
Once you log in to the Zen Cart admin panel, navigate to Catalog -> Categories/Products:
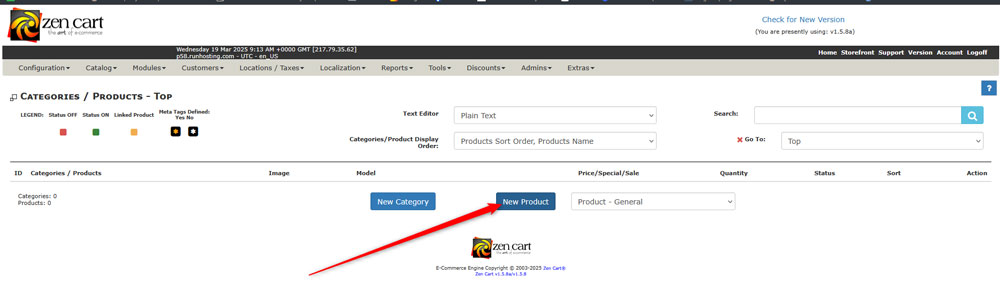
Step 3: Add a New Product
Once you open the Categories/Products page, click the blue New Product button:
Step 4: Add Details for Your New Product
Once you click the blue Insert Product button, Zen Cart will direct you to the Product details page. It allows you to fill in details about the product you are about to add to your catalogue:
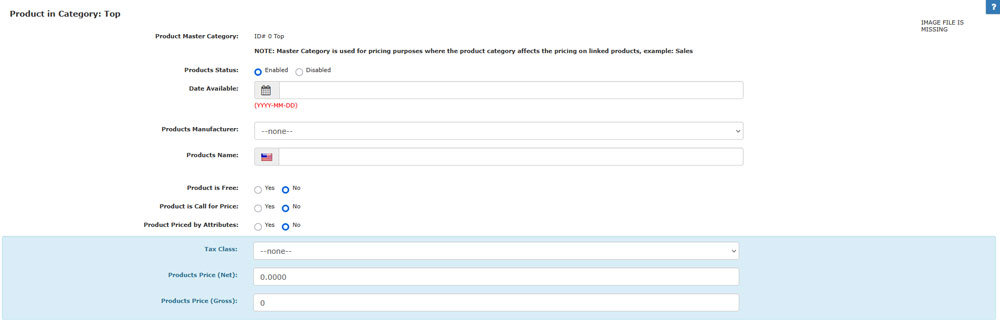
Fill in the details on this page.
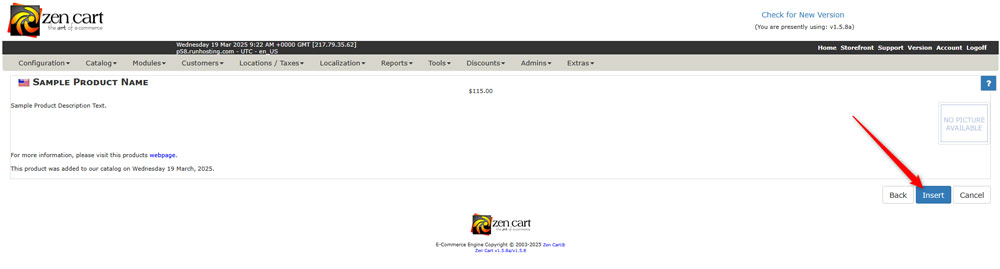
Step 5: Preview and Publish
Once you are ready, click on the blue Preview button:
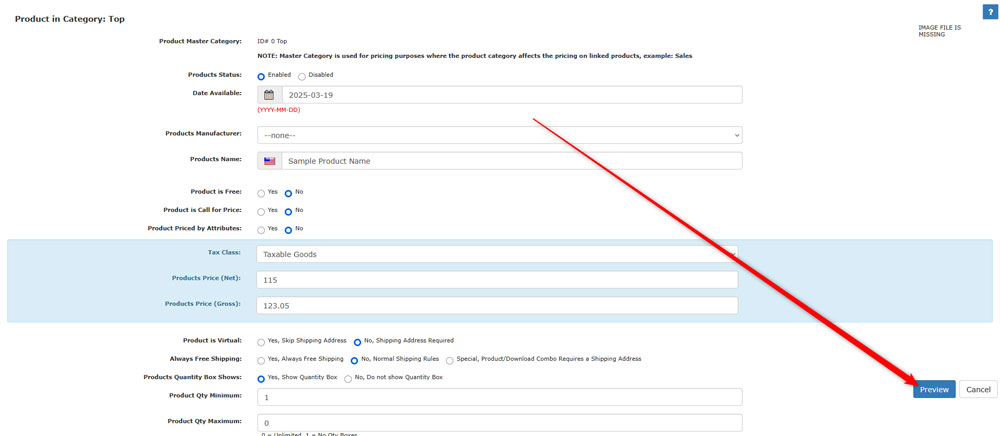
A new page will load. It allows you to see how your product would appear on your online store. If you are satisfied with the setup, click the blue Insert button on the right of the screen:
Once you click on Insert, Zen Cart will redirect you to the homepage of the admin panel. There you will see all the products you listed:
Tips and Tricks
For optimal exposure of your online store, follow these tips:
- Use descriptive product names for better SEO
- Always use high-quality images and optimize them for faster loading.
- Add meta tags for each of your products for better search engine visibility.
Conclusion
Adding products to Zen Cart is simple and requires only a few minutes of your time. The platform is versatile and allows you to customize your product placement and description in numerous ways. Spend some time to get familiar with the process and you will get used to the interface and options in no time.
