How to Create a Blog Article in Drupal

Home » Knowledge Base » Design Tools » Drupal » How to Create a Blog Article in Drupal

Creating a blog article in Drupal 10 is a simple process that includes several steps: setting up the content type, writing, and publishing the blog post.

In this guide, we share how to go through each step of the process and publish your first article in no time.

N.B! In the following paragraphs, we will be creating a blog article in Drupal 10. Keep in mind that the process and the steps may vary, depending on your preferred version of Drupal.


How to Create a Blog Article in Drupal

By following these steps, you can create a blog quickly and easily.


Step 1: Install Drupal

The first step in the process is to install Drupal. If you are new to the CMS, check out our comprehensive guide on how to install Drupal.


Step 2: Log in to Drupal

To be able to create a blog article, you should log in to Drupal, so you access all the blog and article settings available to you.


Step 3: Create a Blog Content Type

This step is necessary, as it establishes the foundation of your website’s blog section. Here’s how to proceed.

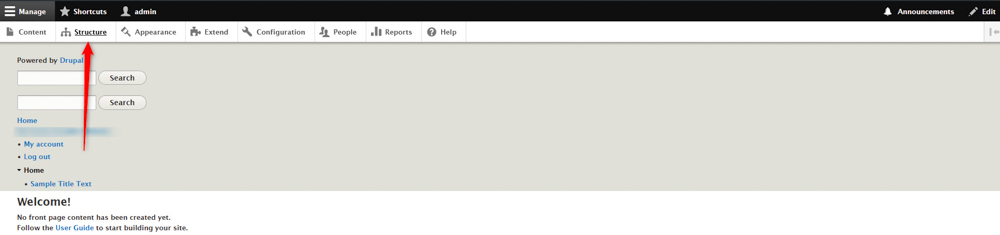
Within your Drupal admin dashboard, click on Structure from the top menu:

Drupal Structure menu


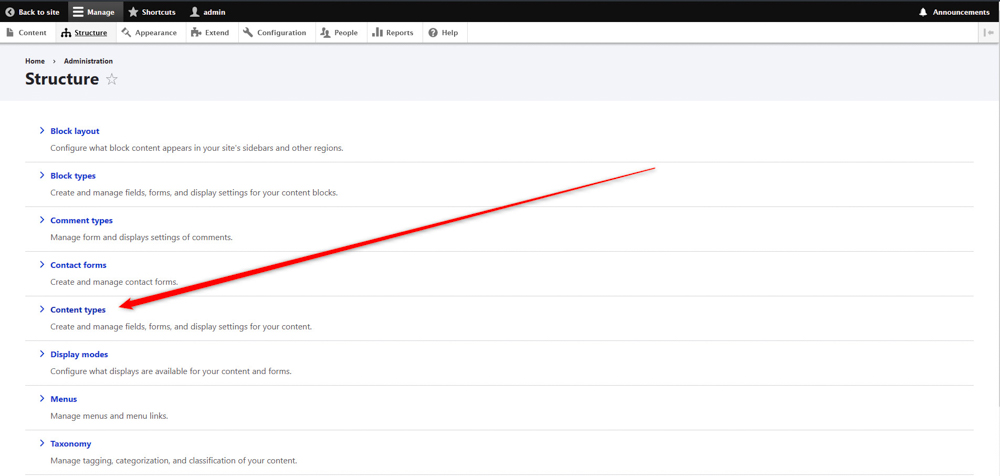
Then, navigate to Content Types:

Drupal Content Types Options


After you go to Content Types, click on the blue + Add content type button, located at the top of the pagAdd new content type in Drupal

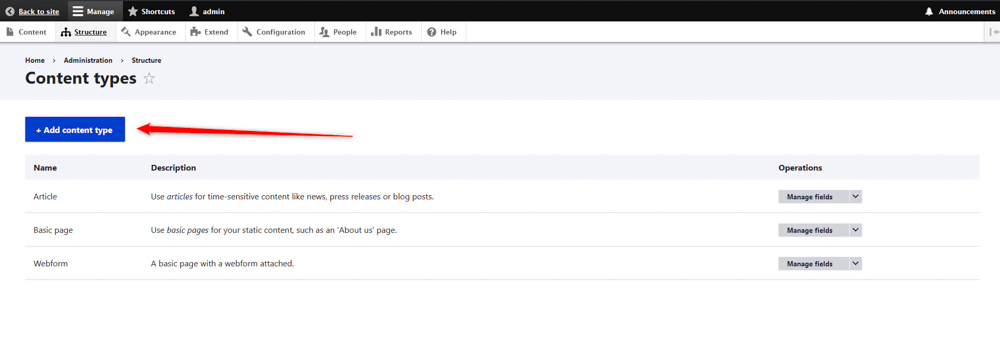
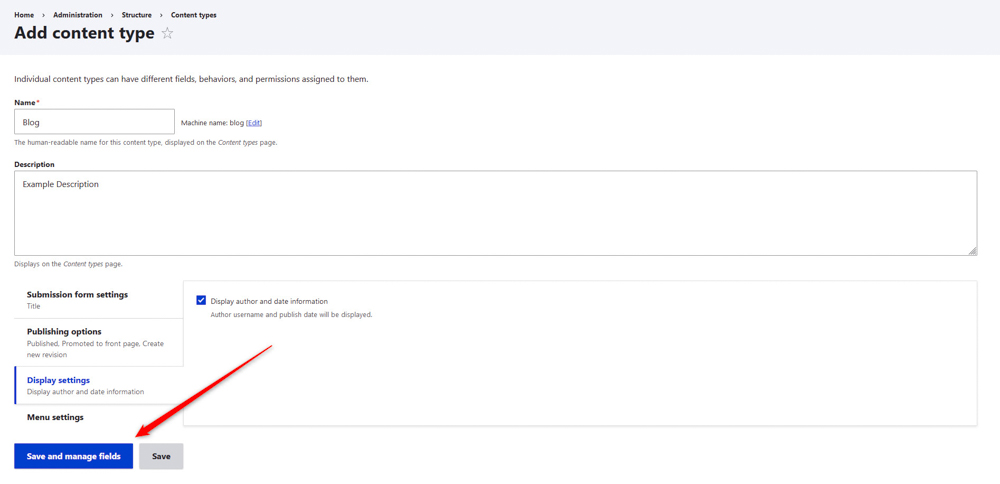
A new page will open. From there you can set up your website’s blog section details:

Add content type details in Drupal


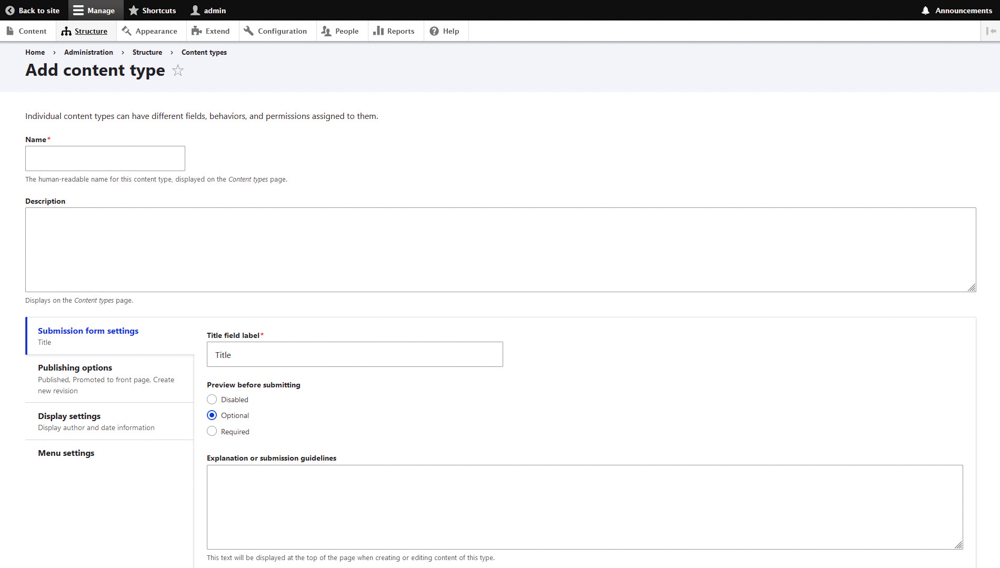
Here’s how to fill in the fields on this page:

  • Name: Add a name of the content type, for example, “Blog” or similar.
  • Description: Provide a description for your blog section.
  • Settings: Adjust settings as required (e.g., publishing options, display settings, menu settings).
  • Save and Manage Fields: Once you filled in all the fields and all the setup, save the changes by clicking the blue Save and Manage Fields button at the bottom of the page:

Save and apply content type changes


Step 4: Create a Blog Article

Now that you set up your blog section, it is time to proceed with the creation of your first article.

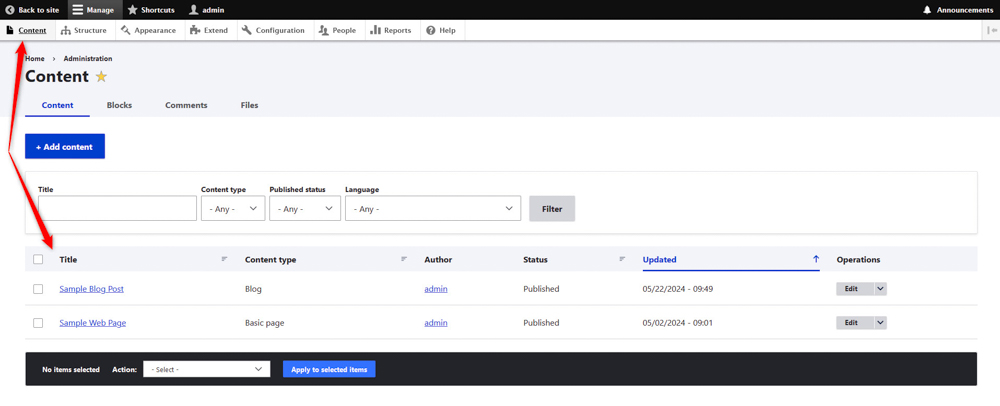
Via the Drupal admin panel, go to Content from the top menu:

Drupal Content options


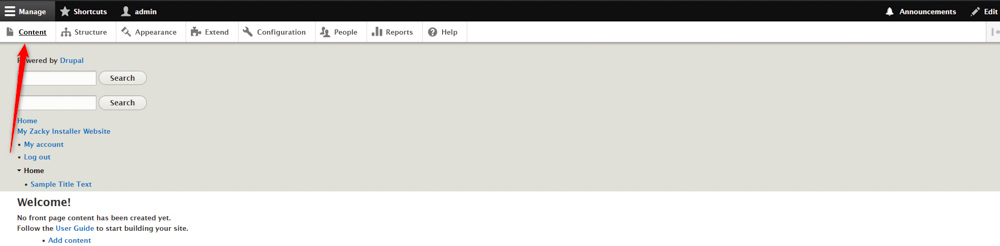
After that, click on the blue + Add content button at the top of the page:

Add content to your Drupal website


Then, click on Blog:

Blog section content settings


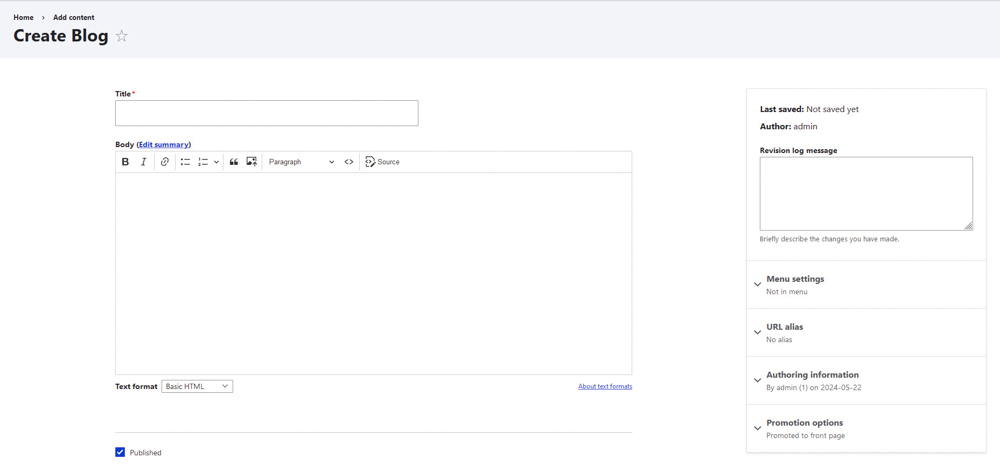
Now fill in the Blog Post Fields:

  • Title: Enter the title of your blog post.
  • Body: Write the content of your blog post.
  • Tags: Add relevant tags to categorize your post.
  • Image: (optional) Upload images to the blog post.
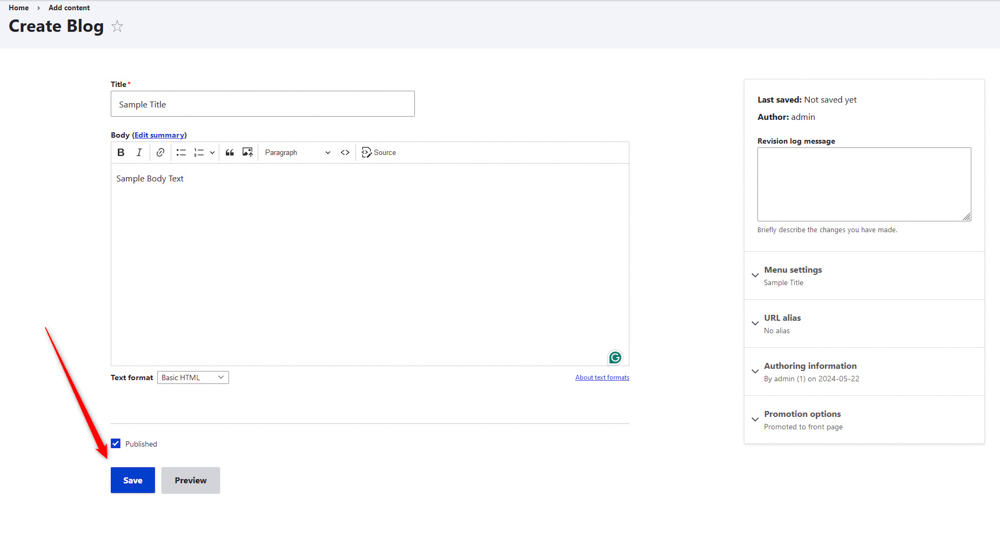
  • Additional Settings: Configure additional settings like URL alias, meta tags, etc., if needed.
  • Save and Publish: Once you add your content and setup, click the blue Save button at the bottom of the page, so Drupal publishes the article and saves all the changes you just made:

Save and change blog settings


Step 5: Manage the Display Settings of Your Blog Articles

You can manage all your blog posts by going to Content via the Drupal admin panel:

Drupal website content options menu item


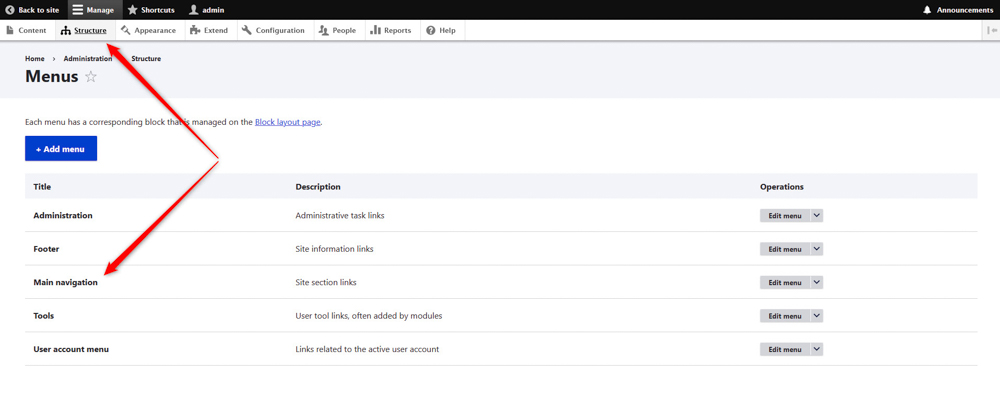
Menus and Links: You can add your blog section to the main menu of your website by going to Structure -> Menus -> Main navigation:

Drupal website menu settings


Step 6 (Optional): Customize Your Blog

Choose a theme that complements your blog design. Check out how to install a Drupal theme.


Conclusion

Creating a blog article in Drupal 10 involves setting up a content type, adding fields, writing your post, and managing the display settings. By following these steps, you can efficiently create and publish blog posts on your Drupal 10 site.

Read also:

Was this post helpful?

i

Relevant tags:

Connect

Latest posts:

How to Add Products to Zen Cart: A Step-By-Step Guide

After you install Zen Cart and log in to the admin panel, you can start adding products to your online store. This guide walks you through the process step by step.   How to Add Products to Zen Cart To add a product to Zen Cart, you need to follow a few simple...

How to Log in to Zen Cart

Once you install Zen Cart, you can log in to the CMS and start working on your project. The login process is simple and is comprised of only a few steps.   How to Log in to Zen Cart There are two ways to log in to Zen Cart: Method 1: Login by following the...

How to Install Zen Cart

You can install Zen Cart with any of the AwardSpace hosting plans—free web hosting, shared hosting, and advanced plans such as Semi-Dedicated Hosting and VPS hosting. Each AwardSpace hosting service is tailored to run Zen Cart flawlessly and smoothly, regardless of...

How to Log in to phpBB

Now that you have installed phpBB, it is time to learn how to log in to the system and start working with it. The process is simple and is comprised of only a few steps.   How to Log in to phpBB There are several ways you can use to log in phpBB. The process...

How to Install phpBB

You can install phpBB on any AwardSpace hosting plan - on the free web hosting, shared hosting, and also on the advanced AwardSpace plans such as Semi-Dedicated Hosting and VPS hosting. Each AwardSpace hosting service is tailored to run phpBB flawlessly and smoothly,...


Create a website for free!


Free forever

Our Support Team is Here to Help


If you need any questions answered, don't hesitate and contact us. Click the button below and follow the instructions. You can expect an answer within an hour.


Contact AwardSpace


iNewest knowledge base articles

How to Add Products to Zen Cart: A Step-By-Step Guide

After you install Zen Cart and log in to the admin panel, you can start adding products to your online store. This guide walks you through the process step by step.   How to Add Products to Zen Cart To add a product to Zen Cart, you need to follow a few simple...

How to Log in to Zen Cart

Once you install Zen Cart, you can log in to the CMS and start working on your project. The login process is simple and is comprised of only a few steps.   How to Log in to Zen Cart There are two ways to log in to Zen Cart: Method 1: Login by following the...

How to Install Zen Cart

You can install Zen Cart with any of the AwardSpace hosting plans—free web hosting, shared hosting, and advanced plans such as Semi-Dedicated Hosting and VPS hosting. Each AwardSpace hosting service is tailored to run Zen Cart flawlessly and smoothly, regardless of...

How to Log in to phpBB

Now that you have installed phpBB, it is time to learn how to log in to the system and start working with it. The process is simple and is comprised of only a few steps.   How to Log in to phpBB There are several ways you can use to log in phpBB. The process...

How to Install phpBB

You can install phpBB on any AwardSpace hosting plan - on the free web hosting, shared hosting, and also on the advanced AwardSpace plans such as Semi-Dedicated Hosting and VPS hosting. Each AwardSpace hosting service is tailored to run phpBB flawlessly and smoothly,...

How to Remove a Product in OpenCart

After installing OpenCart and logging in to the dashboard, you can start adding and removing products immediately. We have already covered how to add products in OpenCart, and in this article, we share simple steps to delete products from your store with only a few...

Even more web tutorials

Check out our web hosting knowledge base and the WordPress tutorials to learn more, and be better prepared for your website creation and maintenance journey.