
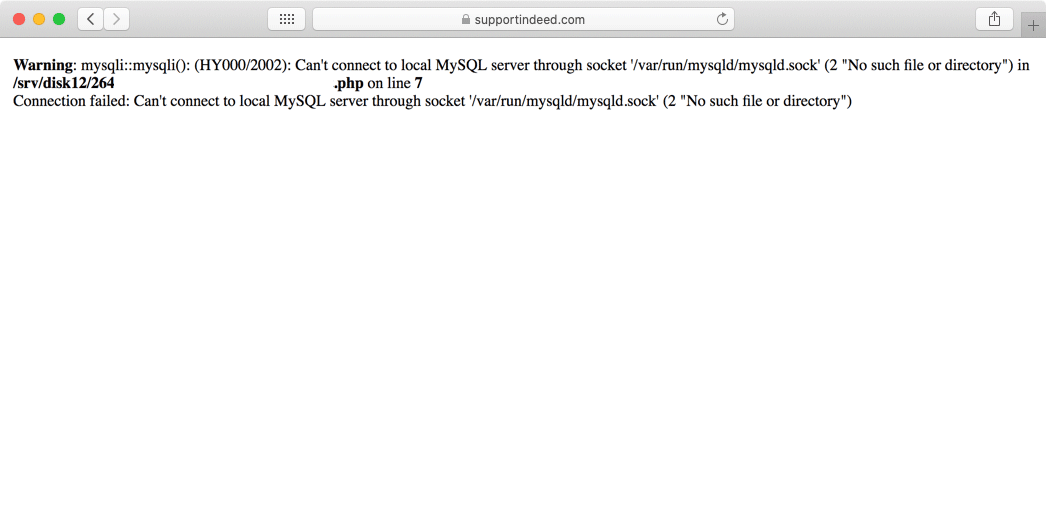
At the heart of most content management systems lies a database, such as MySQL, where the majority of content is stored. So for your pages to fully load, your website needs to be able to fetch the necessary information from the database at a moment’s notice. If for some reason a connection to the database cannot be established, you may see an error such as “Warning: mysql_connect(): Can’t connect to local MySQL server through socket ‘/var/run/mysqld/mysqld.sock”. In this article, we will explore what is causing this problem and how to fix it.
What Does the PHP Warning “mysql_connect() can’t connect to MySQL server” Mean?
If your website shows a message that it cannot connect to the local MySQL server through a socket, then the connection settings that you have entered are probably incorrect or incomplete. Double-checking these settings are very likely to fix this issue.
An example of the “mysql_connect() can’t connect to MySQL server” warning can be seen below:
How Can I Fix the “Can’t Connect To Local MySQL Server Through Socket” Error?
First and foremost, you need to head to the Database Manager section of our Control Panel and click on the database that you are trying to connect to. From there, click on the Information tab.
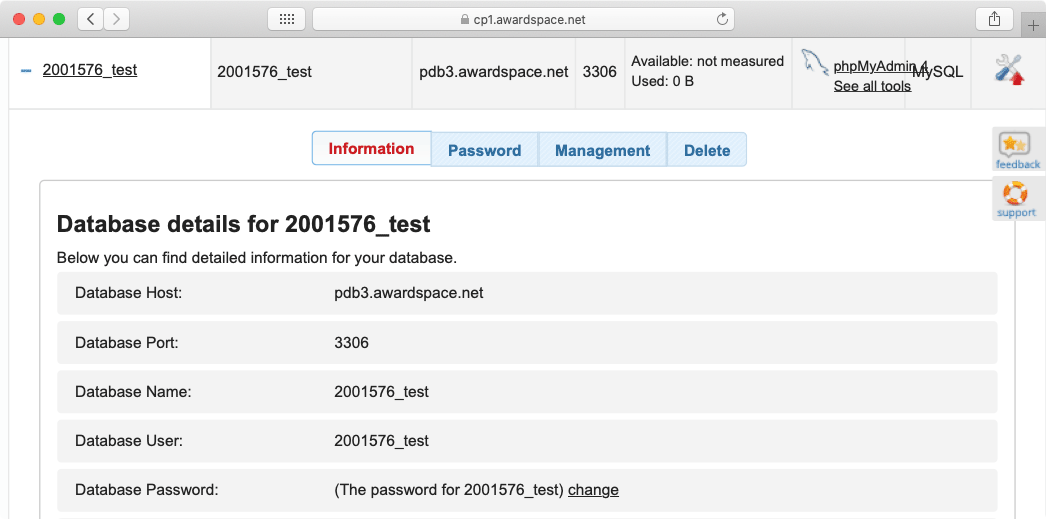
In the Information tab, you will find your Database Host, Database Port, Database Name, Database User, Database Version, and Database Storage Engine. Compare this information to the database settings in your website configuration file and make changes where necessary. If you are not sure what password is assigned to your database, you can reset it from the Password tab in the Database Manager. Additional help with connecting your website to your database, including sample connection code, can be found in our article on where to find the database connection settings.
The Database Manager will be available to you if you are using our free hosting, premium shared hosting or one of the Semi-Dedicated web server plans. You can read our in-depth walkthrough of the Database Manager to familiarize yourself with all of the features this section of our Control Panel has to offer.
If you own a Virtual Private Server, then you can manage your databases through the command line via a remote connection to the server. Our VPS instances can also come equipped with special variants of popular Linux distributions that allow access to our Easy VPS Control Panel where you can manage your databases.
While setting up most website software packages, such as WordPress, Joomla, and others, you will be asked to provide your database information. Some fields may be prefilled as a point of convenience, however, the prefilled information will not always be correct. One such instance is the Database Server/Host field. By default, you will see the text localhost prefilled, but if you are using our shared hosting platform, then this value is incorrect. Be sure to update the field to have the same value as the Database Host entry in the Database Manager section of the Control Panel.
What is localhost?
The term localhost is used in computer networking to denote the current computer. The localhost name is a shorthand for the IP address 127.0.0.1 which is referred to as the loopback address and it allows the computer to take advantage of any network services that it may be broadcasting.
So when you see localhost automatically prefilled while installing a website software package, it means that the installer assumes that the database server is located on the same physical machine as the web server that is powering the installer itself.
While placing the web server and database server applications on the same computer may be true for some hosting providers, we use separate machines to act as the web and database servers. The benefit of this approach is that we can balance the servers’ load across multiple machines, thus sustaining better performance and responsiveness at times of peak utilization.
The lone exception to this rule is our Virtual Private Server plans. If you own a VPS, you can run the web and database server applications in the same instance and can thus take advantage of the localhost hostname.
Conclusion
Errors related to database connection issues can often be cryptic and not provide a lot of actionable information. As such, it is always a good idea to double-check your database connection settings before proceeding with more in-depth troubleshooting. If you are using one of the more popular content management systems out there, such as WordPress, Joomla, PrestaShop, Drupal or similar, you should consider going over our article on how to resolve database connections issues with most CMS’s.
