Once you’ve added the preferred WordPress theme, especially if you want to customize it, the next step is to create a child theme. This simple guide will show you how to achieve that.
To do so, we recommend you use Child Theme Configurator. Mainly, because it is straightforward and easy to use. Also, you can delete the plugin once you’ve created your child theme.
The following are the steps to create your first WordPress Child Theme:
- Install the Child Theme Configurator plugin.
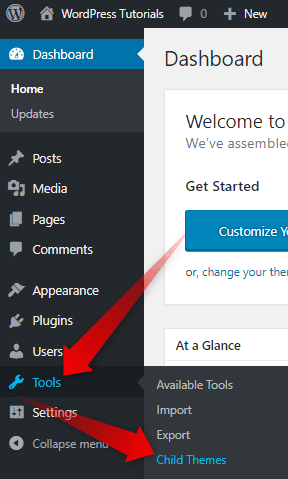
Related: Install a WordPress Plugin - Enter the Plugin Dashboard. You will find it in Tools->Child Theme
- Choose the theme you want to create a child theme.
- Click the Analyze
- Tune up the options that will emerge to your preferences.
- Click the Create New Child Theme button
- Check if the Theme Works Properly
- Activate the child theme
Having a child theme guarantees you won’t lose any changes you might have added to your theme when you update it.
For a detailed tutorial, here is How to Create WordPress Child Theme.

