
In another article, we shared why using web analytics is so important for your website – it helps you expand your online presence and make better decisions for your website and the growth of your business.
If you are not sure what web analytics is and why it is important, then make sure to read our comprehensive articles before proceeding with this one:
- What Are Web Analytics and Why Do They Matter?
- How to Navigate Google Analytics 4
- What are the Most Important Website Metrics to Track in Google Analytics 4
As it comes to this article, you will read how to set up the most popular web analytics tool on your website – Google Analytics 4.
Google Analytics 4, abbreviated as GA4, is an advanced platform that grants you numerous tools and metrics to make comprehensive analyses of the performance of your website.
Not only GA4 is one of the best web analytics platforms out there, but it also comes with a feature-rich free version.
In the next paragraphs, you will read how to set up a GA4 account and how you can connect your website with the analytics system itself.
Read also:
- What is SEO and How Does It Work
- What Are Keywords
- What Is PageRank? A Quick History Lesson
- How to Get Started with Affiliate Marketing
How to Set Up Google Analytics 4 On Your Website
The GA4 setup is not hard and requires only a few minutes to be completed.
In short, the process is comprised of:
In the following sections, you will read how to deal with each step in full detail.
Create a Google Analytics 4 Account
The first step in the process of setting up GA4 is to create an account.
To do so, first head to Google Analytics website.
It should look like this:

On this page, click the blue Start measuring button at the center of the page:

Once you click the button, you will be asked to add information that is needed for your new GA4 account:
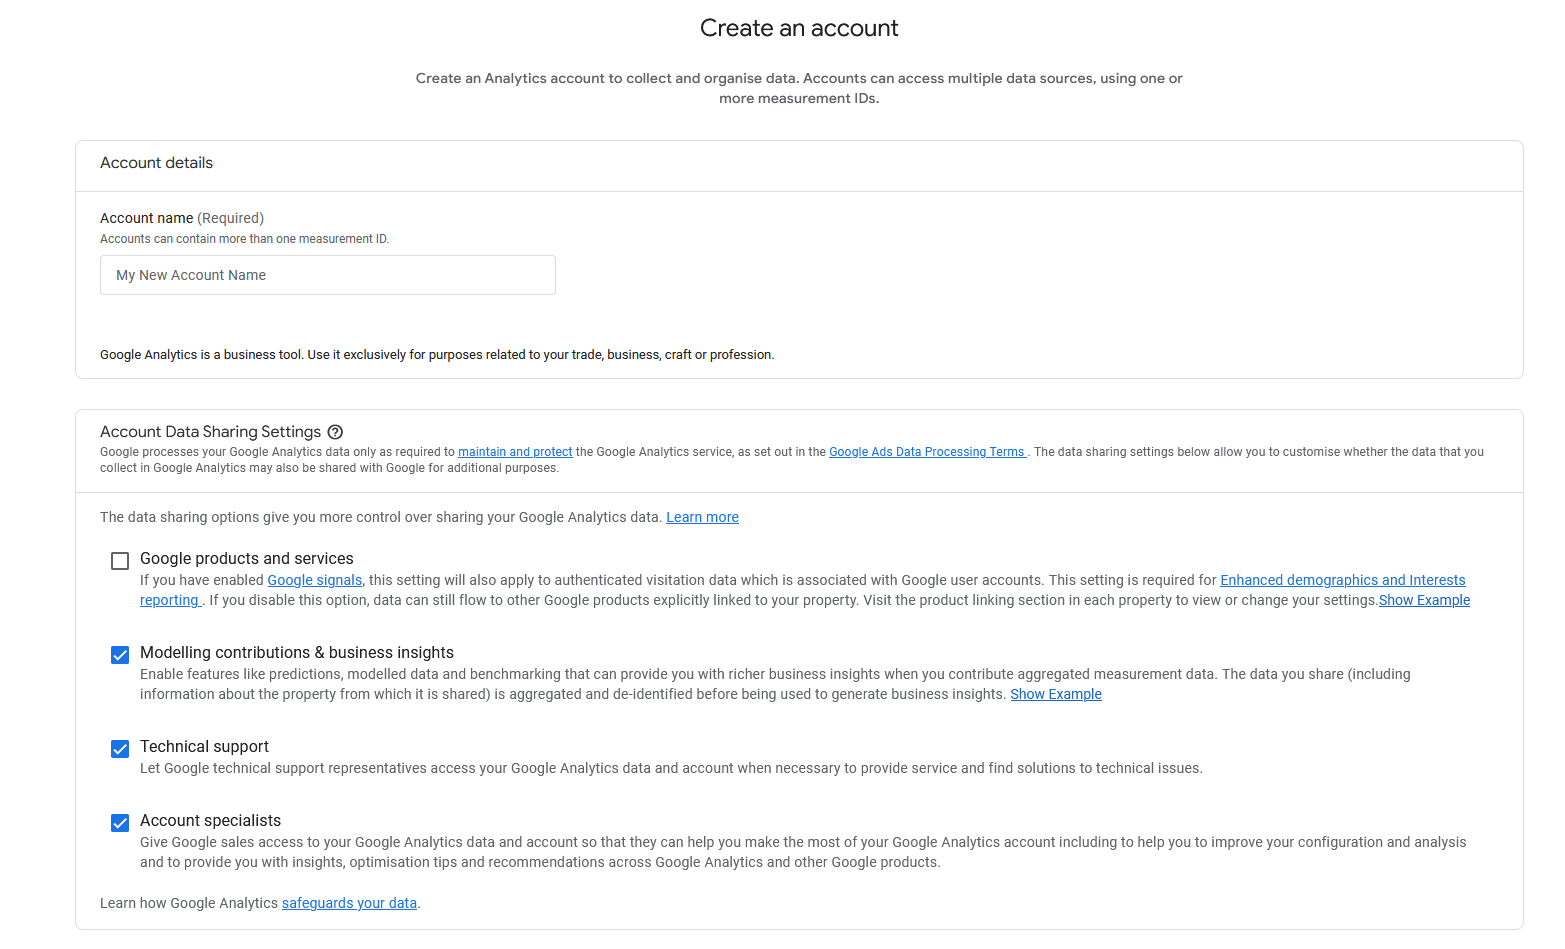
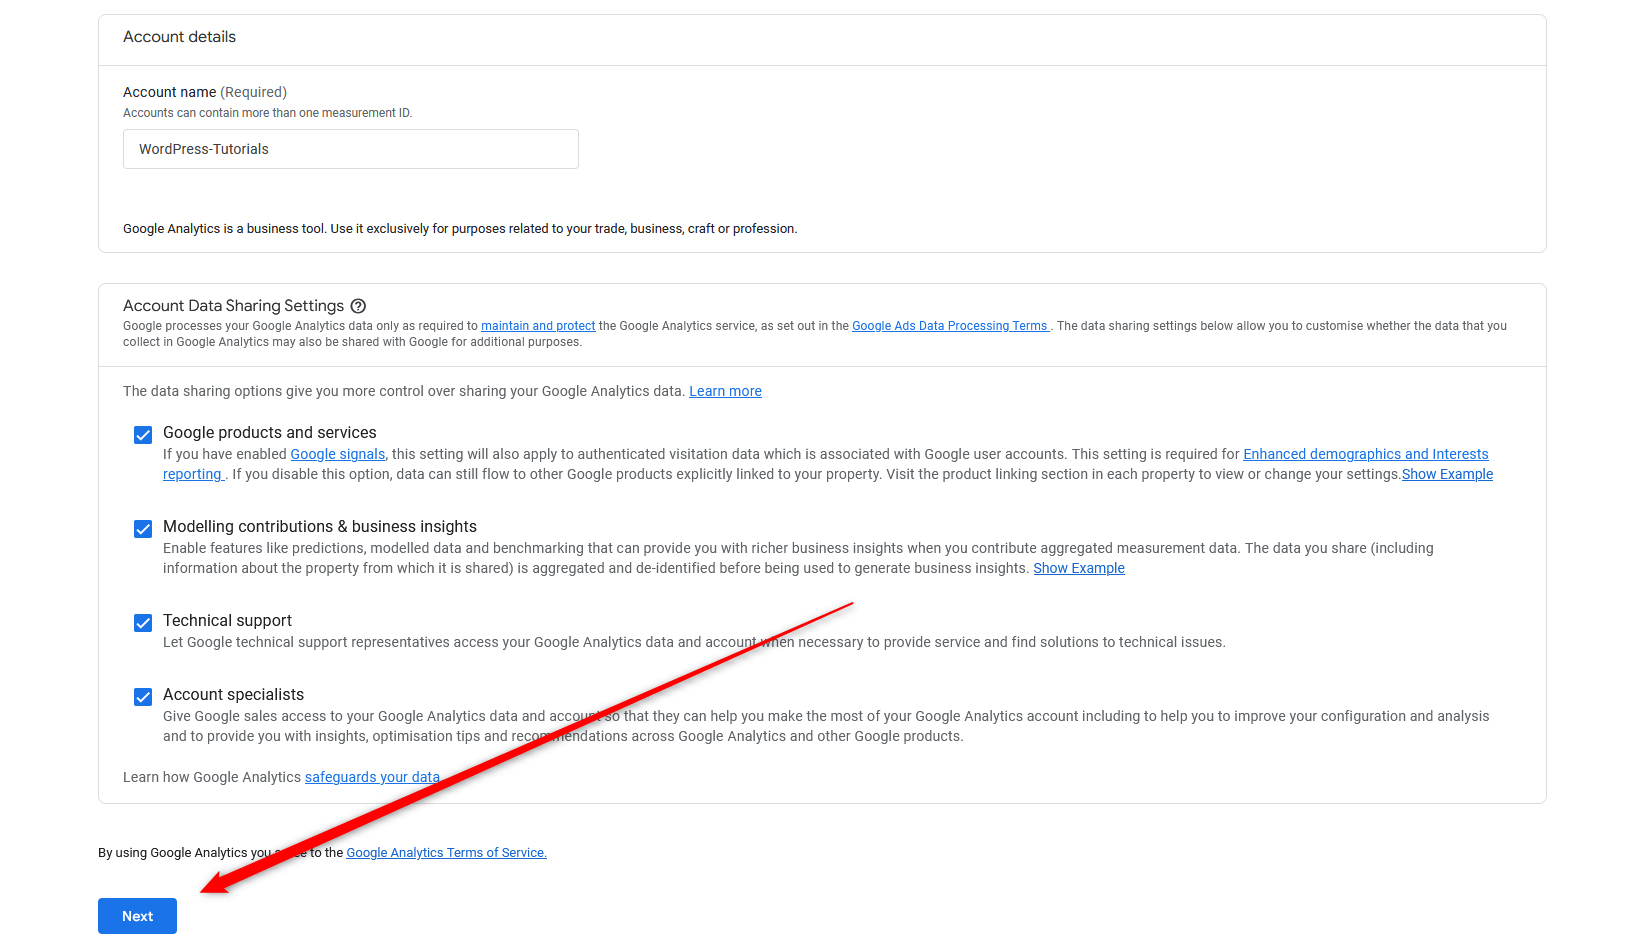
Once you add the required details, click on the blue Next button, located at the bottom left of the page:
Now follow the instructions and add all the needed details for each step of the setup process. You will be asked about the property name (the name of your website), some business details, industry niche, and others.
Follow the steps and once you stumble upon the Data collection tab, choose Web, as you are setting up GA4 to gather information from your website: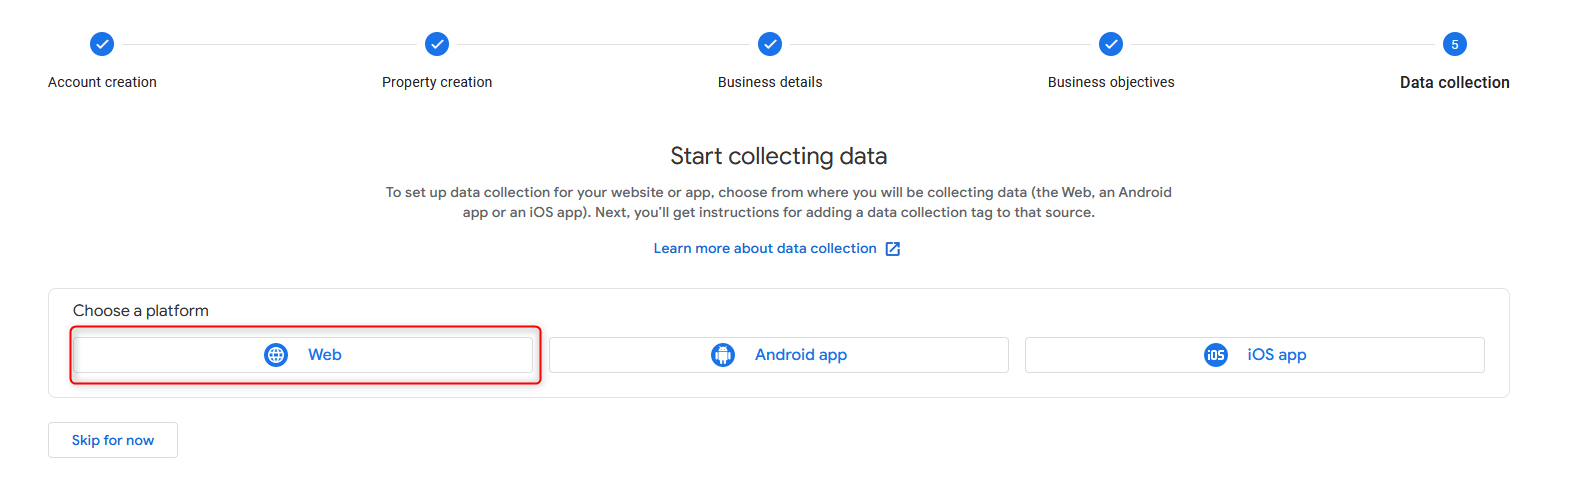
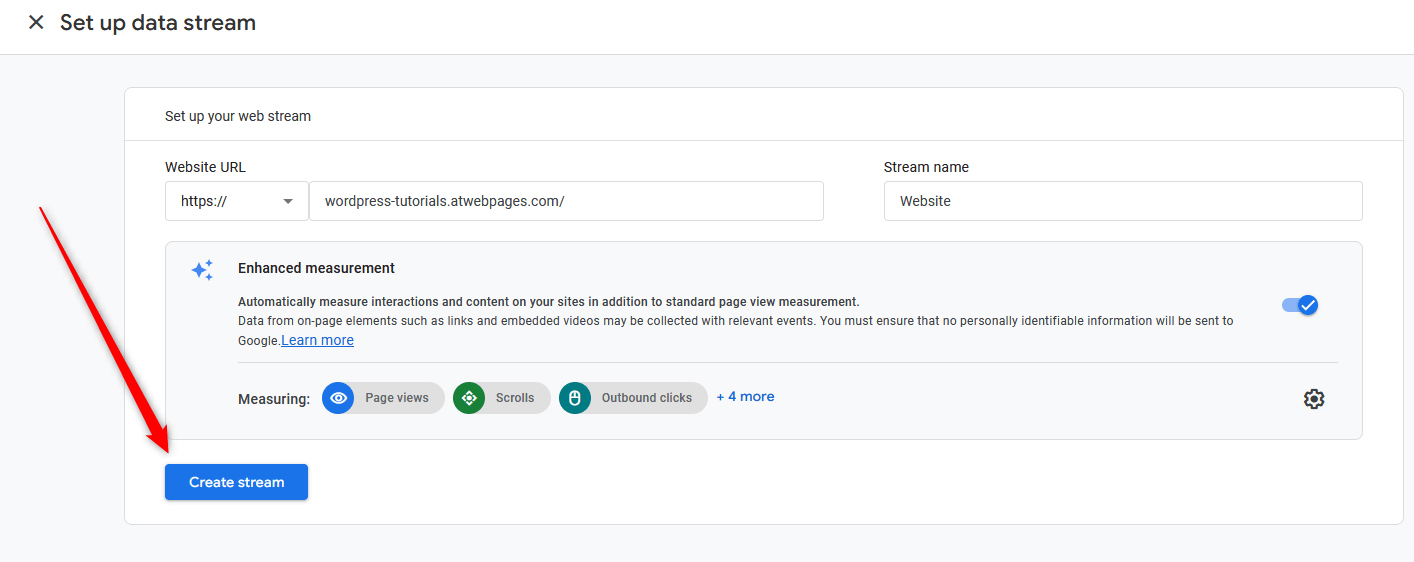
Once you click on Web, you will be asked to add your website URL and give it a stream name. You will also be asked to choose what kind of data will be measured – page views, scrolls, clicks, and others:
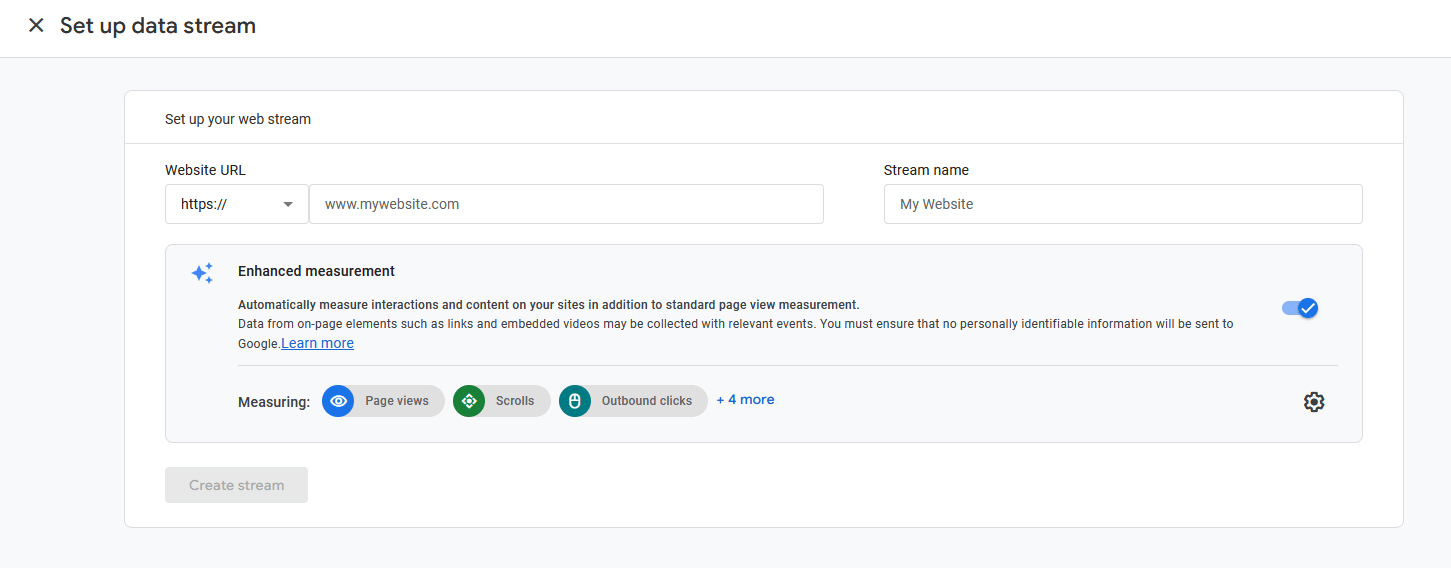
Once you fill in the credentials, click on the blue Create stream button, so you finish the account setup:
Once you click the button, a new tab with options will appear:
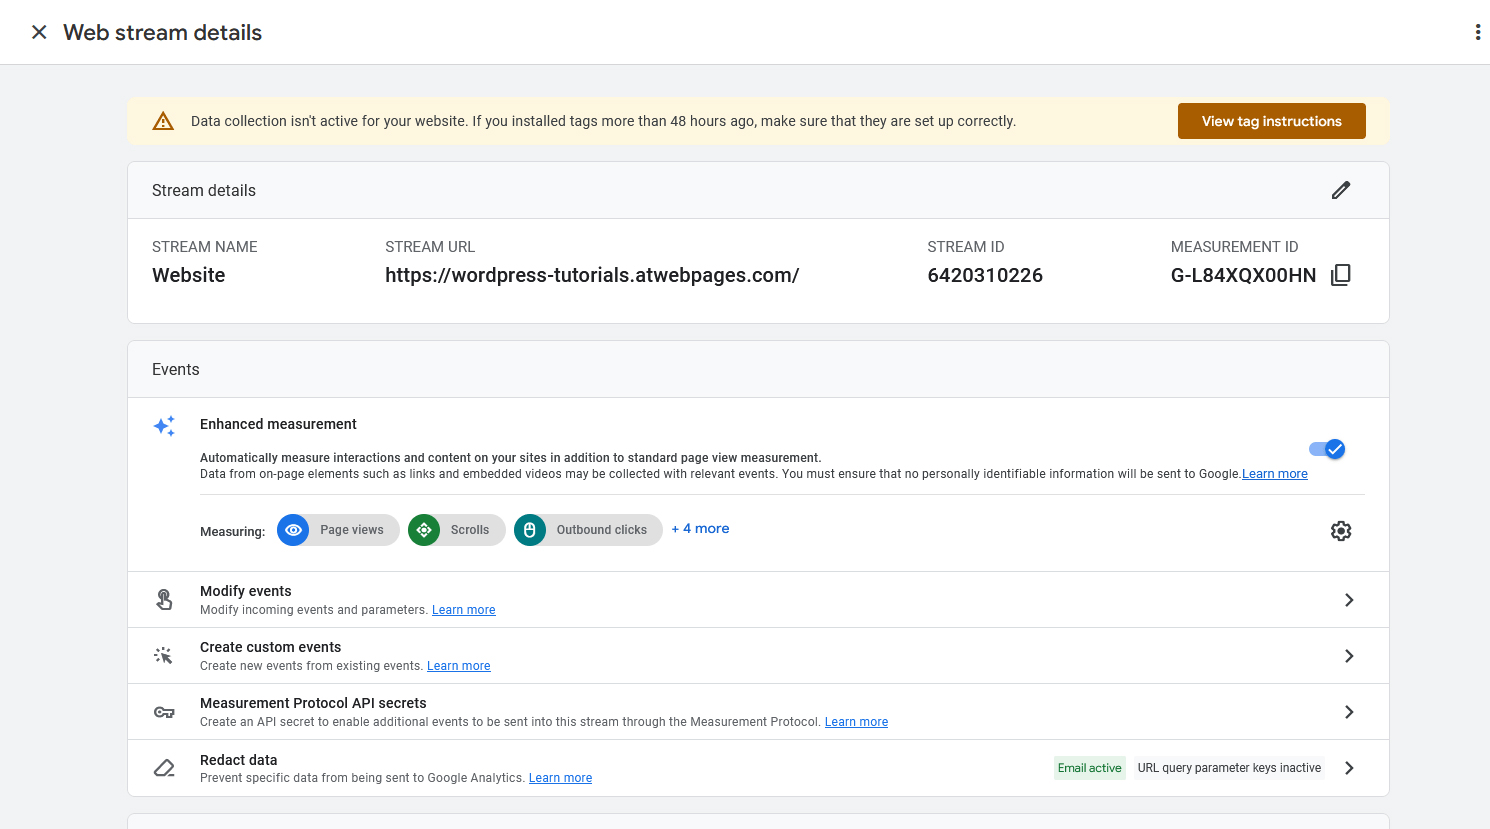
Once you see it, you have managed to set up your Google Analytics account, and the system already prompts you to make the connection between this account and your website.
Let’s see how this is done in the next section.
Create a Google Analytics 4 Property
Now that you have finished your GA4 account setup, and the web stream details tab is opened, you should connect your account with your website.
The idea behind this step is to make sure that GA4 gathers information exactly from your website, and not any other.
This connection is possible by placing a special string of code within your site, called a GA4 tag. It helps Google Analytics recognize your website and gather information easily.
Let’s see how that happens:
while the Web stream details tab is opened (check the previous step to see how to open it), have a closer look at it:
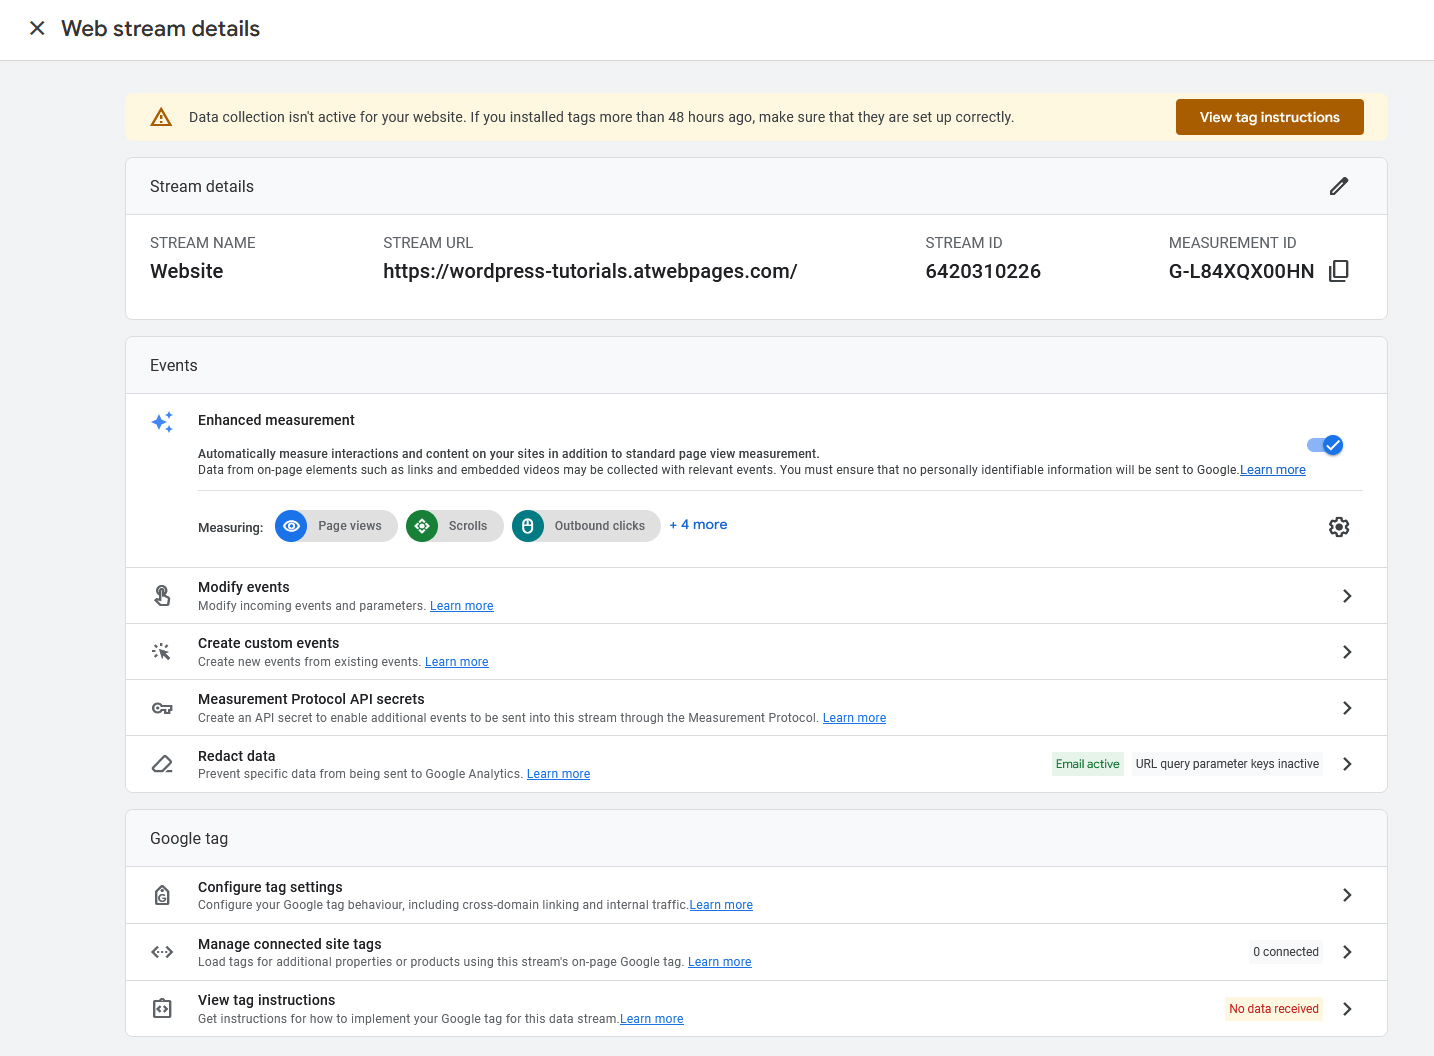
This tab contains all the setup options that you need to make the proper connection between your GA4 account and your site.
Don’t worry if what you see looks complex – we will help you go through the remaining steps of the process without any difficulty.
The first thing you should pay attention to is the View tag instructions button at the top of the tab:
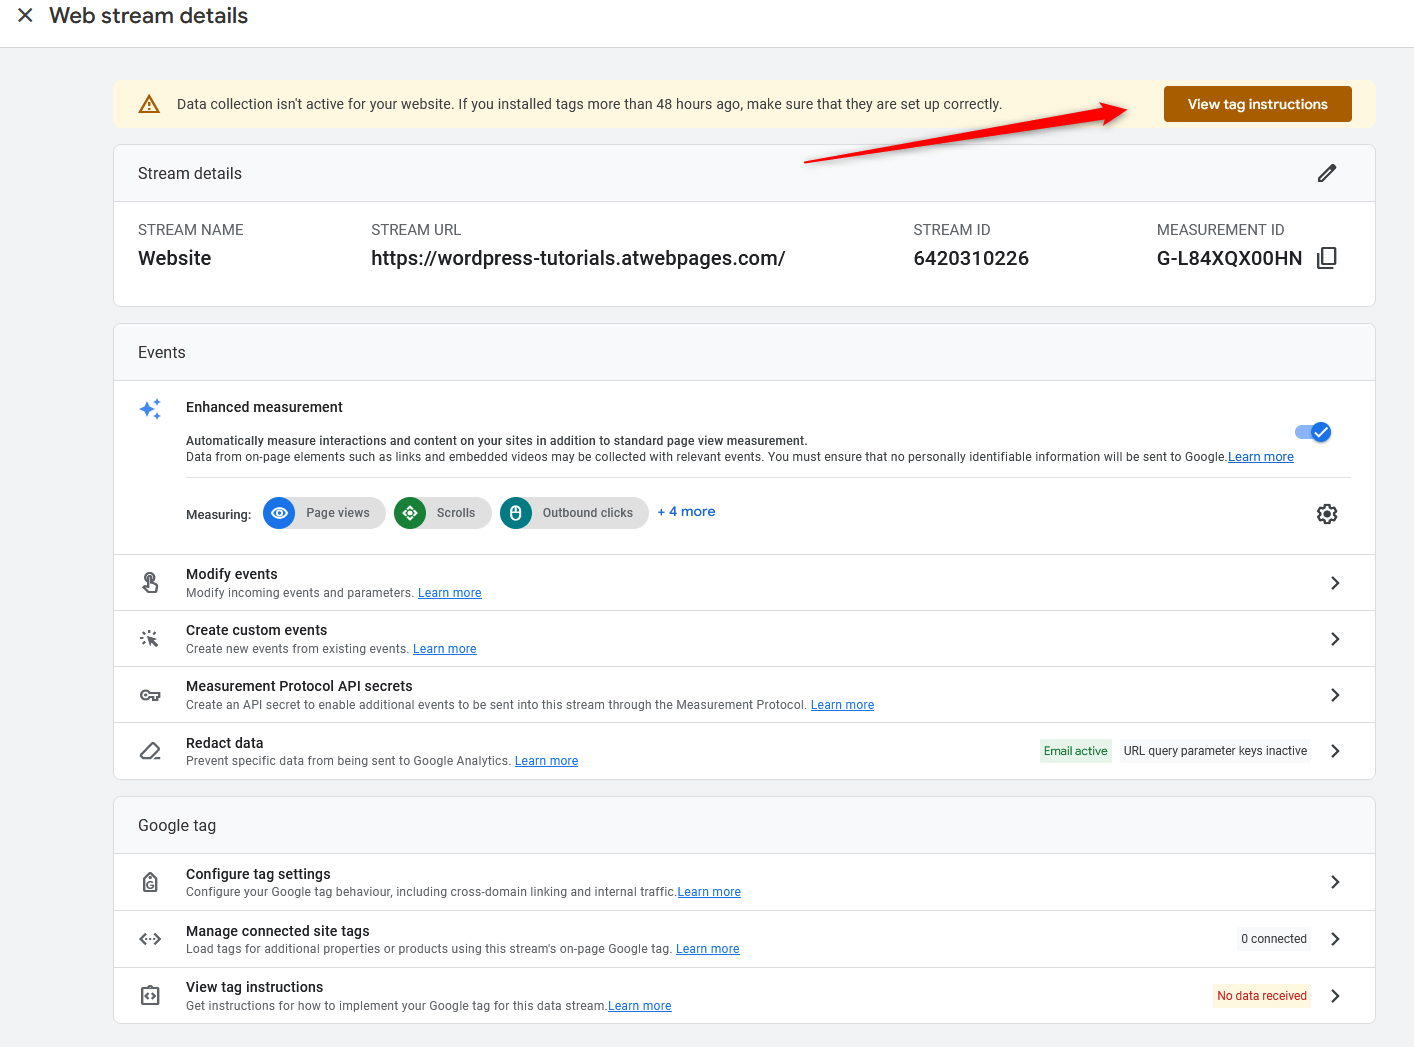
Clicking this button will open a new tab that contains the unique code you should place on your website, to establish the connection between GA4 and your website:
As the tab suggests, you can either place this code on your website manually or use any of the suggested website builders and CMS platforms:

Now, depending on how you built your website, there are several approaches you can use to add this code to your pages.
- HTML, CSS, and JavaScript-based websites.
- WordPress website.
- Other site builders and CMS-based websites.
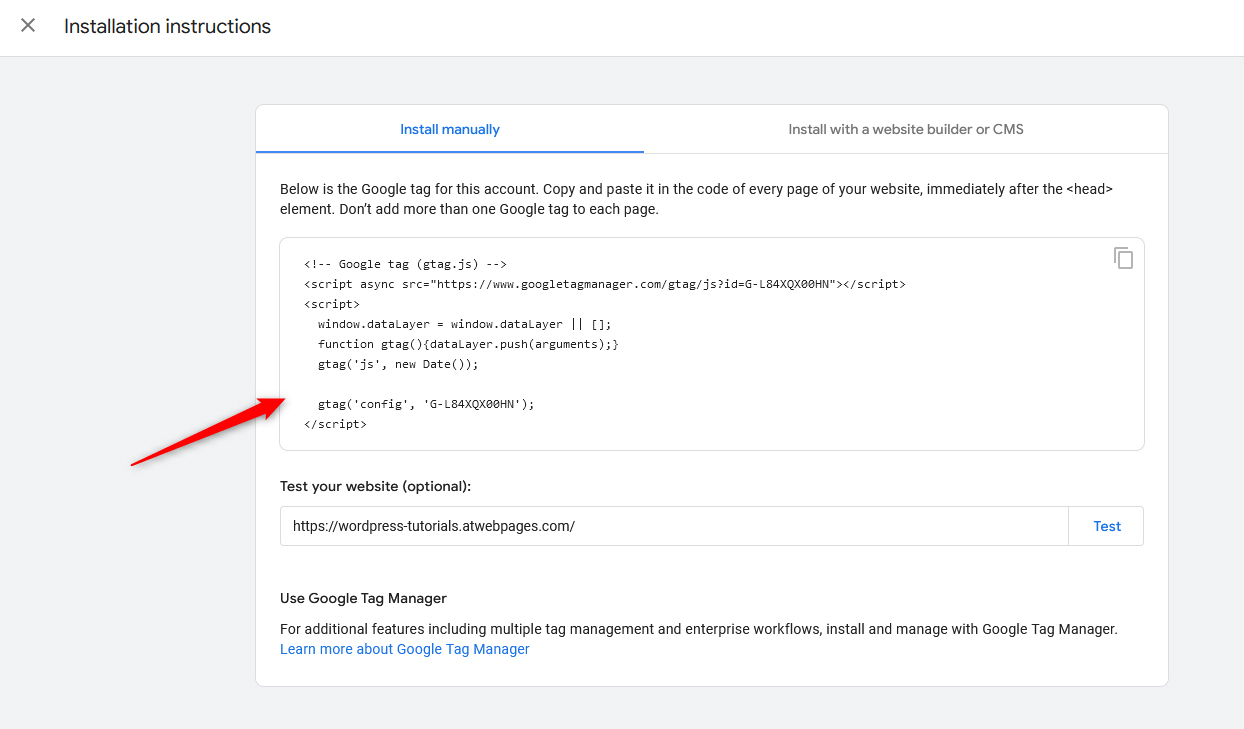
For HTML, CSS, and JavaScript-based Websites:
Choose Install manually and copy the GA4 tag:
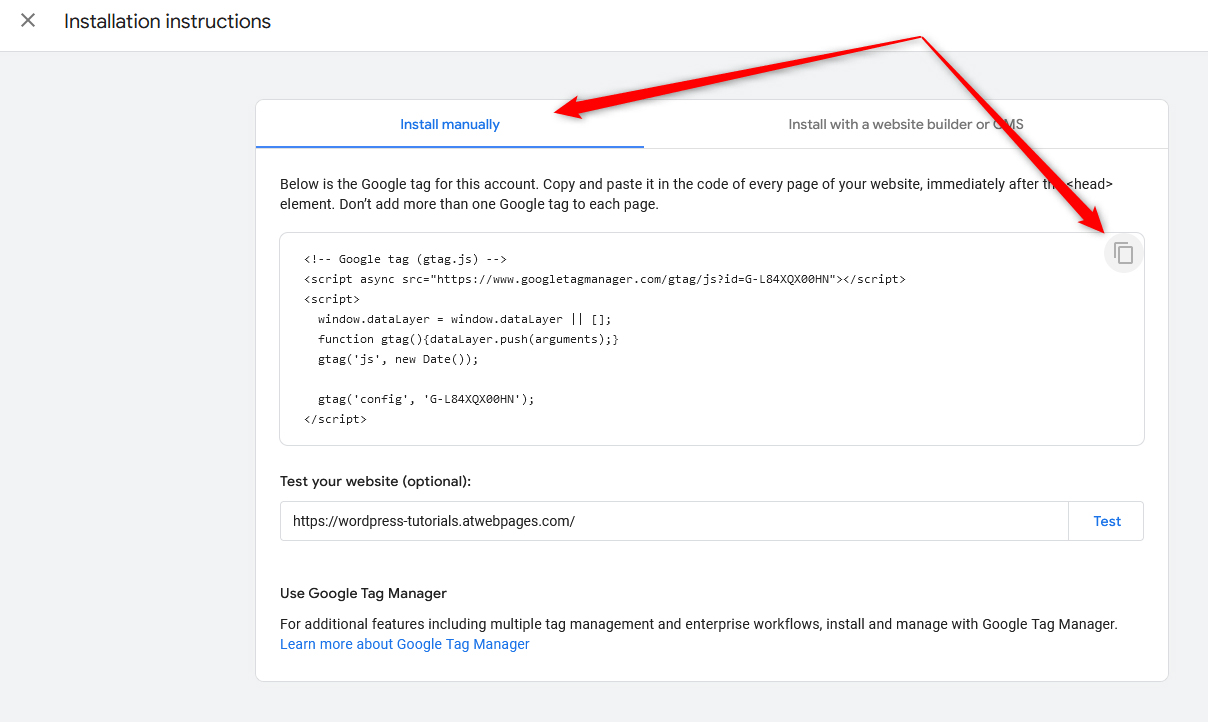
After that, access your website’s HTML code with your preferred editor and add the code right below the <head> element:

The result should look like this:

Now, save the changes.
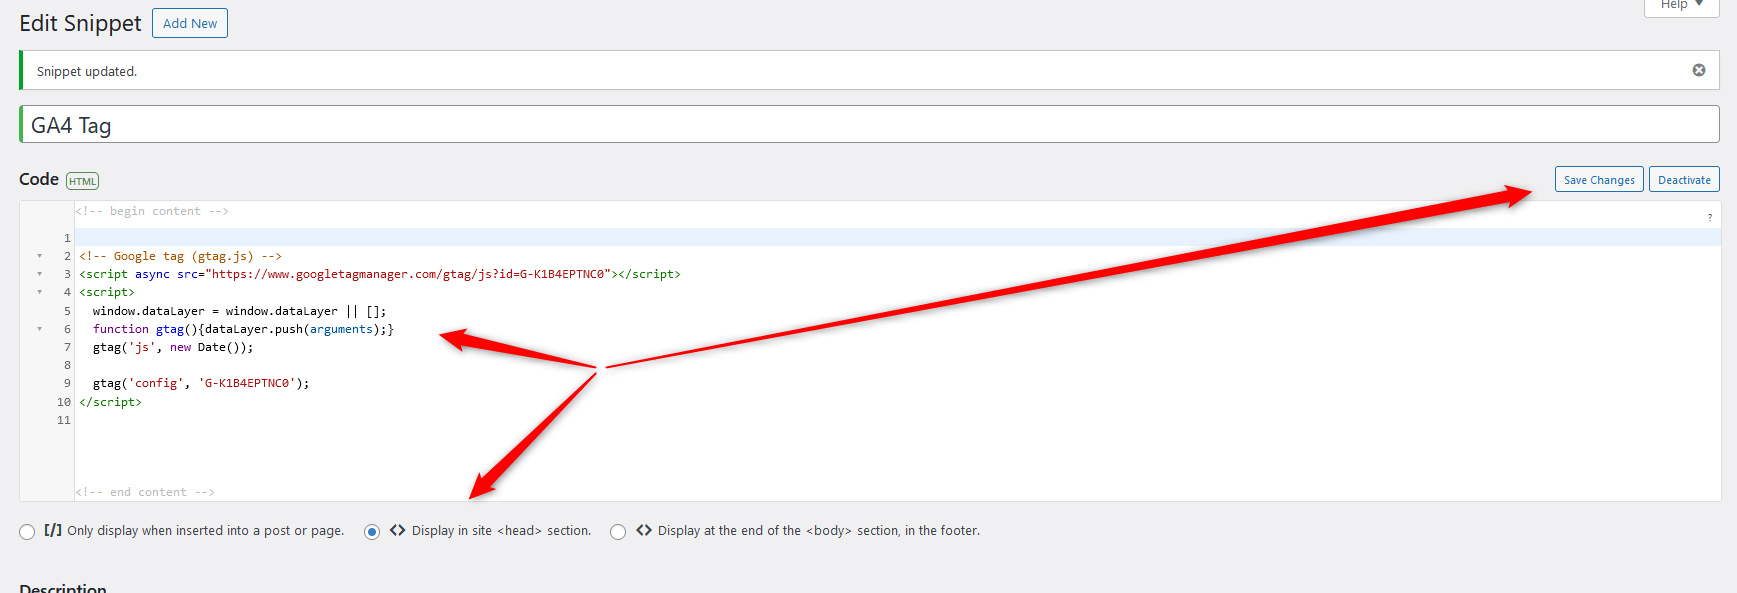
For WordPress-based websites:
The fastest way to add the GA4 tag to your WordPress website is by using a plugin that allows you to add code snippets to your pages. One such is Code Snippets.
Install and activate the plugin (or use another similar one).
Then, add the GA4 tag right below the <body> element apply the changes, and make sure to activate the snippet:
If you are using any other site builder or CMS platforms:
from the Installation instructions tab, click on Install with a website builder or CMS tab, and click the blue Select your platform:
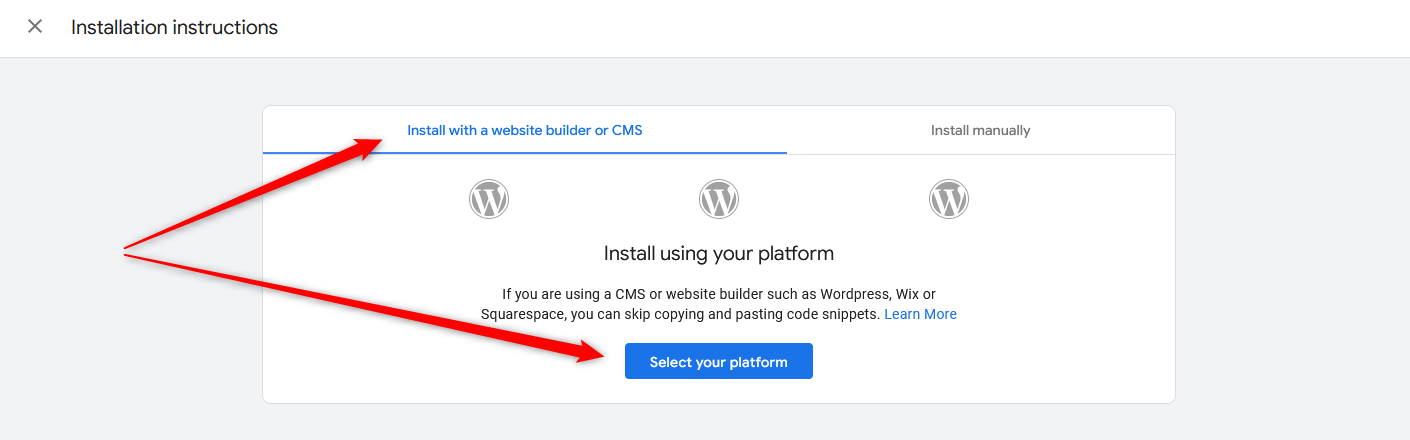
Once you click the button, a new list with site builders and CMS platforms will appear:
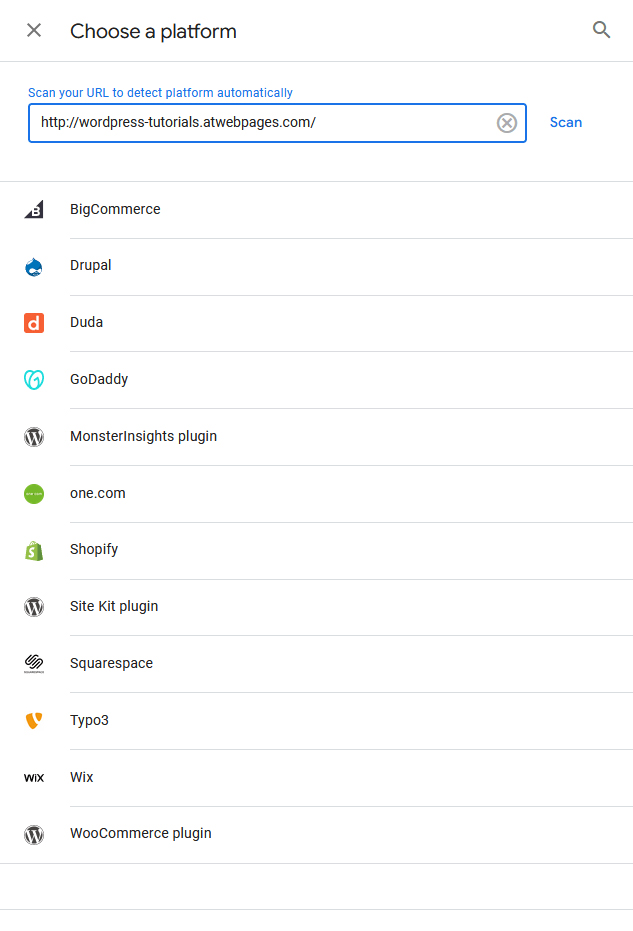
From this list click on the CMS or builder you are using and follow the steps to complete the GA4 installation.
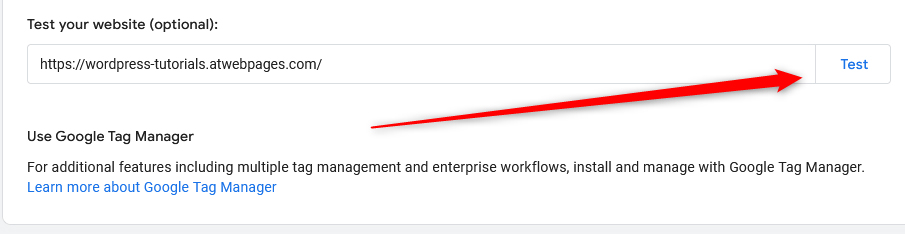
Once you have placed the GA4 tag on your website, regardless of the method you are using, data flow should be available. To see whether this is the case, within the instructions tab, locate the Test Your Site field, add your domain name, and click on Test:
Now you have managed to connect Google Analytics 4 to your website.
In the following article, you will read how to navigate through Google Analytics 4.
Conclusion
Connecting Google Analytics 4 is very easy – only with several minutes and a few clicks here and there you can connect one of the most advanced web analytics systems to your website.
Check also:
