In the early 1600s. slideshows first appeared as hand-painted images on glass and were projected onto walls with a “magic lantern” as they called it. Time has passed and we all know the huge jump technology and innovation made. Now, we use slideshows as presentations all the time.
In the digital world, slideshows often provide more options than simply showing pictures. It is possible to add transitions, pan and zoom effects, video clips, background music, narration, captions, etc.
But when it comes to the website world, we’ll start with the simple photo slideshow, and when you learn how to create a slideshow like that, the rest will come to you naturally. Most probably, you’ve already created a slideshow on PowerPoint and know how it’s done, but on your website, you’ll need something more than a program.
How to Create a Slideshow for Your Website
Just a quick offset before I tell you how to create a slideshow in WordPress. You might wonder why you need it in the first place. Creating interesting content for your audience is one of the most important things to consider when owning a website.

Choosing the right topics for blogs, the right theme, and, of course, pictures are important and helpful to reach your goal. But if you want to do one more step and get closer, a slideshow is the way to do it.
Not only you will save your website visitors time and trouble by scrolling and looking at the pictures, but it will appear in a more beautiful way and you’ll have that perfect content.
Now, back to how to create a slideshow.
In the world of WordPress, everything is easier when compared to other CMSs. However, a lot of extras you want to do, are usually possible by installing plug-ins.
Simply, go to www.wordpress.com and download the one you choose. And for your choice, I’ll try to help now.
Envira Gallery

First, install and activate the Envira Gallery plugin. Now, I’m starting with this plugin which is paid and really good, but the rest I’ll share are free for download, so if you don’t want to purchase this one, you can simply skip it.
When you finish the installation of the plugin, activate the Addon. You can follow these steps – Slideshow Addon if you need help with it. When you’re finished, go to the Envira Gallery WordPress menu and click on Edit. This way you’ll start your slideshow.
If you want to change some of the slideshow options, you can do it when you go to the Slideshow tab. Everything is explained and easy to change. Now you know how to create a slideshow and you’re ready for the fun part! Pick your photos, time, and other preferences. Create beautiful slideshows and content.
Jetpack

In my opinion, one of the easiest ways to create a slideshow is actually using Jetpack. It works directly through the Gallery feature of WordPress, making it simple to create without any unnecessary steps.
Here is how to create a slideshow with Jetpack. Start by editing a post and click Add Media. Upload the wanted pictures. On the top left of the screen, you’ll see – Create Gallery. You’ll be able to select a few images, and then create them.
You can edit the order of the images and their links. On the Type drop-down list select the Slideshow option. But it will only work if the Jetpack is installed.
Meta Slider

The difference between Jetpack and Meta Slider is that Meta allows you to do a lot more changes to the slideshow and has more functionality in the appearance.
How to create a slideshow with Meta Slider? Start by going to the black menu bar on the left of your screen, and click Meta Slider. You’ll go to the slideshow creator. Click “Add Slide” and choose the images you want. After that, you can customize the slide. You’ll see the options on the right – width, height, type of show.
Using this plugin, you can create one unique and very beautiful slideshow to impress your audience!
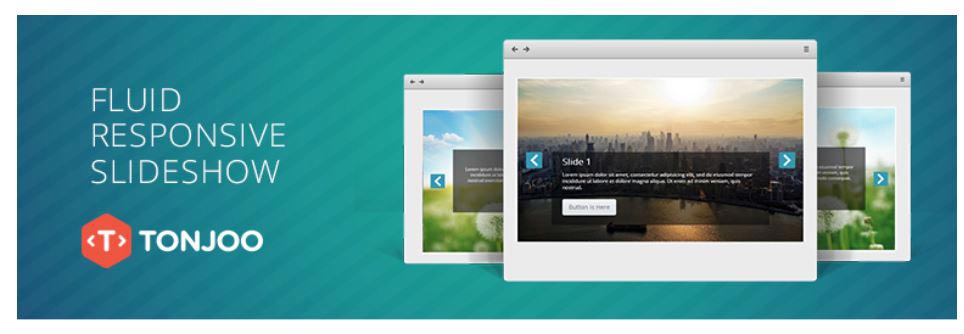
Fluid Responsive Slideshow

With this plugin, we’re going even higher on the stairway of slideshows. Fluid Responsive Slideshow is not that popular but has even more customizations than the rest. It can be very helpful for website owners that want to add additional information as text on their images or slideshows.
The difference between Envira, Jetpack, and Meta is that you’re not just adding images and editing the whole layout, but also designing each slide separately. Close to how you do it with Microsoft PowerPoint or Mac Keynote assuming you know how to create a slideshow with them.
It’s easy to use and just like the rest, when you start creating the slideshow and adding images, you’ll see the buttons for adding text boxes, editing them, and changing whatever you want!
Conclusion
The truth is there are far more plugins to help you create your desired slideshow. The ones I picked are just some of them. I intentionally chose one paid, one simple, one medium, and one that has a lot of opportunities. You can easily decide which one is appropriate for you.
If you’re just starting and want to use something easy and simple, you can install Jetpack. And if you’re ready to blow everyone’s minds – Fluid Responsive Slideshow!
Whichever you choose, make sure you have fun while creating your slideshows. It’s easy and it can be very interesting for your customers/visitors/users. Now that you know how to create a slideshow, go and do it!
