
Zenphoto is a handy CMS that helps you build a beautiful and fully functional gallery website. The app is widely used, thanks to its ease of use and great versatility. In another article, we shared how you can install Zenphoto on any of the AwardSpace hosting plans, and in this one, we share how you can log in to Zenphoto and start working on your website right away.
How to Log in to Zenphoto
Logging in to Zenphoto is easy and requires only a few simple steps. The first thing you should do is open the Zenphoto admin login page, and then you should type down your login credentials to access the dashboard. In the following paragraphs, we share how to do so step by step.
The first step is to access the TYPO3 login page. There are two main methods of opening it:
Method 1: Log in to Zenphoto by following the confirmation mail you received after installing the platform. Once you install Zenphoto on your AwardSpace hosting plan, a confirmation message will be sent to your email. Along with important information about your installation, this email contains a link that leads to the login page. Click it so you can open it:
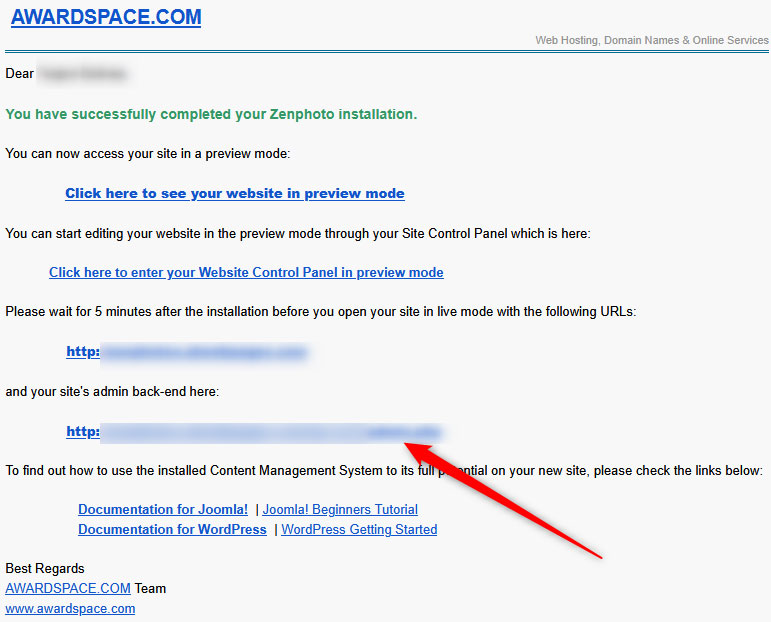
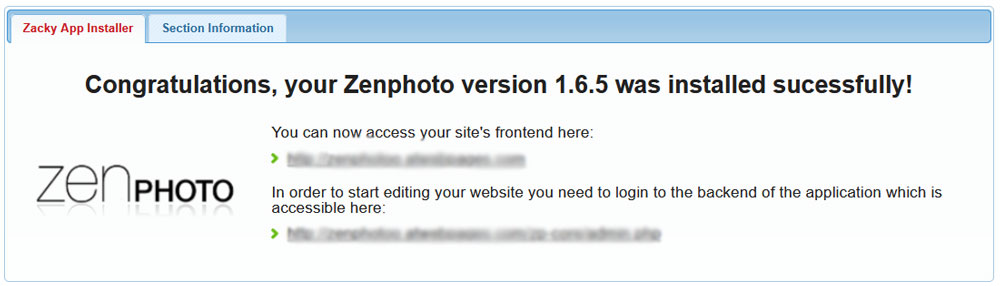
Method 2: Follow the link in the Zencart installation confirmation message. Each time you install a CMS on your AwardSpace plan, a confirmation message will be displayed. It informs you that the app is successfully installed, and it also displays links that lead to the front end of your website and the back end of the CMS. To open the login page, follow the back-end link:
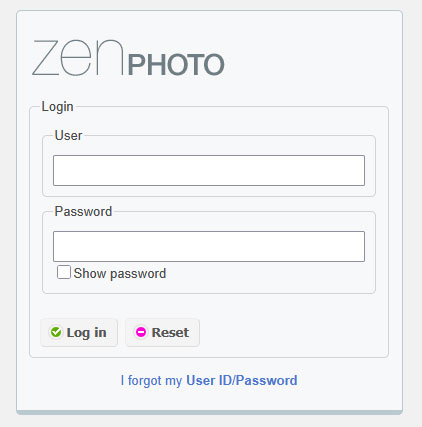
Either method you choose, you will land on the Zenphoto login page. It looks like this:
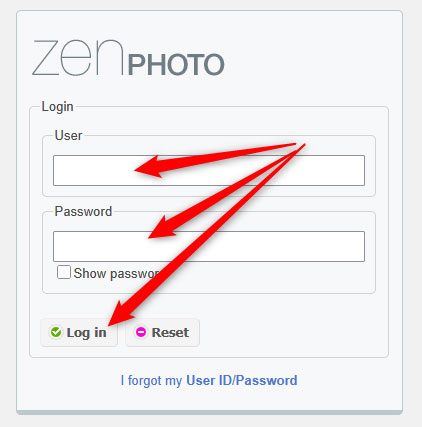
Once you see it, fill the Username and Password fields with your login credentials. Remember, these are the credentials you chose when installing the app. Once you type these down, click the orange Login button:
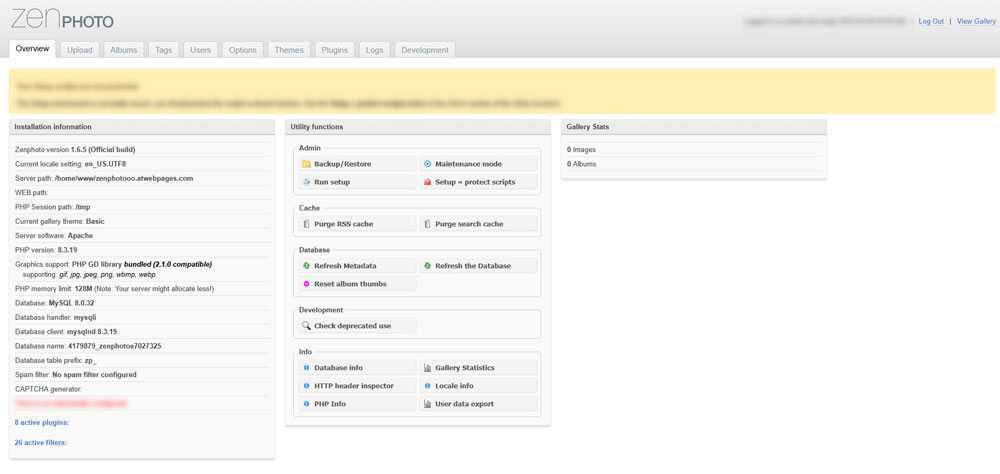
Once you do, Zenphoto will lead you to the platform’s admin panel. From here, you can start working on your new project:
Now, you have managed to log in to Zenphoto.
Read Also:
