WordPress pages are, similar to the posts, a key building element of a WordPress website. While the posts are ordered chronologically and, therefore, used for blog or news feeds, the pages in WordPress are static and (usually) not tied to a date. The content on the pages is not expected to change frequently. Pages that, more or less, every website should have might include: ‘About Us’, ‘Contact’, ‘Services’, and ‘Privacy Policy’ pages.
Creating a page in WordPress is a straightforward process. To do so, follow these steps:
Step 1: Log in to Your WordPress Dashboard
Naturally, the first step would be to enter your Admin Panel. You can use the username and password that you have entered while installing WordPress. The URL of the WordPress login page is usually `yourdomainname.com/wp-admin`.
Related: How to Log In to WordPress
Step 2: Access the Page Editor
Once you’re in the dashboard, go to the Pages section by clicking on Pages in the left-hand menu. Then, click on Add New to open the page editor.

Step 3: Add Title and Content
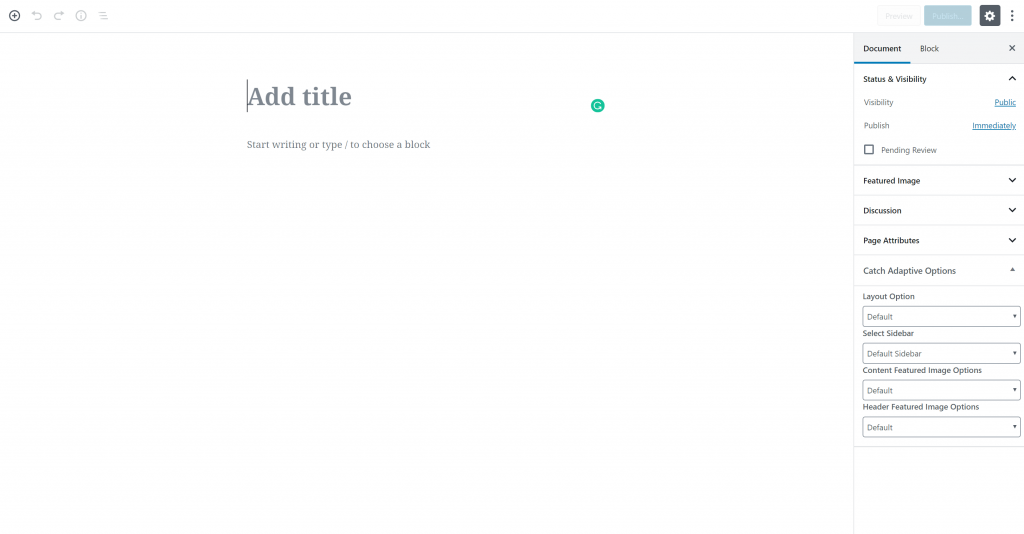
At the top of the page editor, you’ll find a field to enter the title of your page. Below that is the WordPress block editor (also known as Gutenberg), where you can add and format the content of your page. You can add text, images, videos, and other media to your page using blocks.

Step 4: Use Blocks to Add Content
The block editor uses blocks to add and organize content. Click on the + button to see the available blocks, such as paragraphs, headings, images, lists, and more. Select the block you want to use and add your content.
If you need more in-depth directions on how to use the new WordPress editor, please refer to our Gutenberg Tutorials.
Step 5: Set the Page Attributes (Optional)
In the right-hand panel of the editor, you’ll find the Page Attributes section, where you can set parent pages (to create a hierarchy of pages, if needed) and choose a template (if your theme provides multiple page templates).
Step 6: Preview and Publish
Use the Preview button to see how your page will look on the front end of your site. Once you’re satisfied with the page, click on Publish to make your page live on your website.
Both the posts and the pages have Featured images, meta descriptions, and the option to leave on or remove the comment section. Naturally, there are some important differences between the posts and the pages in WordPress. And that is, of course, the reason these two types of content exists in the CMS. Now you already know how to build a new page as well as create a WordPress post.
If you need more in-depth directions, check our previously published article on How to Add a Page to a WordPress Website
If you feel like you are ready to go further in the CMS, feel free to browse our WordPress Tutorials section.
