Once you have installed WordPress, to start working on your website, you will have to log in to the new installation. As we’ve mentioned in the article about the CMS installation process, the credentials you have entered will be needed to log in to your WordPress website.
Here’s the essential information required for accessing your WordPress Admin Dashboard:
WordPress Installation URL: During the WordPress installation process on your chosen domain, you’ll be prompted to select a directory for the installation. Opting for the root directory (by not filling in this field) means your access URL for WordPress will be: yourdomainname.com/wp-admin. If you select a specific directory, the URL changes to: yourdomainname.com/directoryname/wp-admin. Simply append /wp-admin to the end of the URL where WordPress is installed.
WordPress Username: Enter the username selected during the WordPress setup.
WordPress Password: Use the password you created during the CMS installation process.
Two steps to Enter the WordPress Admin Panel:
Step 1: Enter your domain name and add the /wp-admin at the end. NB! As we mentioned earlier if you installed WordPress in a different than the root directory, you’ll have to insert it between the domain name and /wp-admin.
For example, if your site’s domain name is www.examplewebsite.com, then at the end add /wp-admin, so it looks like this:
www.examplesite.com/wp-admin
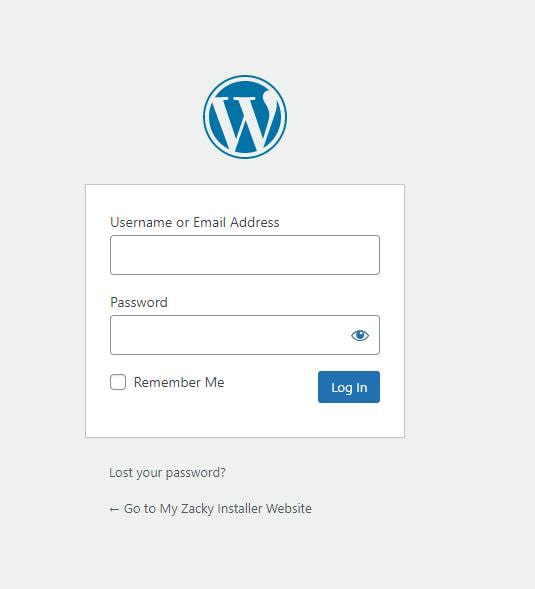
This will lead you to the login page of WordPress, where you should see the following login menu:

Step 2: To access your WordPress admin panel, type in the username and password that you’ve chosen in the WordPress installation process. NB! Your WordPress Username and Password could be different from those you use to enter the Zacky Installer.
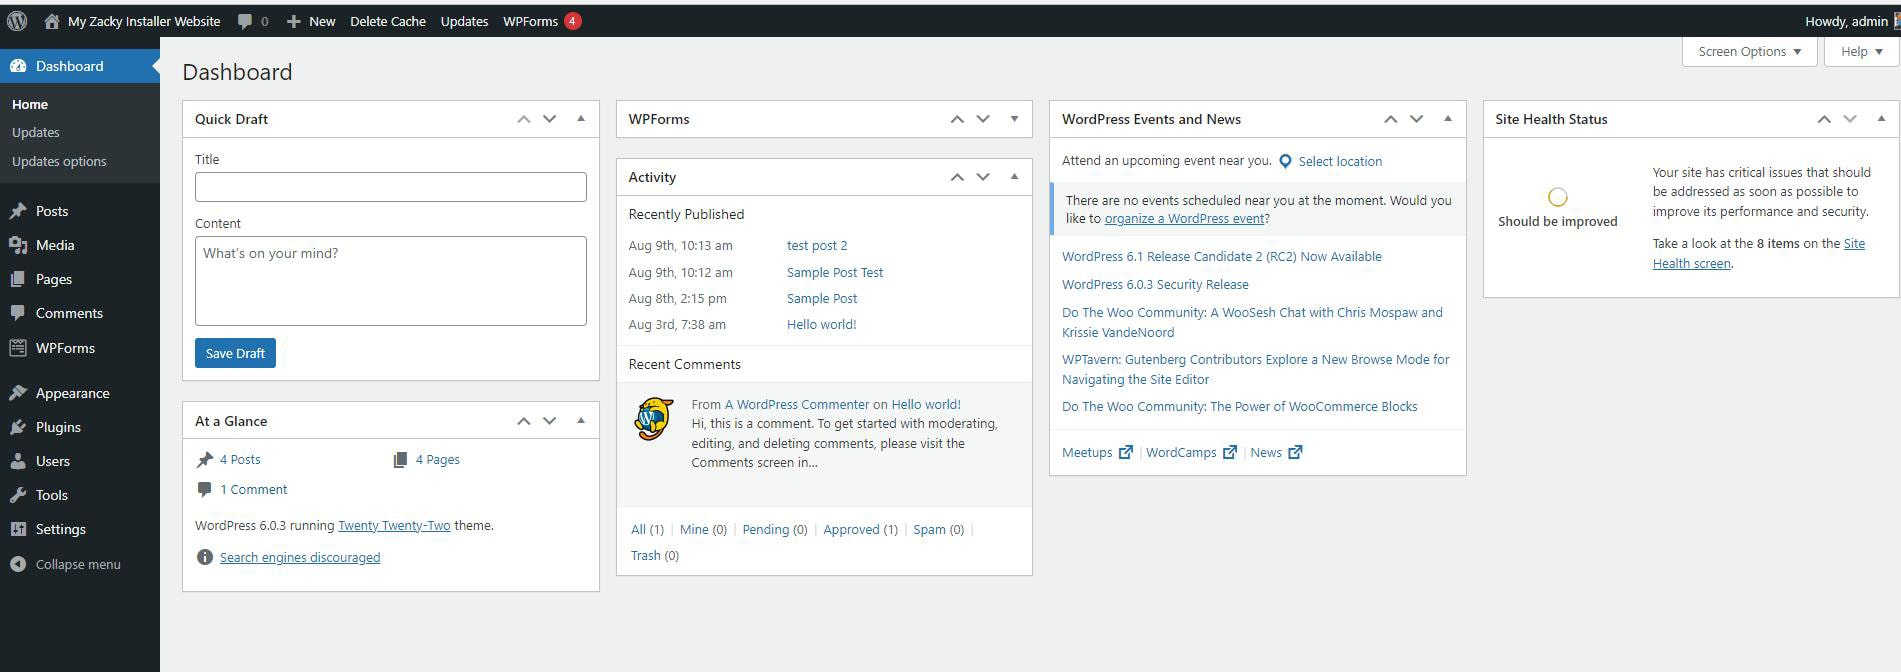
Once there, add the credentials you registered when installing the platform and you will be able to enter the WordPress admin panel:

