Importing products in WooCommerce can be a time-consuming task to perform when you have many products that you want to sell. When it comes to WooCommerce, you can take care of this task by using the built-in import tool. As a result, you can import, export, or update hundreds or thousands of products in your WooCommerce store with a single CSV. Furthermore, this tool supports all product types, including variations.
In this tutorial, you will get an in-depth look at the WordPress import tool with an explanation of all of its features for making your import process easy.
When can you Import Products in WooCommerce?
You can use the WordPress Import tool in the following situations:
- First-time storekeepers can begin all the more rapidly by importing products during the setup process of WooCommerce.
- Existing storekeepers can update many items at once with new data, set them at a discount, or update quantities.
- Using this tool, you can import items when migrating your store. Migration requires a bulk import of products to the new store. Utilizing the WordPress import instrument is the best arrangement, as it incorporates various item information and pictures.
- To bulk update item information such as stock, pictures, and so on. Item import incorporates the import of item name, ID, item pictures, stock details, and so on. This tool makes it simple to do the bulk update of the information in your WooCommerce store.
What is required to Import Products in WooCommerce?
To import new items or update existing items, you need a CSV containing your item data. To make the CSV, you can:
- Export a CSV of items from a current store.
- Create a CSV of items utilizing this clear and arranged CSV document.
- Download a CSV document with test information from GitHub and supplant it.
- Use your very own CSV. Any data you wish to incorporate ought to pursue the arranging and sections of the Product CSV Import Schema.
If you use the built-in WooCommerce Product CSV Importer and Exporter tool to export a CSV, it already uses the schema, and it is ready to be used. On the other hand, if you use a blank and formatted CSV file, it follows the schema just as well. With this in mind, what you need to do is make sure to enter the data as structured at Product CSV Import Schema.
You can learn more about how to create your CSV file in the documentation on the official WooCommerce website.
Import Products in WooCommerce.
Import New Products in WooCommerce
First-time and existing store owners using WooCommerce can use the CSV to add new products with one upload.
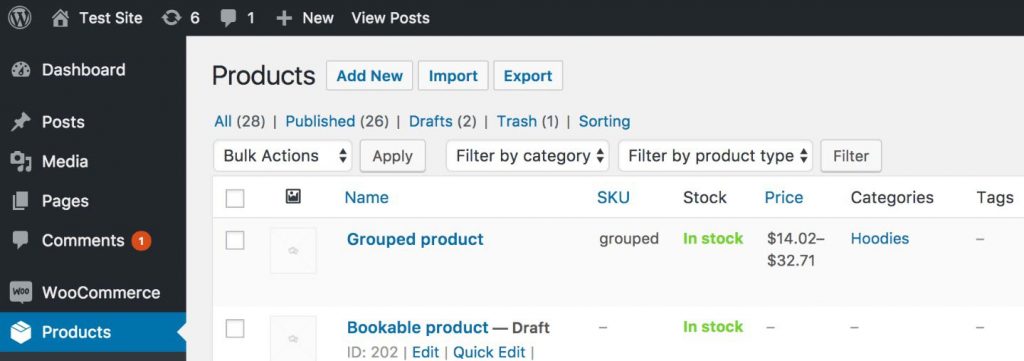
- In the WordPress Dashboard, navigate to WooCommerce > Products.
- At the top select Import. The Upload CSV File screen shows.
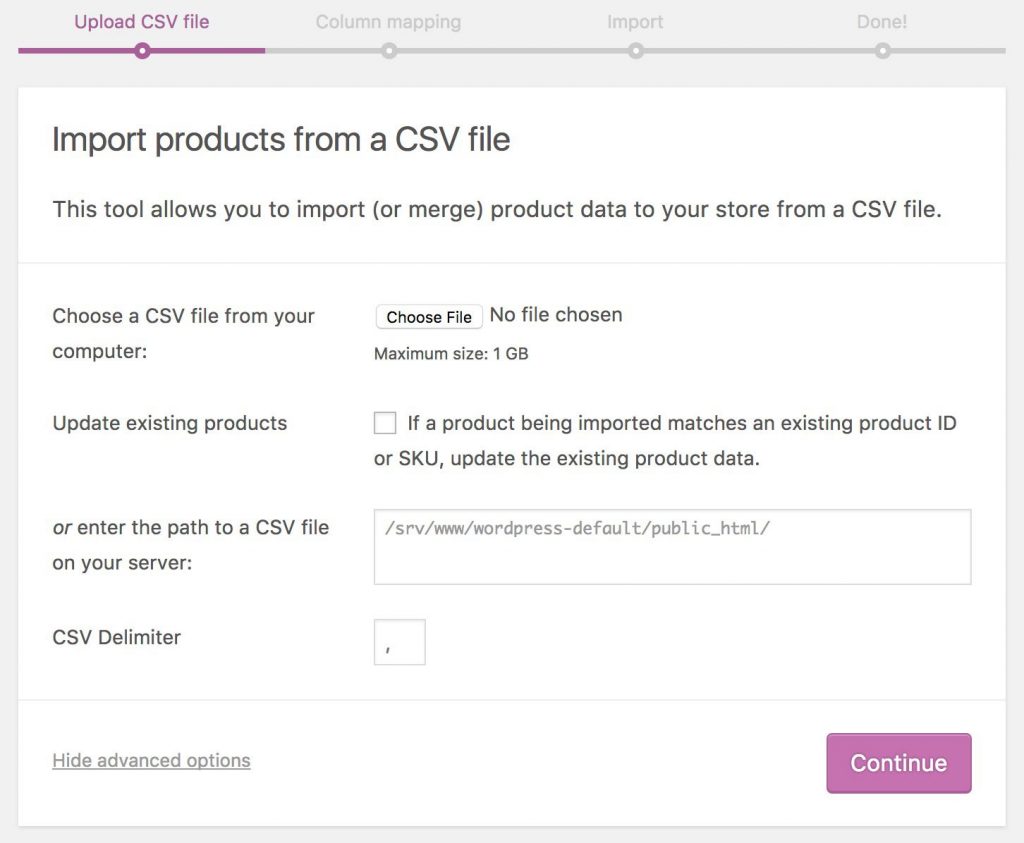
- Select Choose File and navigate to the CSV you wish you use.
A thing to note is the CSV delimiter (Advanced option): Generally, CSV components are isolated by a comma. Instead, if you wish to use an alternative delimiter in your file, you can set it here. - Continue
On this page, The Column Mapping screen shows, and WooCommerce automatically try to match or map the Column Name from your CSV to Fields.
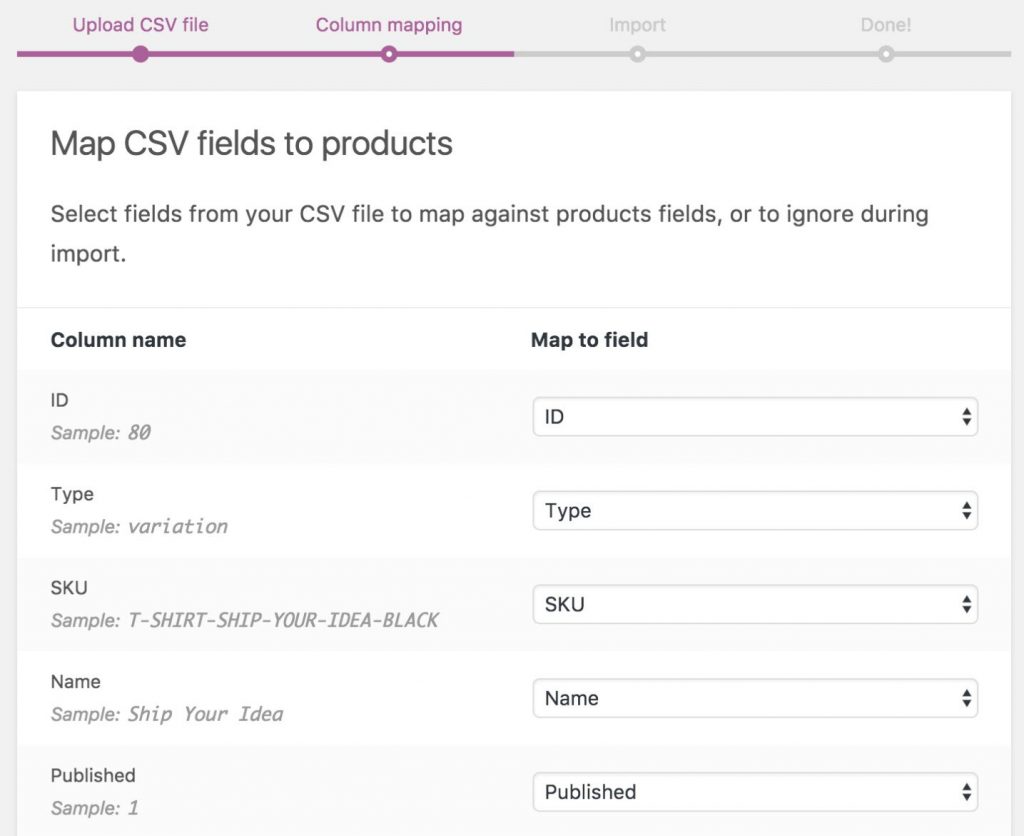
- Use dropdown menus on the right side to alter fields or select Do not import.
A thing to note is that any unrecognized sections won’t be imported by default.
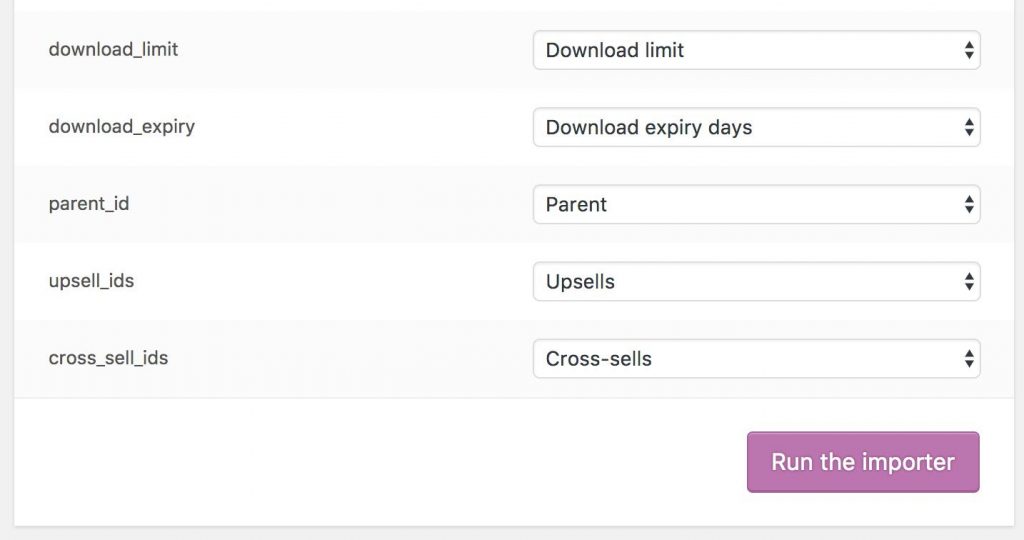
- Select Run the Importer.
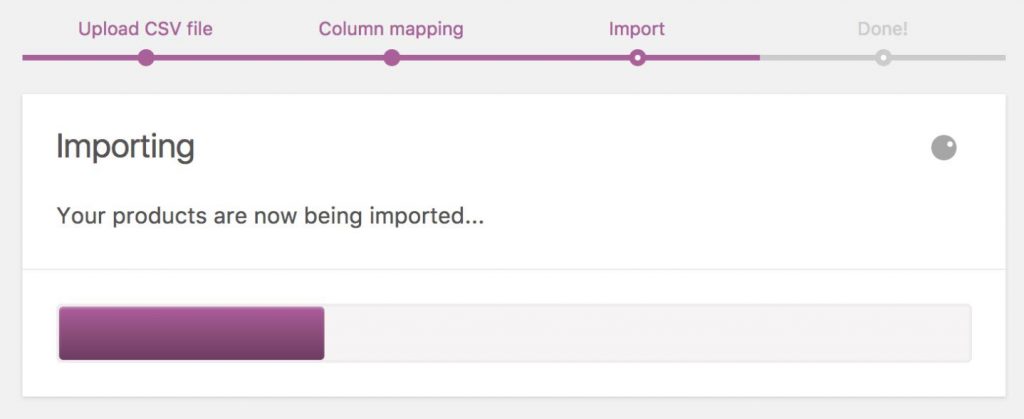
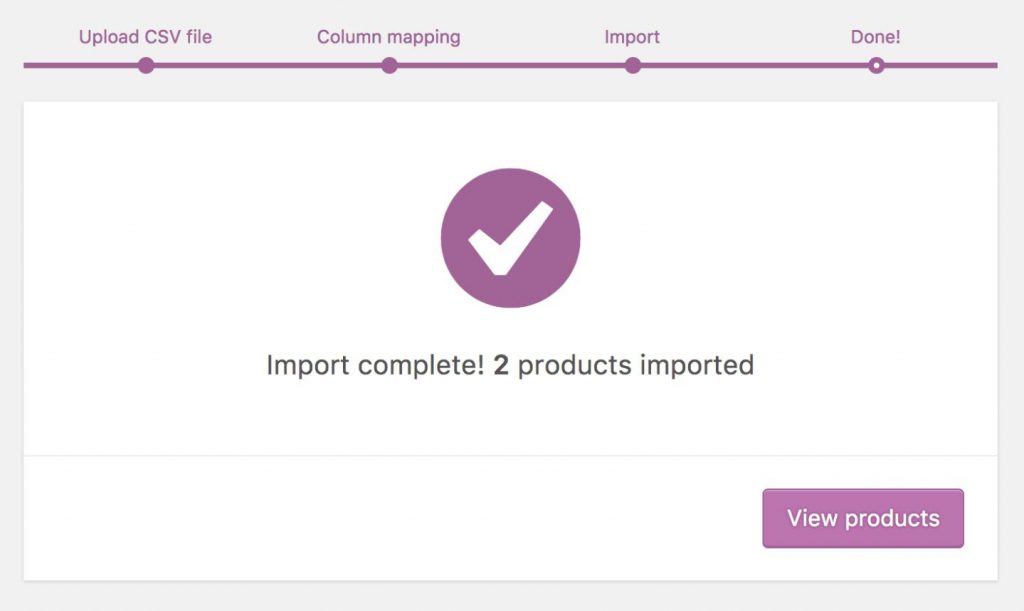
- Wait until the Importer is complete. Furthermore, do not interrupt or reload the browser while it is in progress, as this may cause the import process to fail.
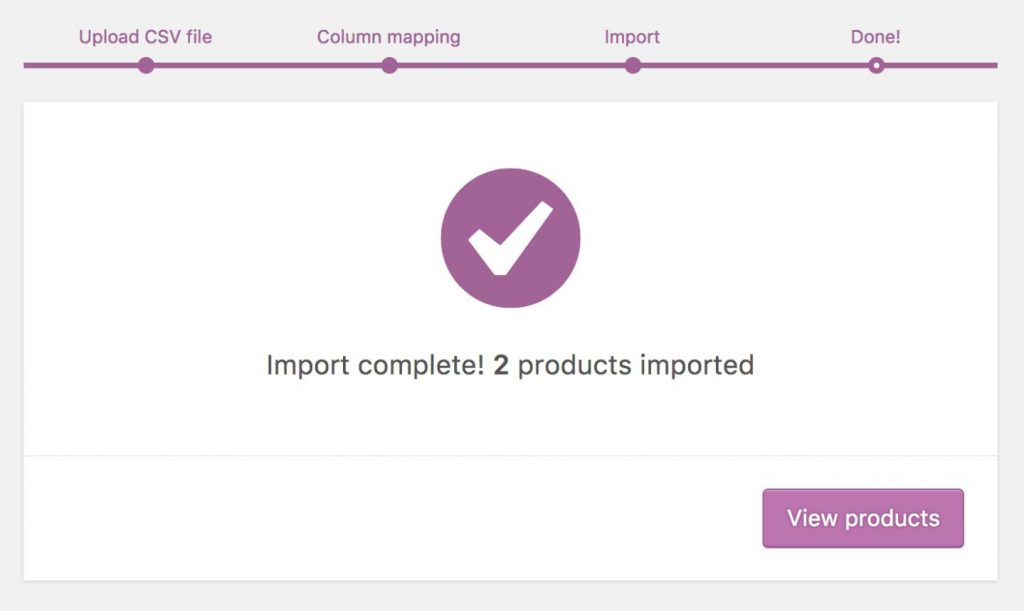
Update Existing Products in WooCommerce.
Store managers can utilize the CSV Importer tool to update existing items with new information, e.g., adding a brand, changing a tax class, bulk updating for a special sale, and so forth.
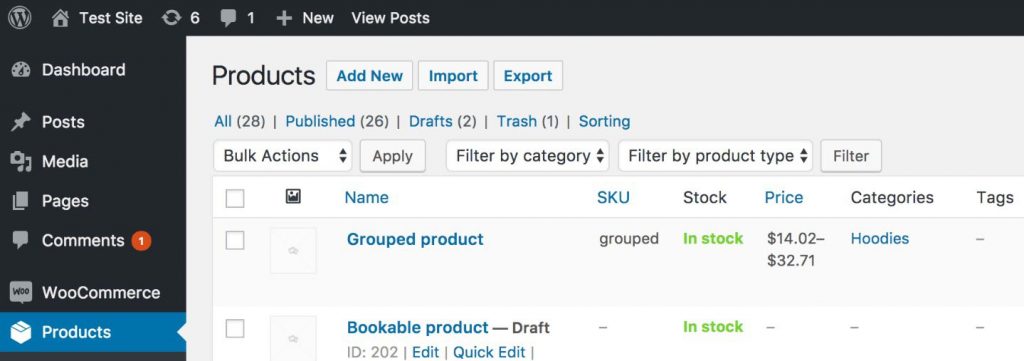
- First of all, make a CSV record, utilizing the IDs or SKUs of items you wish to update.
In this way, the merchant utilizes the ID as well as SKU to auto-match and auto-update whatever information you enter on each line. - Navigate to: WooCommerce > Products.
- Select Import at the top. The Upload CSV File screen shows.
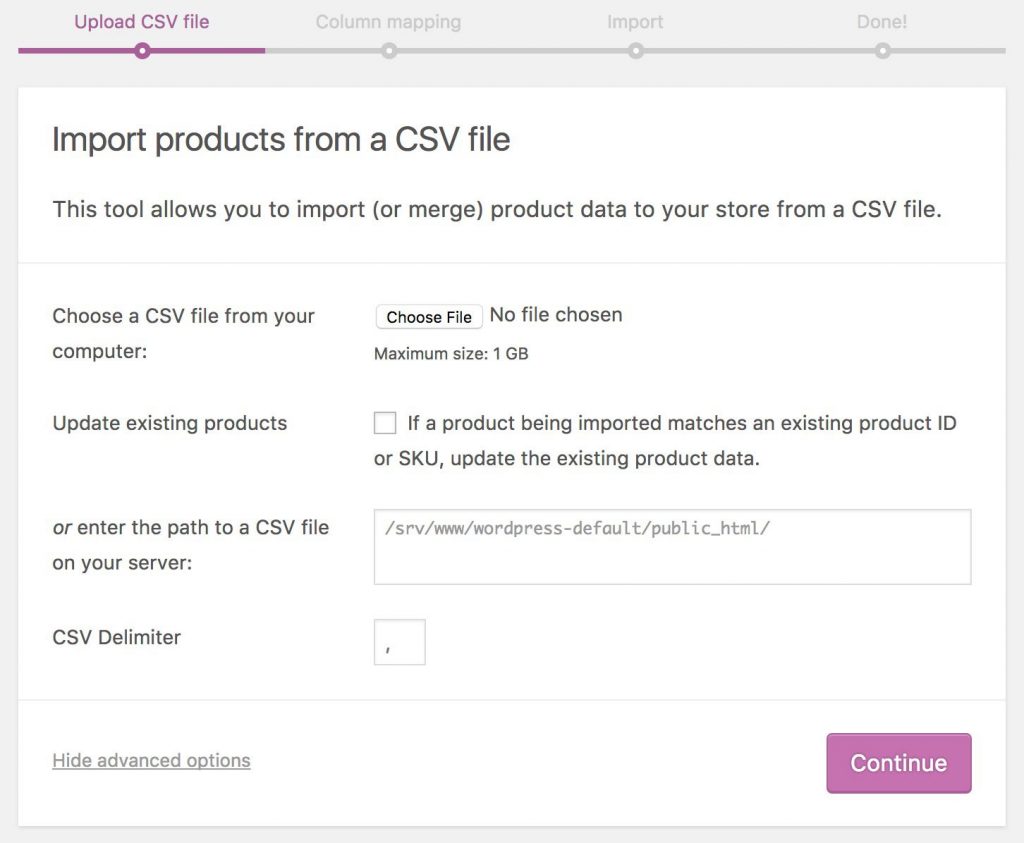
- Next, select Choose File and the CSV you wish to use.
- Tick the checkbox for Update Existing Products.
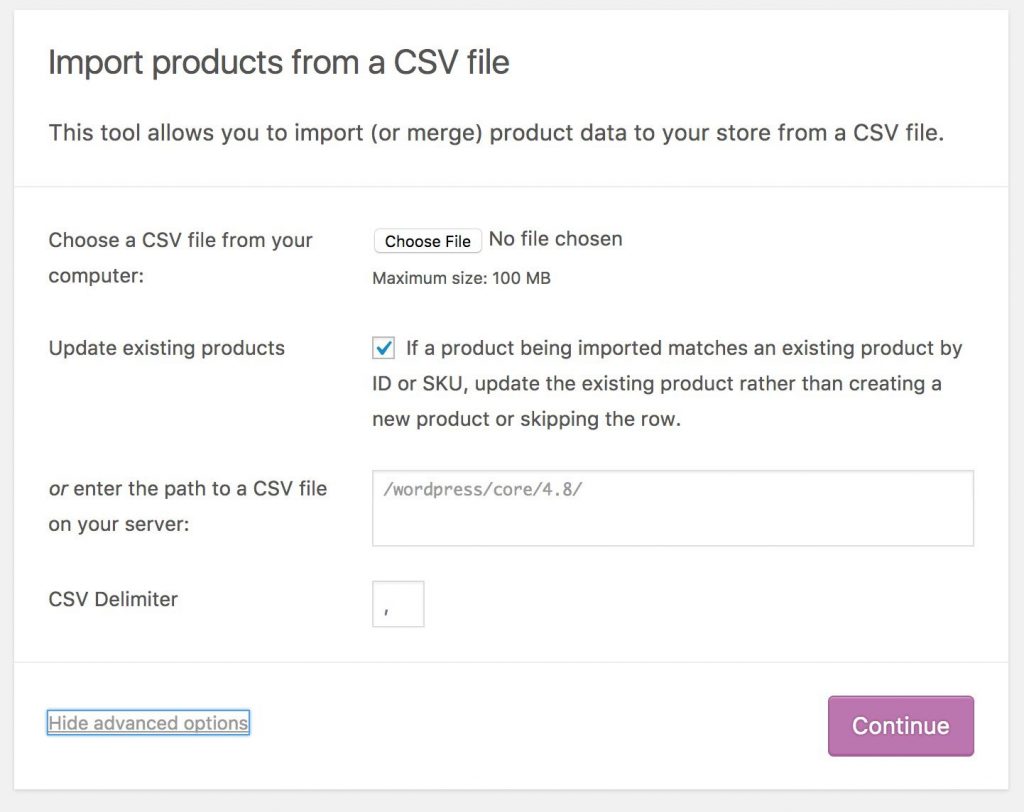
- Continue.
The Column Mapping screen shows, and WooCommerce automatically tries to match or map the Column Name from your CSV to Fields.
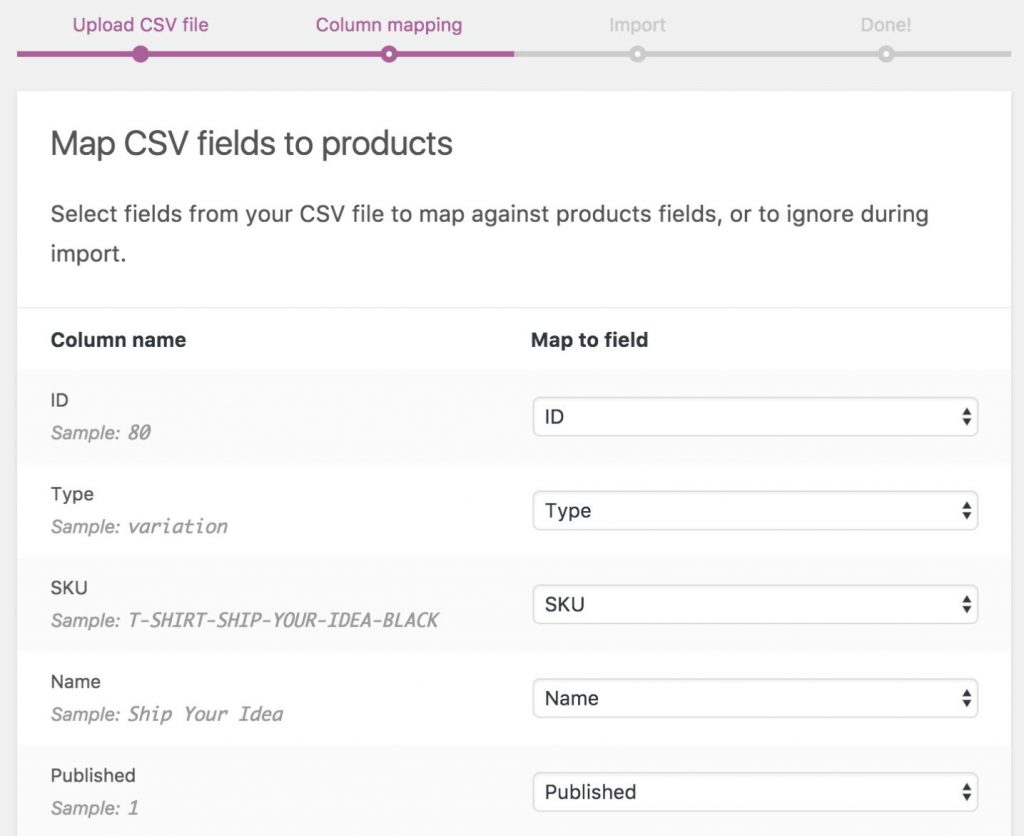
- Use dropdown menus on the right side to change fields or select Don’t import.
Keep in mind, that any unrecognized segments won’t be imported by default.
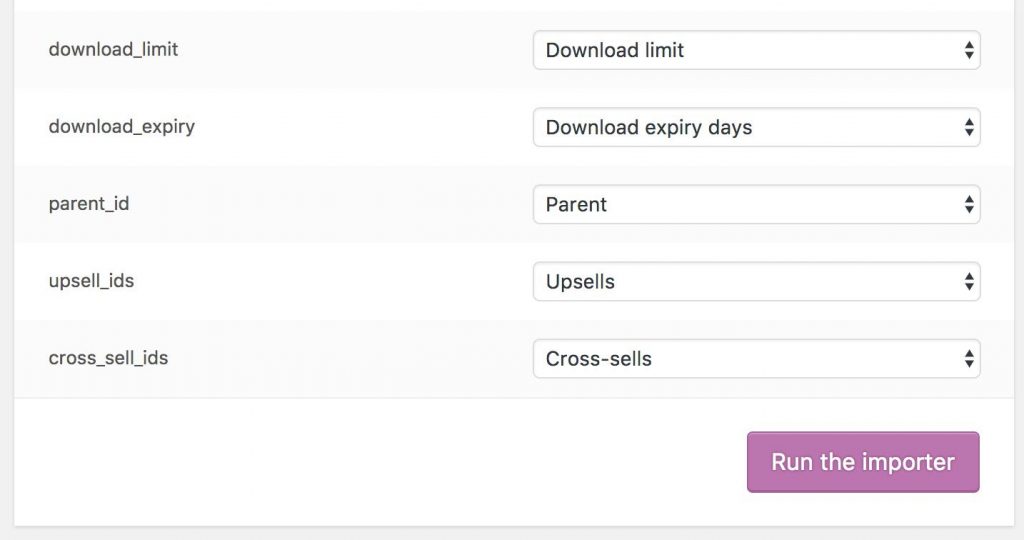
- Select Run the Importer.
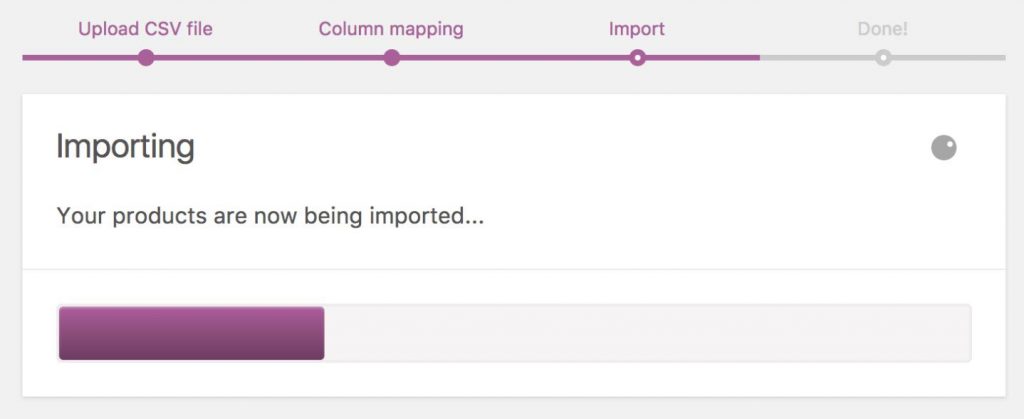
- Wait until the Importer is done.
Moreover, do not interrupt the browser while in progress.
