There are plenty of reasons you might want to know how to make a WordPress site private.
Say, you got your first WordPress Hosting, and dived right into our WordPress tutorials, to find out how to create a WordPress website. That is the best thing you can do if you don’t have the knowledge needed. Probably you won’t be pleased to find out that WordPress is designed in such a way, that from the moment the CMS is installed, the website is up and running. We, the users, need to find out how to make WordPress private. Of course, it is worth noting that it is rarely the case that a new website will get any visitors before it is marketed the right way.
Still, as far as I am concerned, every website should be accessible only by the developers, while the construction process lasts.
In this article, we’ll cover two ways of making a WordPress website private. The first will show you how to put WordPress site under construction. Thus, the website will be inaccessible only while you are crafting it, and whenever you decide that you are ready to mesmerize the world, you’ll be able to publish it with a few clicks.
The second part of this tutorial will show you how to set a WordPress blog to private, so you’ll be the only one that will be able to access the website. It could be your online diary. With your own domain and hosting account.
How to Make WordPress Private While Working on It
While you are creating your website, it doesn’t need to be public. No one needs to see your unfinished product. That way, you’ll feel more comfortable while working. You’ll be able to make mistakes while learning.
The best, or at least the easiest, solution for making your WordPress private while working on it, is by adding a plugin, that will do that for you.
I have a favorite plugin to do that with every website that I am creating. Of course, you can use whichever plugin you want that will help you achieve the same result. Still, the plugin that I’ll recommend you has a simple but versatile settings menu, and a great image to greet the users that have landed on your website one way or another.
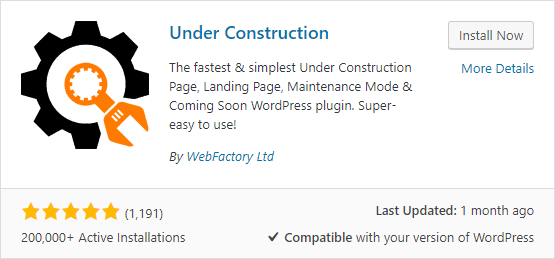
If you know how to install a WordPress plugin, you need to type “under construction” in the plugin search field. The first result is the one you’ll need. In the search result, look for this plugin:

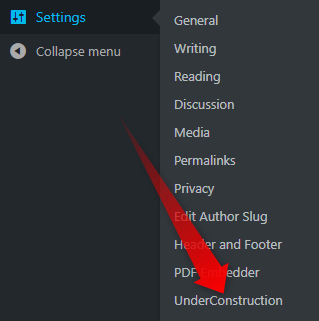
Once you’ve installed and activated the plugin, you’ll be able to access it in the sidebar menu. To find it there, hover over the Settings option, and look at the bottom of the sub-menu that emerged.

By clicking on the Under Construction option, you’ll trigger a new page to load. On that page, you’ll be presented with all the options of the plugin, that will help you make your WordPress private while working on it. Here is what the page looks like:
It’s here on that page where all (or at least most of the) magic happens.
What you need to do is just click on the first big red OFF button. It will change to a big green one, saying ON.
Like so:
That is all, now click on Save Changes, and your website will be made private while you are working on it.
Don’t miss to click around the options and to customize the under construction page that the users will see, when trying to access your website.
How to make WordPress Site Private
I honestly believe that the whole purpose of being online is to be publicly visible. Yet, you may like the design of a WordPress theme, or just want to have a website, that will only be accessed by yourself.
Whatever the reasons are, here is how to make a WordPress site private.
- Enter your Hosting Admin Panel.
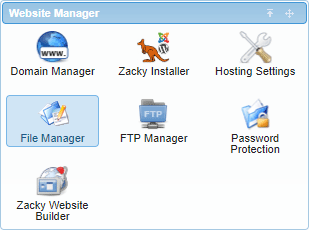
- Find and enter the File Manager

- Once there, get into your website’s file directory

- Find and open the .htaccess file.
NB! There is a chance that your installation won’t have a .htaccess file in that directory. If so, you’ll need to create it, by using Sublime, Notepad ++ or another code editing software.
- When you enter your .htaccess file, you’ll need to add the following code piece
order deny, allow
deny from all
allow from XXX.XXX.XX.XX, just before the # END WordPress line.
After you’ve added the code, your .htaccess file should look something like this:
Where of course XXX.XXX.XX.XX is the IP address from which you want the website to be accessible. To find your IP address, the easiest way is to write my IP in Google. More often than not, the search engine will show you your IP in the so-called knowledge graph.
This is how to make a WordPress site private!


